Skip to content

Montafon hut circuit trek in Vorarlberg, Austria

Distance (km)
0
Days on the trail
0
Elevation gain (m)
0

About the trail: While Tyrol is arguably the most famous region in Austria, Vorarlberg lies right next to it on the very western side of the country. That is probably why most tourists in the area are from Germany and the Netherlands (hint: proximity). At least most of the hikers we met were from those two countries.

The Montafon hut circuit consists of 13 stages and spans over more than 150km. While officially it is a U-shaped trail, it is easy to connect it and, thus, I’d argue that it is a circular trail. Some of the stages are rather long (~20km), while others take no more than 2 hours; thus, it is easily combinable. 

It is not a very popular multi-day hike compared with hikes such as the Tour du Mont Blanc or the West Highland Way. There are no specific signs referring to it, and most of the people we met did not do the same hike as we did. Some of them hiked the same section, but only two other Dutch guys were committing to the whole trail in one go. While it was somewhat busy in the huts, the trail was never packed. During the day, we would occasionally meet a couple of people; it was always busier around the cable car sections, but overall, it is a quiet trail. 

We chose it as we wanted to explore a less popular trail in Austria. After the Berliner Höhenweg experience, we wanted to come back to Austria for the dramatic landscapes and great huts. And we got it 😊

Difficulty: I’d rate this trek from moderately difficult to difficult. Most of the challenge of this trail is the elevation and distance, especially on the longer stages. However, some sections are marked as alpine routes (white-blue signs), meaning that they are steeper, more technical, and may have some aids installed on the path, such as chains and ladders. If you are not experienced in mountain hiking, you might find it a challenge. For us, some of the so-called alpine sections felt a lot less technical than those of the Berliner Höhenweg. We felt safe all the time, but then again, we are rather experienced, so please do not underestimate this trail. 

When did we hike: We did this hike in the end of July with no particular reason. This way we did not encounter any snowy sections, which is very likely early in the season. September would probably be a great time as well since families are back from holidays and so there is less demand for the huts. There were quite a few families staying in the huts, making mid-July through August probably the busiest time on the trail. 

Itinerary

Logistics to the start/finish: since the trail is not super remote, you have several options when it comes to the start. That also makes it easy to shorten the trail in case you prefer a few days of hiking instead of doing the whole trek. Here are the logistically most convenient places to start/finish the trail:

  • Schruns. The official start of the trail is in Shruns village, which even has a train station, so it is definitely accessible by public transport. If you are flying, Zurich or Innsbruck are the closest bigg-ish airports, though a few hours of train travel is unavoidable either. We came by car and that was very convenient as we stayed in the same hotel before and after the trek, solving the issue of where to leave the car. 
  • Bielerhöhe. It is also possible to start the trail in Bielerhöhe, which is a road mountain pass next to a lake, featuring a few accommodation options. Daily buses are running from Schruns, bus 650 was the one to take when we hiked in the area. I recall that buses ran on an hourly basis.  
  • Gargellen. As the trail goes through this cute ski town, Gargellen is also a handy place to start or to finish the trail. There are buses connecting it to Schruns, so it is also convenient public transport-wise. 


Navigation: The trail has good markings; however, don’t expect anything like “here’s the Montafon trail”. You need to know the main points of the trail, such as mountain passes, villages, or huts, since the signposts will give you directions to those points. There is nothing branded as “Montafon trail” on any of the signposts. Once you’re on a trail, red-white or blue-white signs will guide you until the next signpost. I highly recommend having a map of the trail as a backup. It can be either a physical or a digital map, and if it’s digital, make sure it also works offline, as you’ll often have no phone signal. I used a mix of mapy.com and maps.me as the former is visually easier to follow, while the latter allows downloading maps offline for free. 

Our 7-day itinerary

Initially, we were supposed to hike the whole trail in 8 days. Demanding but doable. However, in Gargellen we learned that the weather in the coming days would be very bad (rain and possible thunderstorms), and so we decided to descend to Schurns from Tilisuna Hütte. Originally, we were supposed to hike from Tilisuna Hütte to Heinrich Hueter Hütte (a looooong day, I know) and then the next day descend to Schruns. Because of the weather, we completely skipped the Lünersee area, something for the next time. 

DayStartFinishDuration (only hiking)Total duration (with breaks)Distance in kmElevation gain in mElevation loss in mAccommodationCash or card?
1SchrunsWormser Hütte03:155:1511.216226Wormser HütteCard
2Wormser HütteNeue Heilbronner Hütte05:457:0021.212701268Neue Heilbronner HütteCard
3Neue Heilbronner HütteSilvretta Bielerhöhe04:458:0020.810861402Madlenerhaus Cash only
4Silvretta BielerhöheSaarbrücker Hütte05:008:0020.415091015Saarbrücker HütteCash only
5Saarbrücker HütteGargellen04:458:1518.27601852Pension EdelweissCard
6GargellenTilisunahütte2:4504:1510.41132348TilisunahütteCard
7TilisunahütteSchruns2:4503:0011.7971626AuhofCard

Note: Duration (only hiking) metric is measured by my watch as purely moving time. Realistically, even without taking any deliberate breaks like lunch, you will be stopping once in a while to catch a breath, drink, check the trail signs, or simply stare at the mountains, so don’t take this metric as the time needed to hike a section. Elevation, weather, trail conditions, your fitness level, and health on the day itself will highly influence the time needed. That is also why I added Total duration (with breaks), that was the time it took us from the starting location to the finish location, all kinds of breaks and struggles included 😄

For reference, here’s the official itinerary with all 13 stages: 

Stage 1 | Schruns – Wormser Hütte | 10 km

Stage 2 | Wormser Hütte – Neue Heilbronner Hütte | 21 km

Stage 3 | Neue Heilbronner Hütte – Silvretta Bielerhöhe | 21 km

Stage 4 | Silvretta Bielerhöhe – Wiesbadener Hütte | 8 km

Stage 5 | Wiesbadener Hütte – Saarbrücker Hütte | 11 km

Stage 6 | Saarbrücker Hütte – Tübinger Hütte | 5 km

Stage 7 | Tübinger Hütte – Gargellen | 12 km

Stage 8 | Gargellen – Tilisunahütte | 10 km

Stage 9 | Tilisunahütte – Lindauer Hütte | 5 km

Stage 10 | Lindauer Hütte – Totalphütte | 11 km

Stage 11 | Totalphütte – Douglass Hütte | 3 km

Stage 12 | Douglass Hütte – Heinrich Hueter Hütte | 5 km

Stage 13 | Heinrich Hueter Hütte – Latschau / Schruns | 14 km / 18 km

We combined stages 4 & 5 and took one of the higher routes to Wiesbadener Hütte, then we combined stages 6 & 7, and stopped in Tübinger Hütte for lunch. Initially, we were supposed to combine stages 9, 10, 11 & 12 into one monster day as we did not get Lindauer Hütte, Totalphütte or Douglass Hütte. However, as the weather was supposed to be very bad that day, we did not find it sensible to continue. 

Accommodation

This trail is a hut-to-hut trek, and there is no way around it. It is not allowed to wild camp, and there are no campsites on the way. I booked the huts somewhere in April and only didn’t manage to get one hut that I wanted, so I’d say it’s definitely less popular than some of the well-known hut-to-hut hikes like the TMB or Alta Via 1.  Besides, the second half of the trail has quite some hut options as each stage is 2-3 hours and ends in a hut. If you, for any reason, cannot find accommodations listed in the official itinerary, check the area around. There are other huts/alps where you might be able to score a bed.

The overview below is a quick summary of all the accommodations I stayed at. One thing is certain – you’re in for a treat when you’re staying in Austrian mountain huts. 

Wormser Hütte

  • Food – great! Could choose from three main courses, also possible to have only one course (in case you don’t feel like half-board)
  • Facilities – hot showers available for a 1.9 euro fee. You get a token that gives you roughly 6 minutes of warm water. There’s even a hairdryer in the washing room. We got a 4-person room for the two of us, the perks of hiking in bad weather. There was an electricity plug in the room 👌
  • Payment – card

Neue Heilbronner Hütte

  • Food – excellent! This was Edo’s favourite hut food-wise. We could choose either half board or dishes from the menu, and we went for the latter as we didn’t feel like having 3 courses (we had a huge bowl of soup once we arrived).
  • Facilities – the hut felt very new, all the facilities were great, and everything was very clean and modern. We had a hot shower for free, and there was a hairdryer in the washing room. We had a 6-person room in a so-called lager area, and again, it was just the two of us. Plenty of electricity plugs in the room.
  • Payment – card

Madlenerhaus

  • Food – again, great food, Austria knows how to feed hungry hikers. We had half board (not sure if there’s a menu option) with a 4-course menu. I gave most of my main course to Edo, just could not eat anymore – portions are generous.
  • Facilities – the washing room looked very new, there were hairdryers, hot shower costs 3.5 euros per 5 minutes. We had a double room with a sink and towels in the room, so we felt like in a mini hotel. Well, it was also a lot pricier than the huts.
  • Payment – cash only

Saarbrücker Hütte

  • Food – excellent. You can choose either half board or a smaller menu, and we went for the half-board. We had three courses, and each of them was very good. For very hungry hikers, the staff would also offer extra refills, so you will not leave the table hungry!
  • Facilities – maybe a bit less chic compared to other huts (e.g., no hairdryer, I got spoiled, yes…), but all the facilities were good. For a hot shower, you need to pay; a cold shower is free. I recall it was 3 euros for 4 minutes. We slept in a 3-person room just the two of us, how lucky again!
  • Payment – only cash

Pension Edelweiss

No hut today, but a great hotel – pension Edelweiss. Comfy bed and good breakfast, what else does a hiker need, right? Oh, and a warm shower for ourselves!

Tilisuna Hütte

  • Food – great, I liked both lunch and dinner options. They also serve great coffee as part of the lunch, pre-dinner menu. We went for a half-board and could choose from a meat or a vegetarian main dish. Breakfast was very generous for hut standards, we even had two warm dishes – omelette and porridge. 
  • Facilities – as I understood, there are no double rooms in this hut. We got a 4-person room, and this time had to share it with another couple. A hot shower costs 1 euro per 1 minute, the machine is in the shower cabin, so you can easily decide how long you want to go. I liked the fact that there were shower cabins instead of a very open shower in the washing area (I had that in some of the other huts). Everything also seemed rather new.
  • Payment – card or cash.

Our accommocadation in Schruns - Auhof

Honorary mention – our hotel in Schruns. We stayed in the same hotel as it was handier with our car – we could leave it at the hotel parking. Besides being very comfy and generous with breakfast, this hotel was a lifesaver. When we had to change our hiking plans, we were able to move our return stay by one day earlier, and once we arrived at the hotel, soaking wet, we could check in early.

Hence, highly recommended! Sadly, I forgot to take any pictures of the inside. I was too focused on getting into a warm shower 😊

Gear

We had rather light backpacks as we stayed in mountain refuges and didn’t need camping gear. I did have a little panic the night before the hike, as the weather predictions were grim, and so I took a few extra items. My base weight was roughly 5.1kg. Likely it was a tad lighter as I wore my rain gear most of the days, yeeeey. You can find the full gear list on my LighterPack page, where I store my hiking gear lists from different trips. Here’s a rough summary:

Collected some mug during the rainy days

3 new items I tried on this hike:

  1. Poncho. I had this cheap plastic poncho for ages, and only during this hike did I decide to take it with me. And it was such a win! Not only did it keep my backpack dry-ish during the pouring rain, but also my jacket would last longer before giving in (that happens eventually during a heavy rain day). While on its own, the poncho is rather wide and flappy, I put a knot at the front to be able to move without the poncho getting in my way. Mind you, this does not replace the rain gear; I still wore rain pants and a rain jacket. 
  2. Umbrella. I’ve seen fellow American hikers using umbrellas extensively, either for heat or rain protection, so I took an umbrella as an impulse item at the last moment before the start. While I used it a bit, I’m not sure it was worth the weight (>200g is heavy to me). If this hike had more valley walks, then definitely an umbrella might have been handy in bad weather. In the mountains, I just could not combine it with hiking sticks, plus the poncho was taking most of the rain toll already. 
  3. Knee-length socks. Originally, I got those for running, but since I like hiking in shorts, I took longer than usual socks for chillier days. It worked great! If the weather turned sour, I could easily put rain pants over the shorts and the socks would keep my legs warm. Besides, they were the ones collecting the mud and protecting my legs from any other trail obstacles, e.g. rocks or nettles.  

Budget

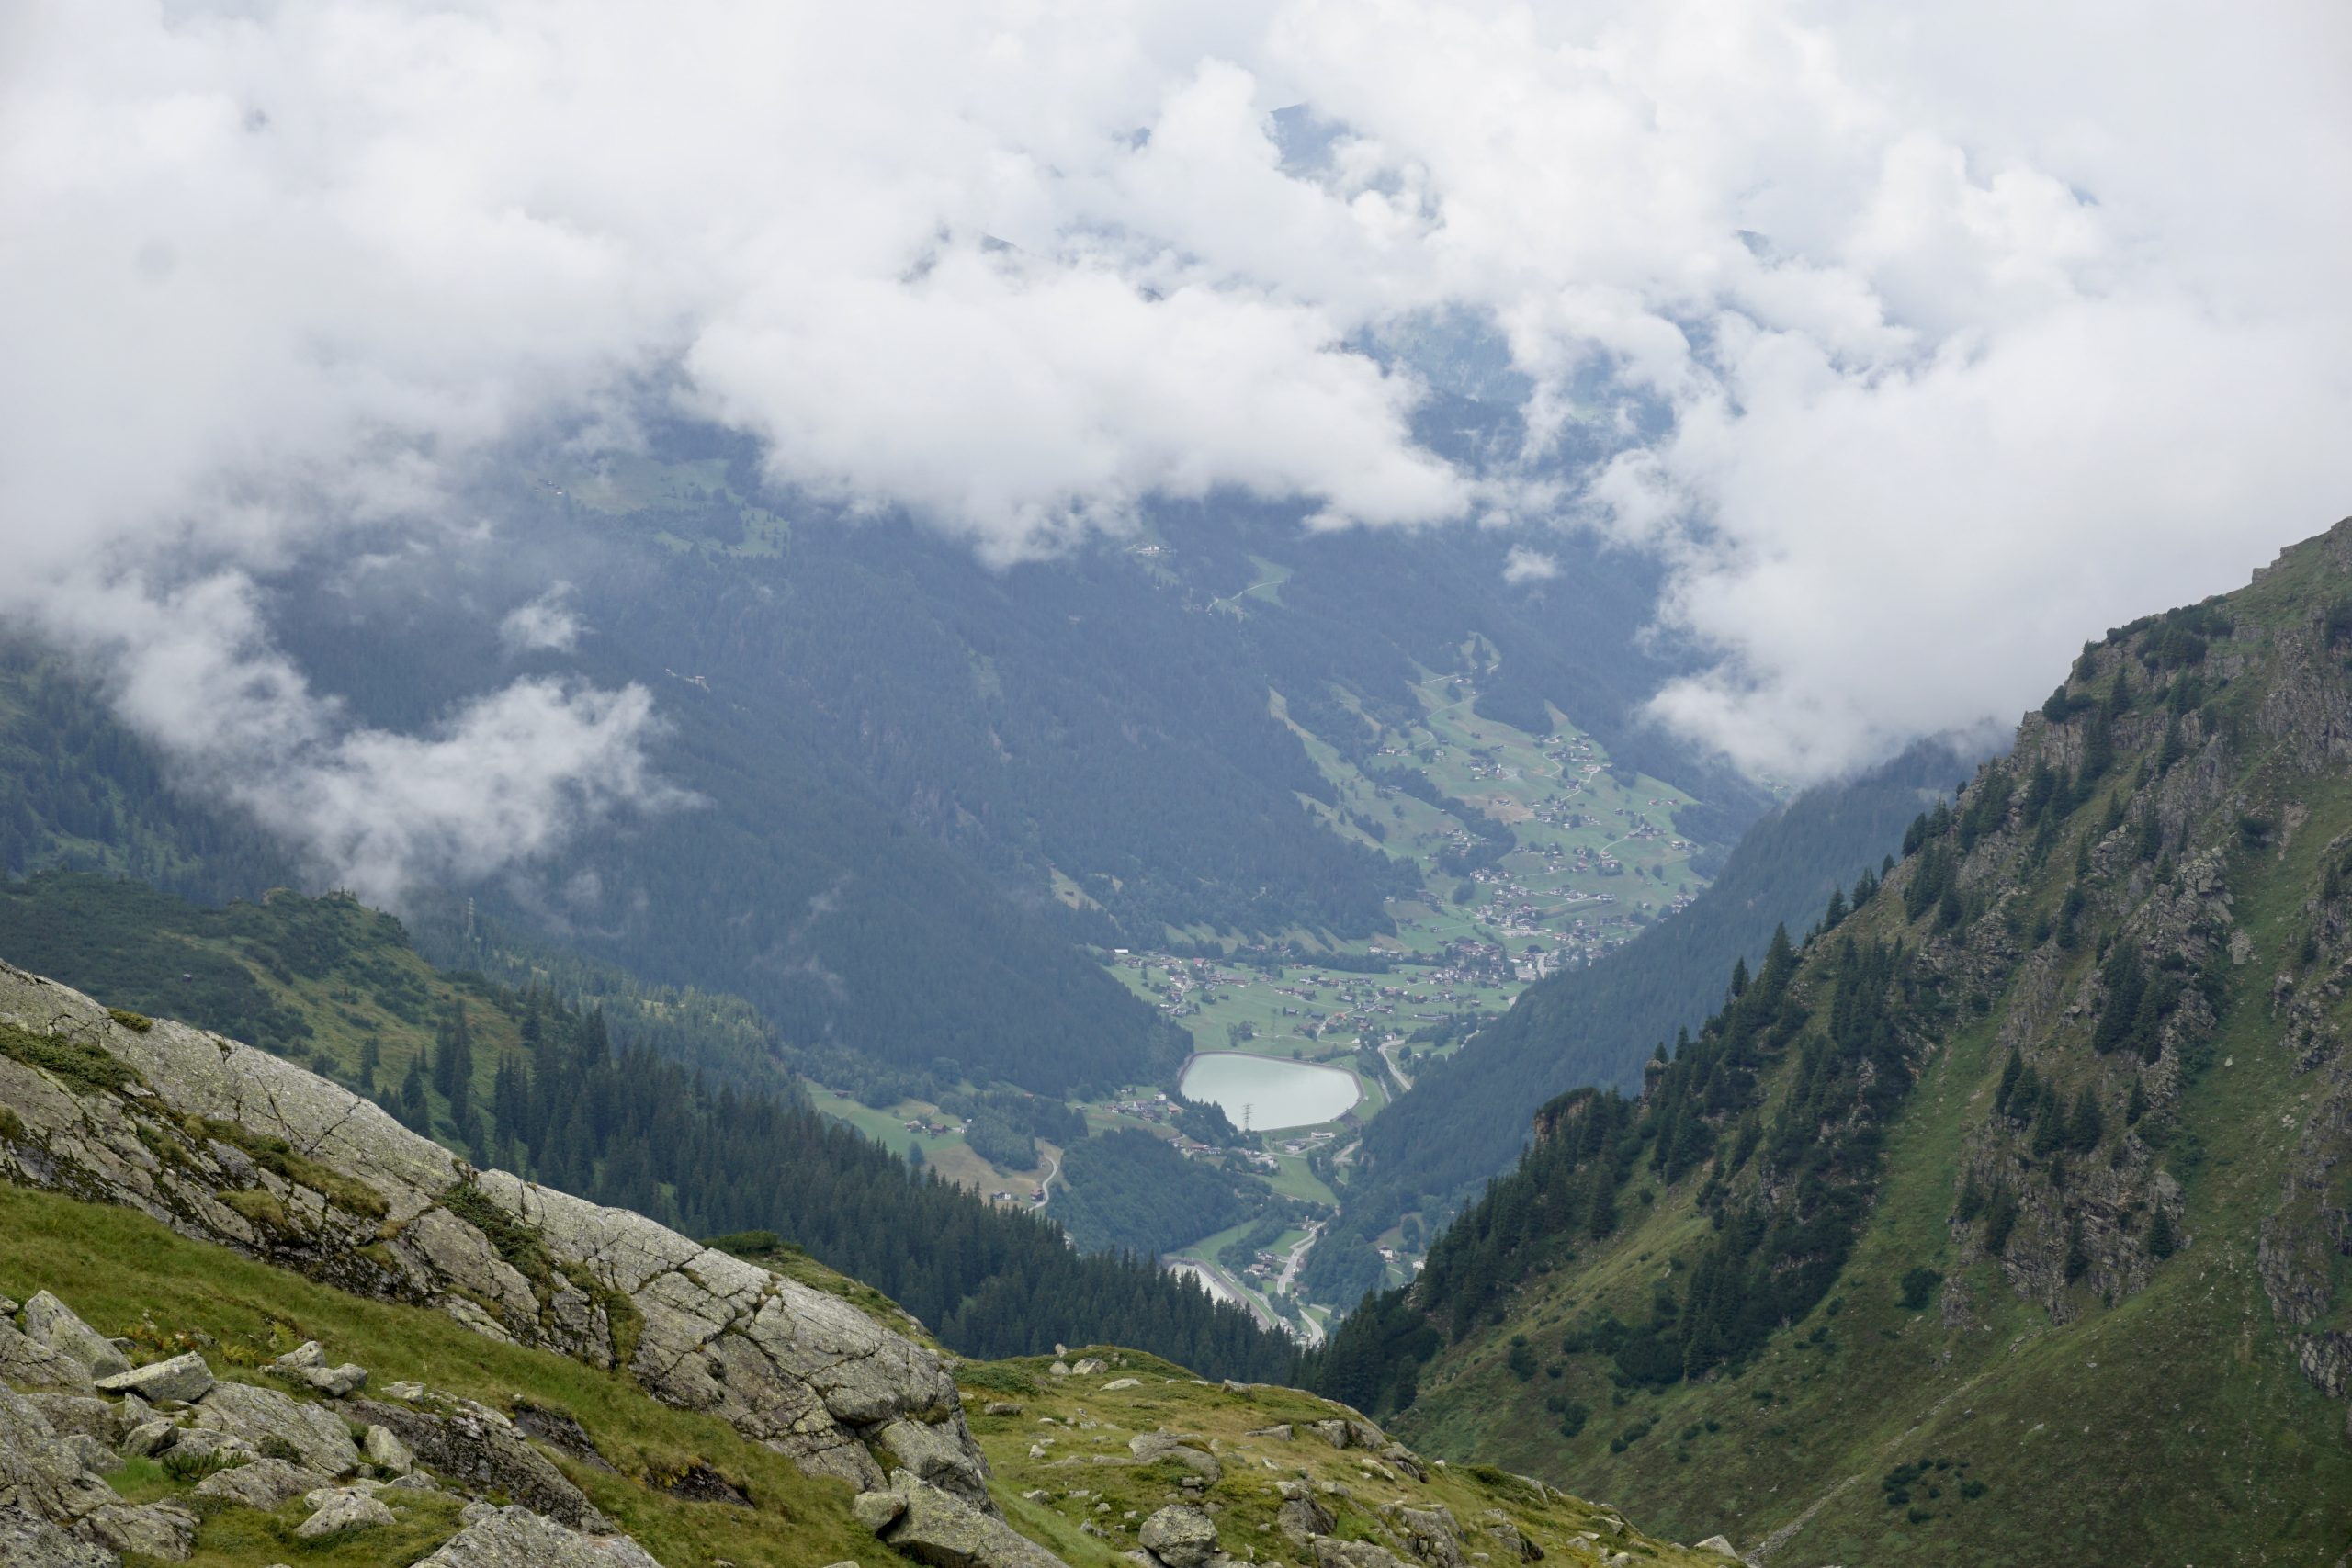
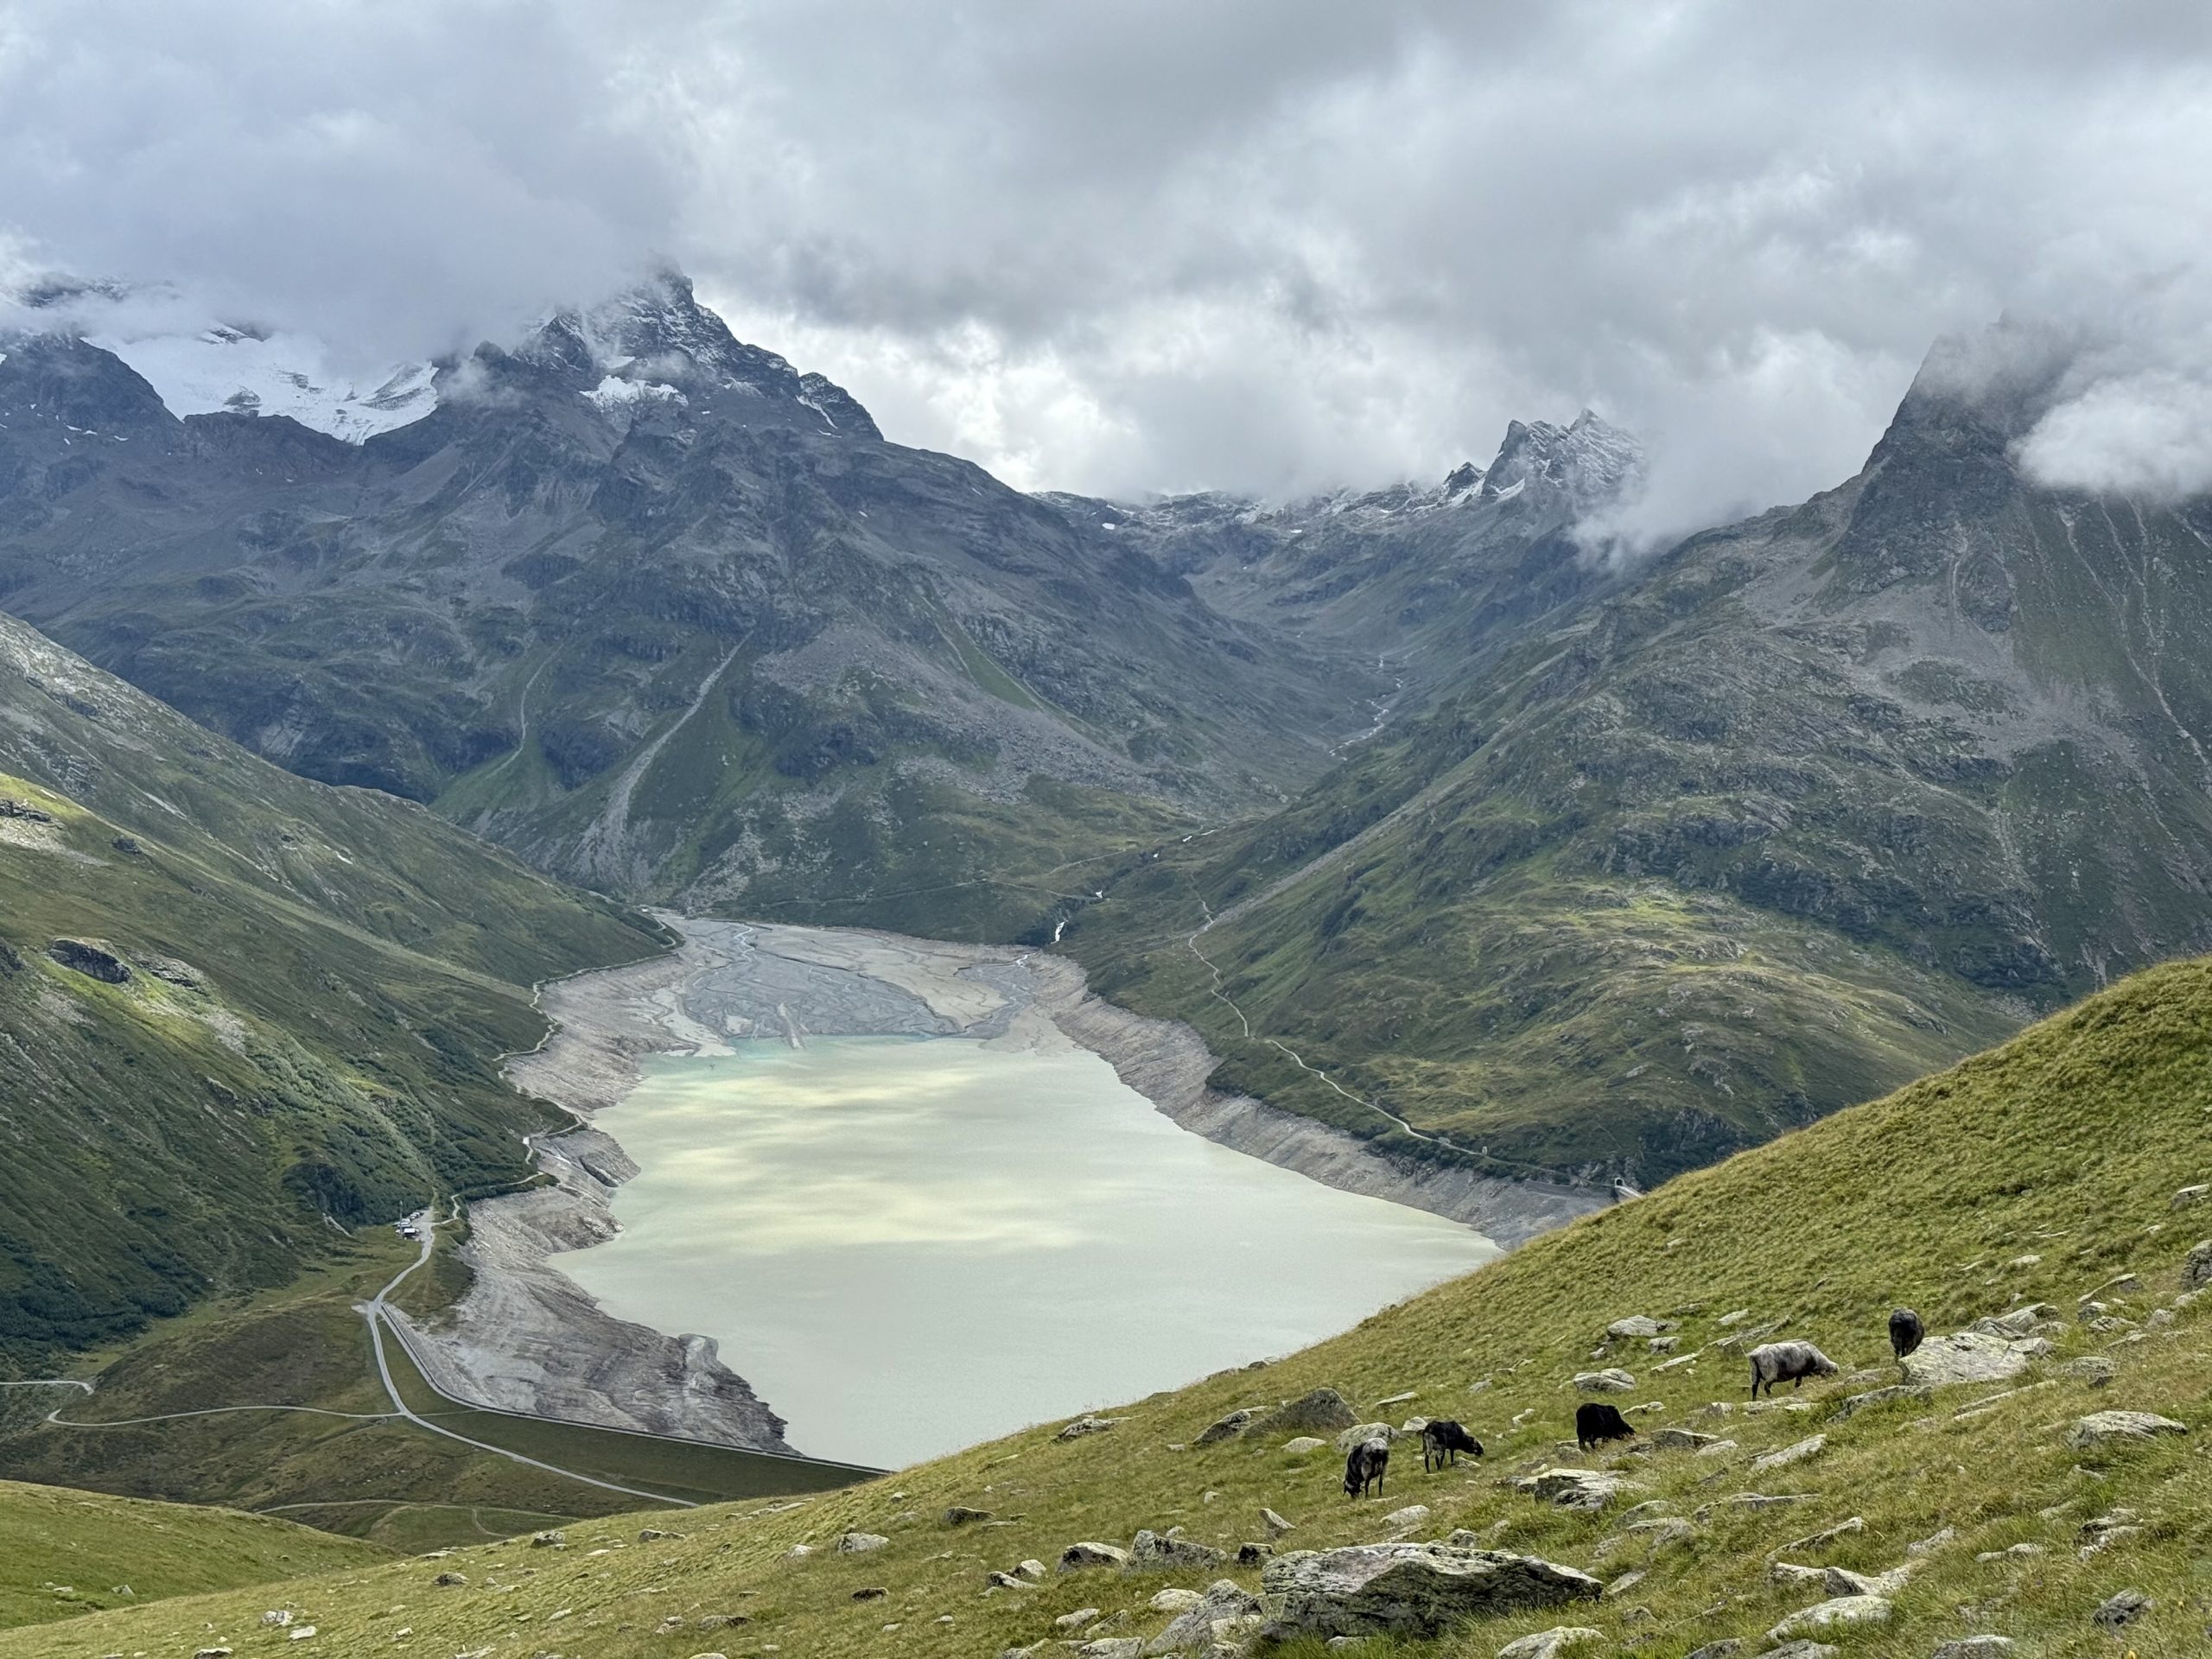
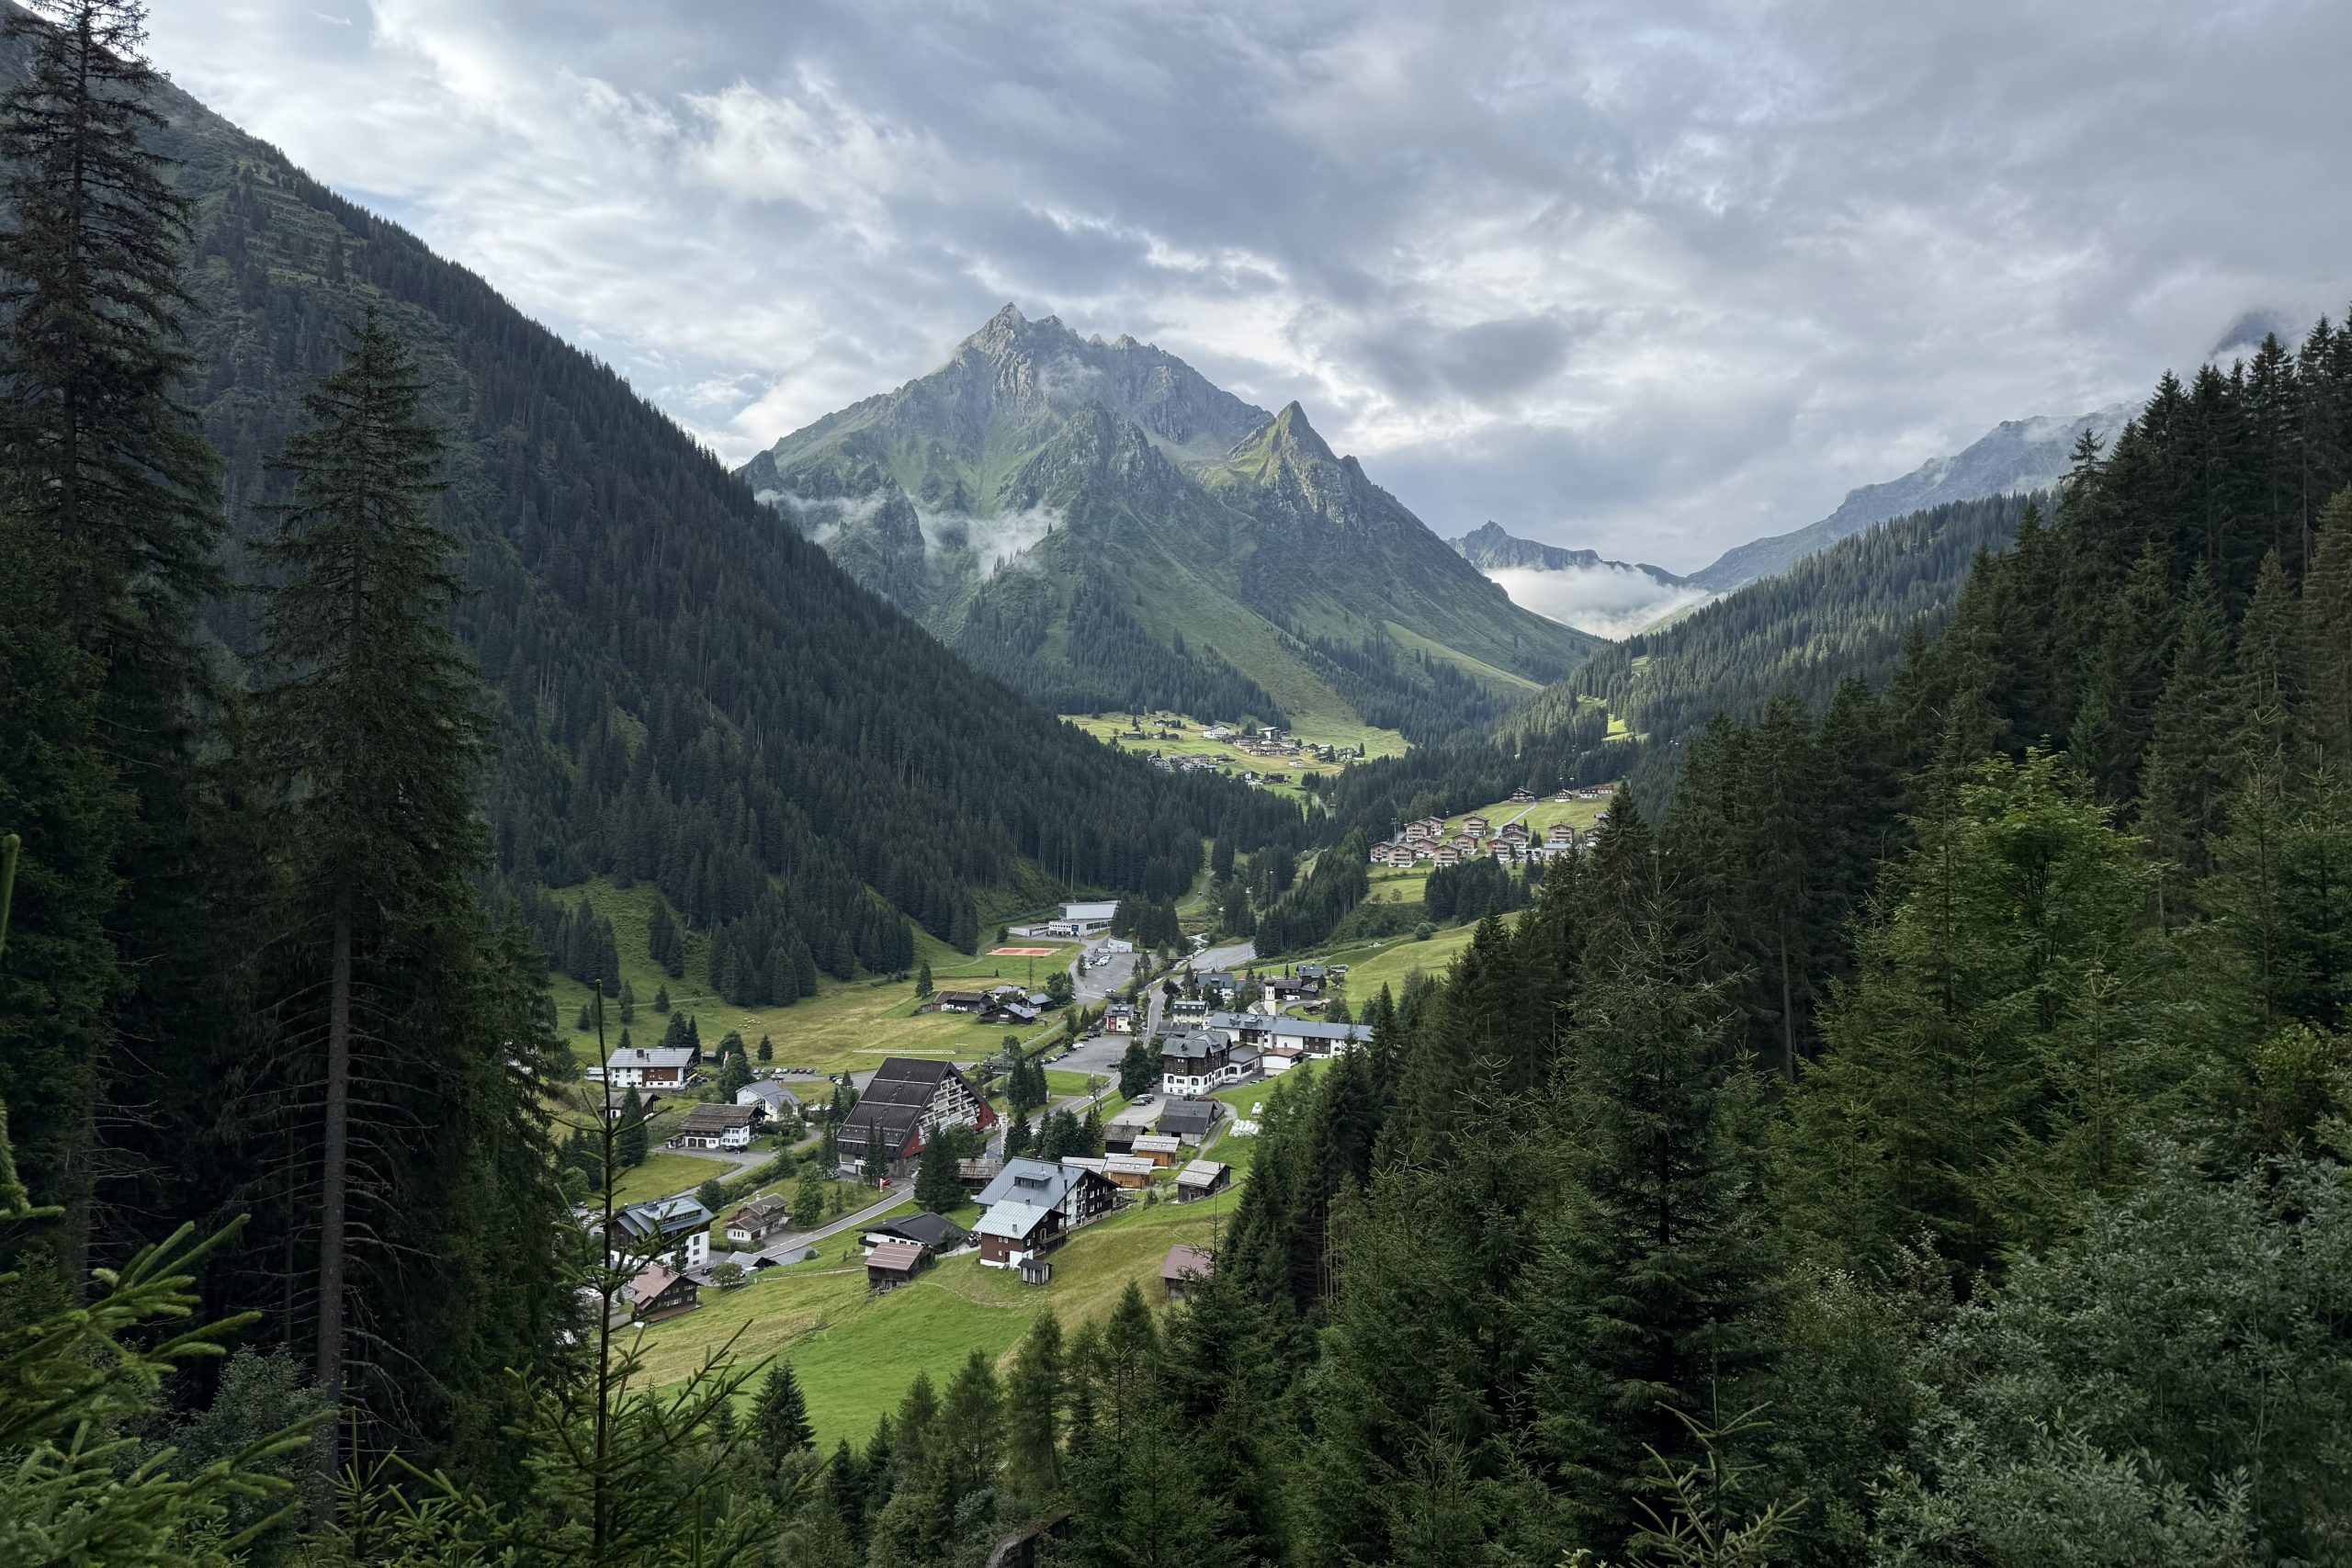
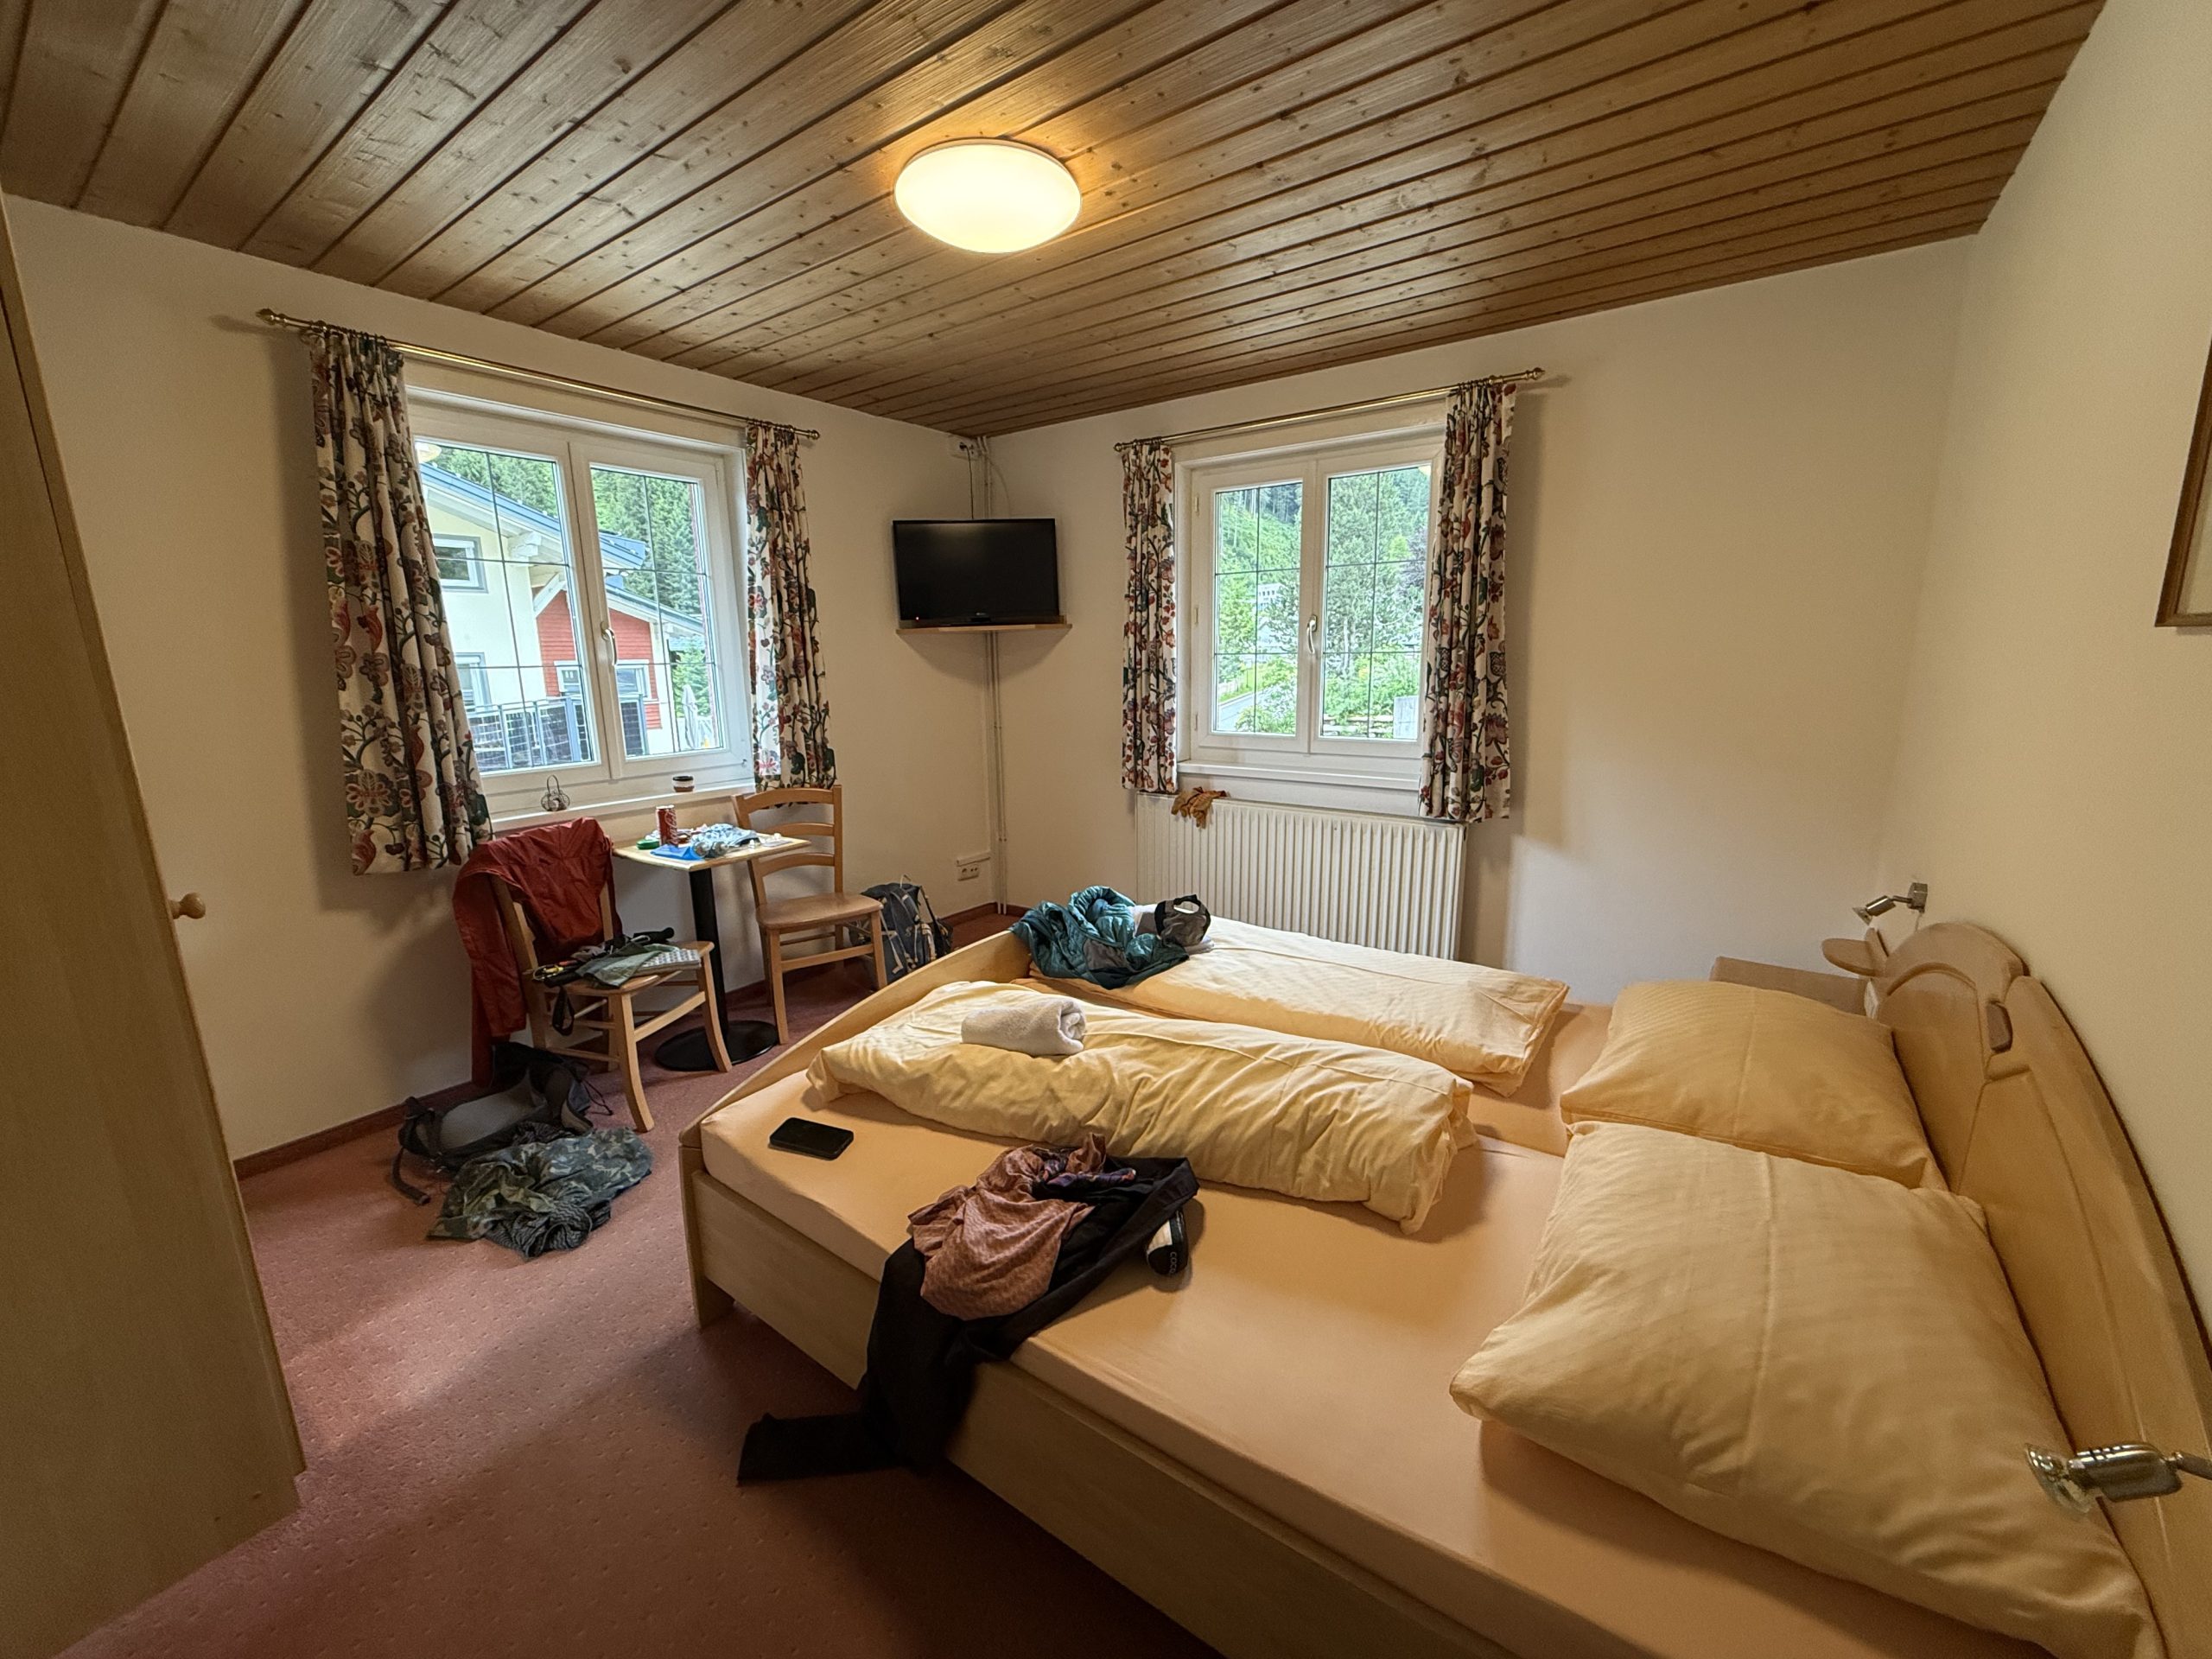
In total, for this trip (two people) we've spent roughly 1700 Eur. The costs include not only the hiking days but also two days in Schruns (before and after the hike).
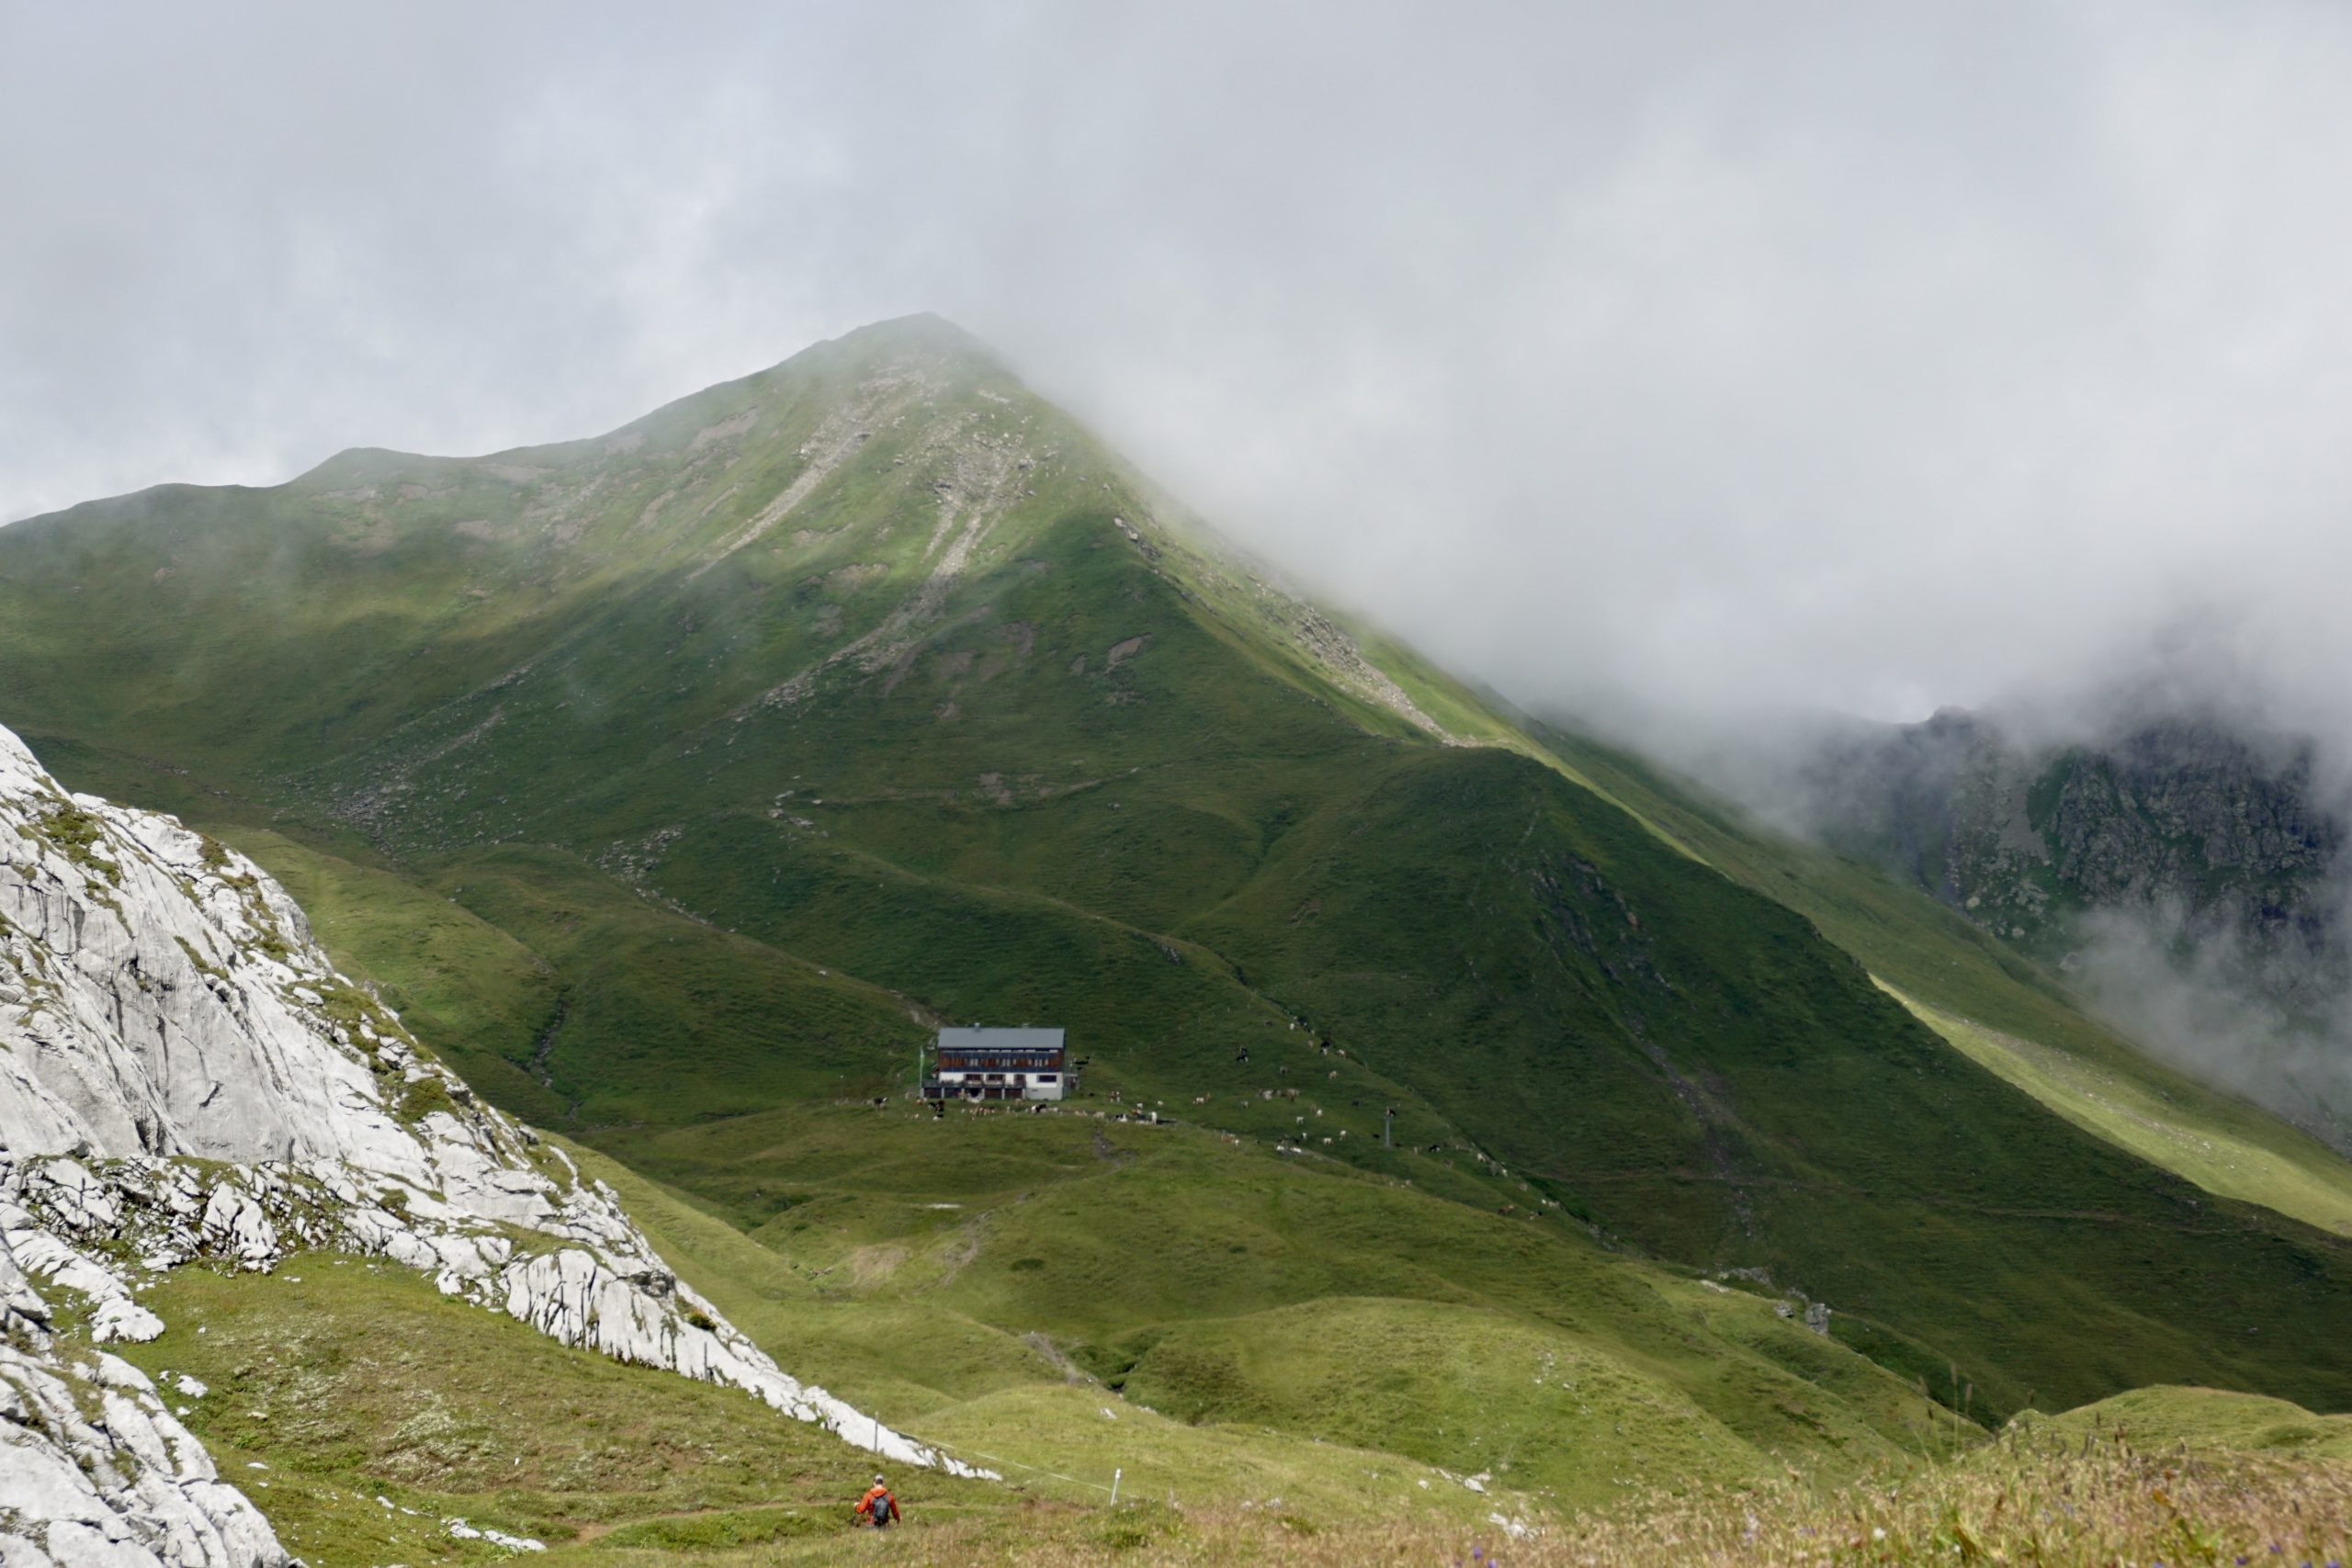
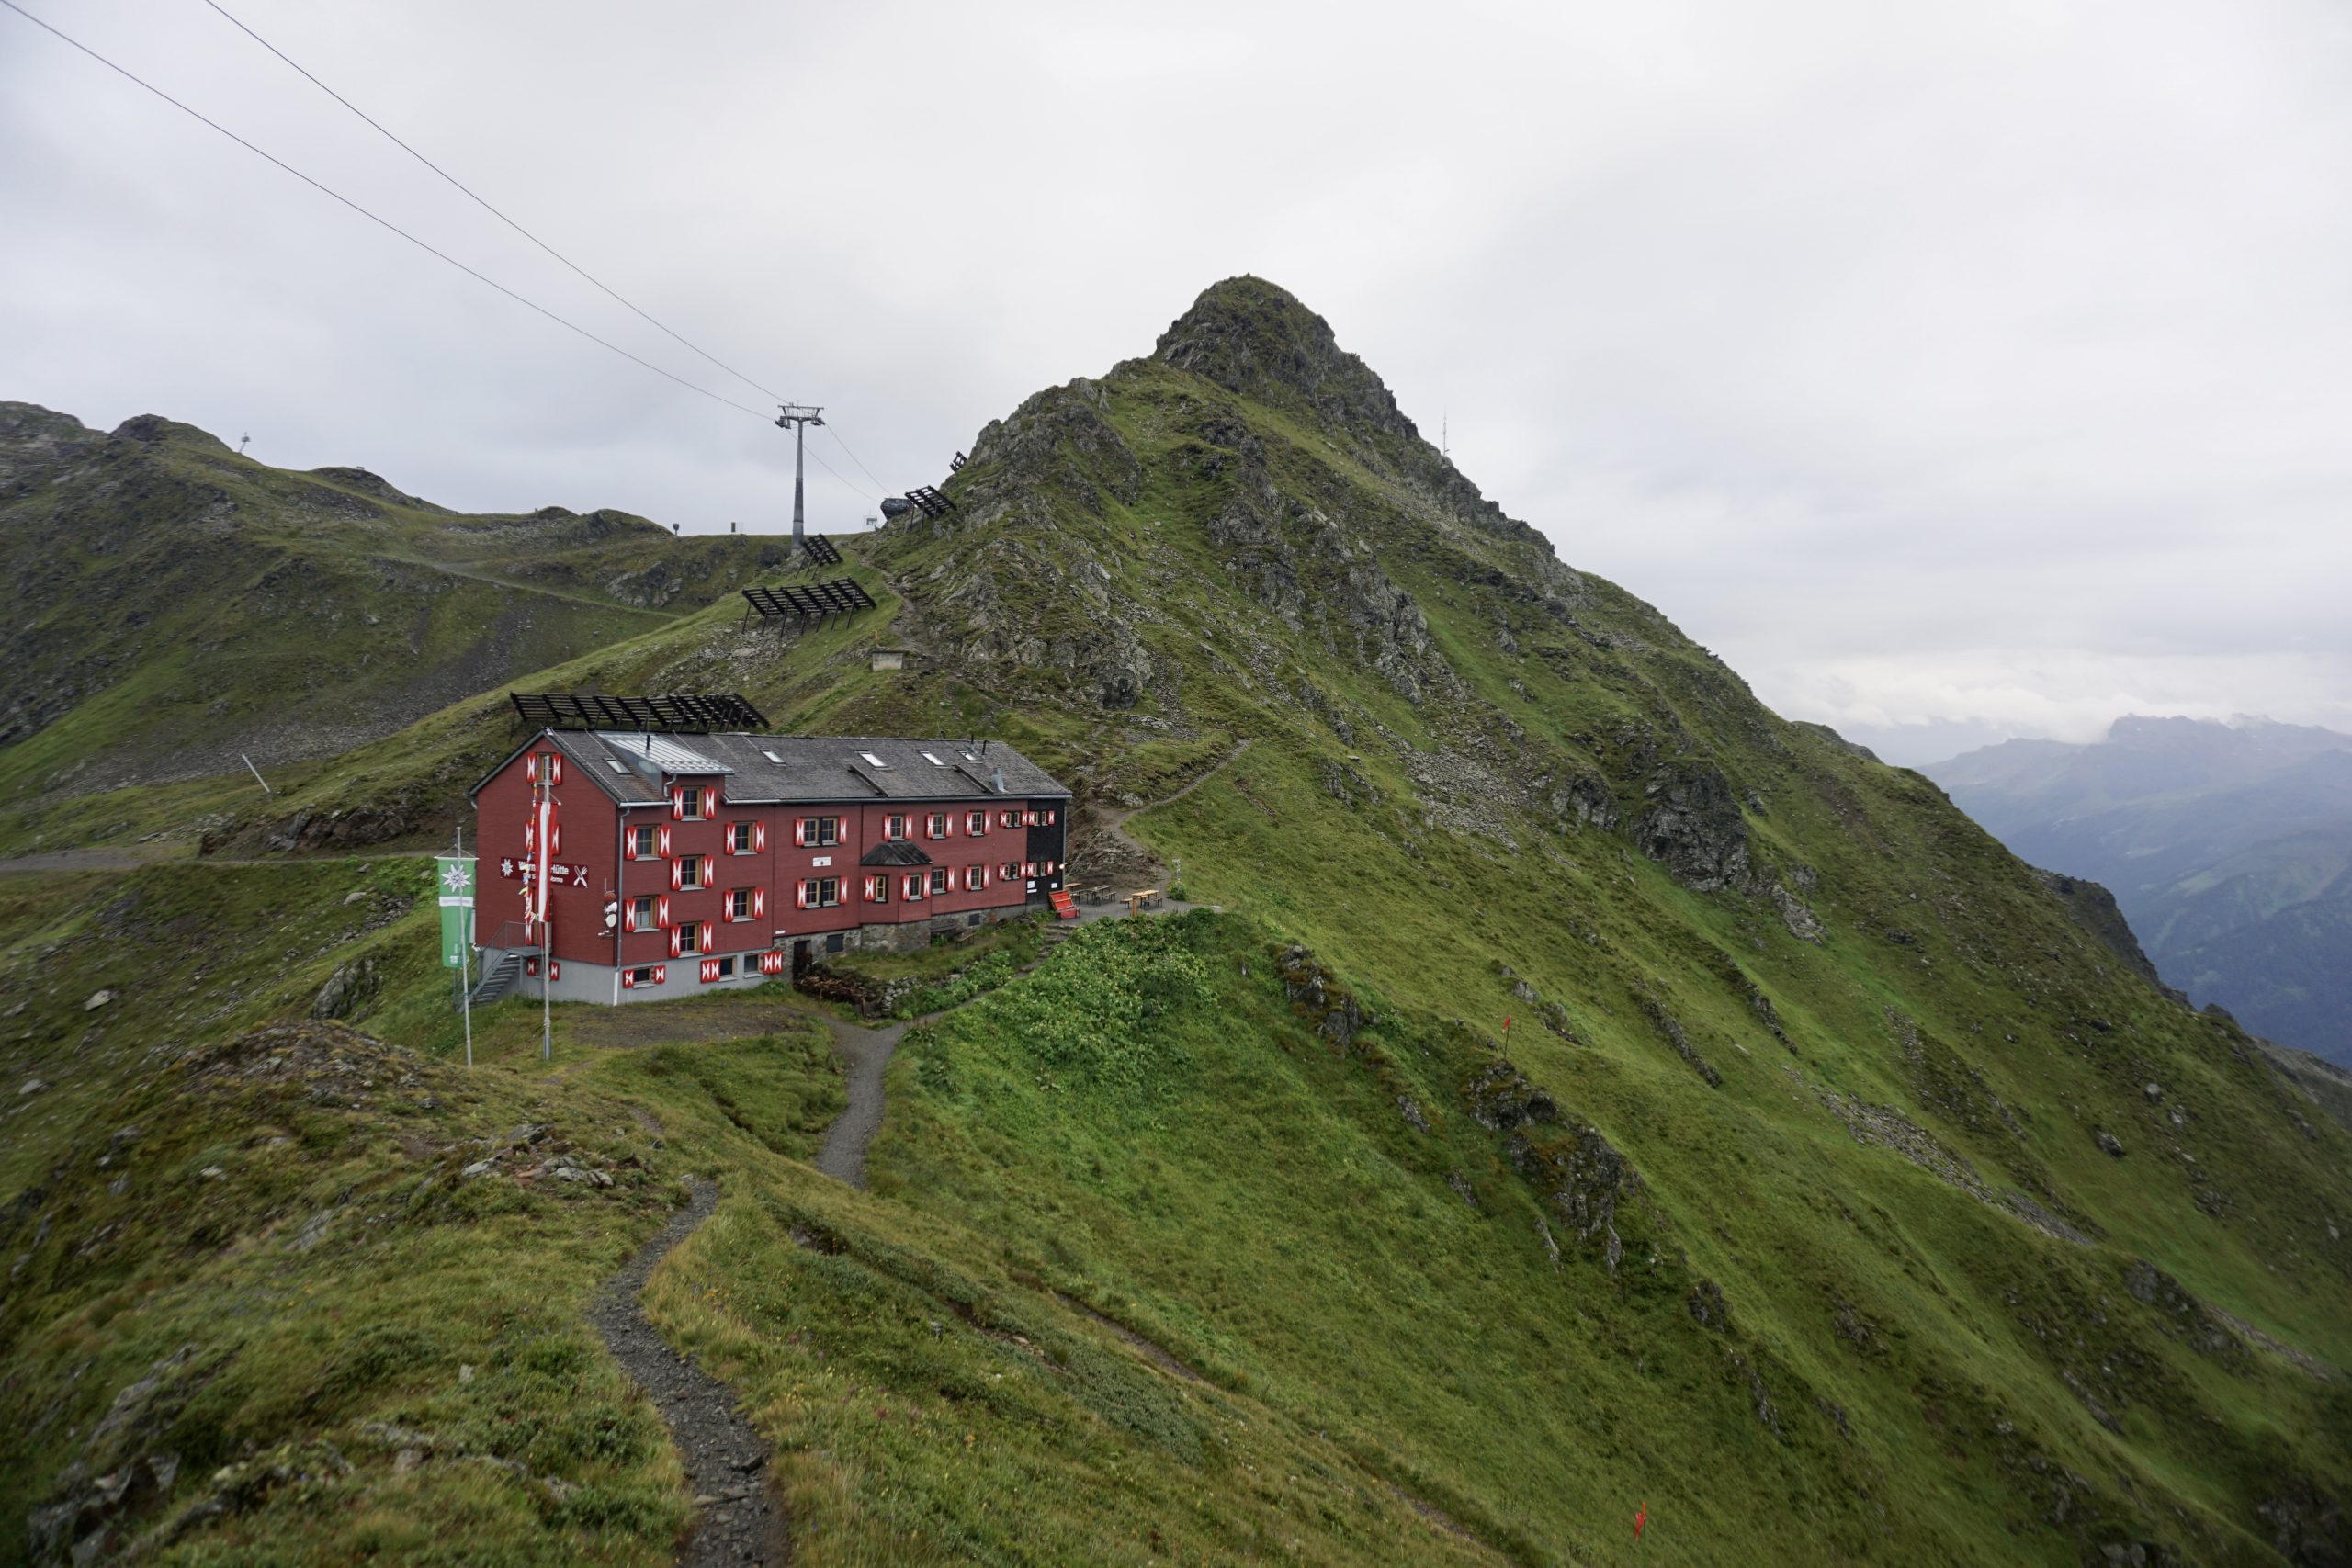
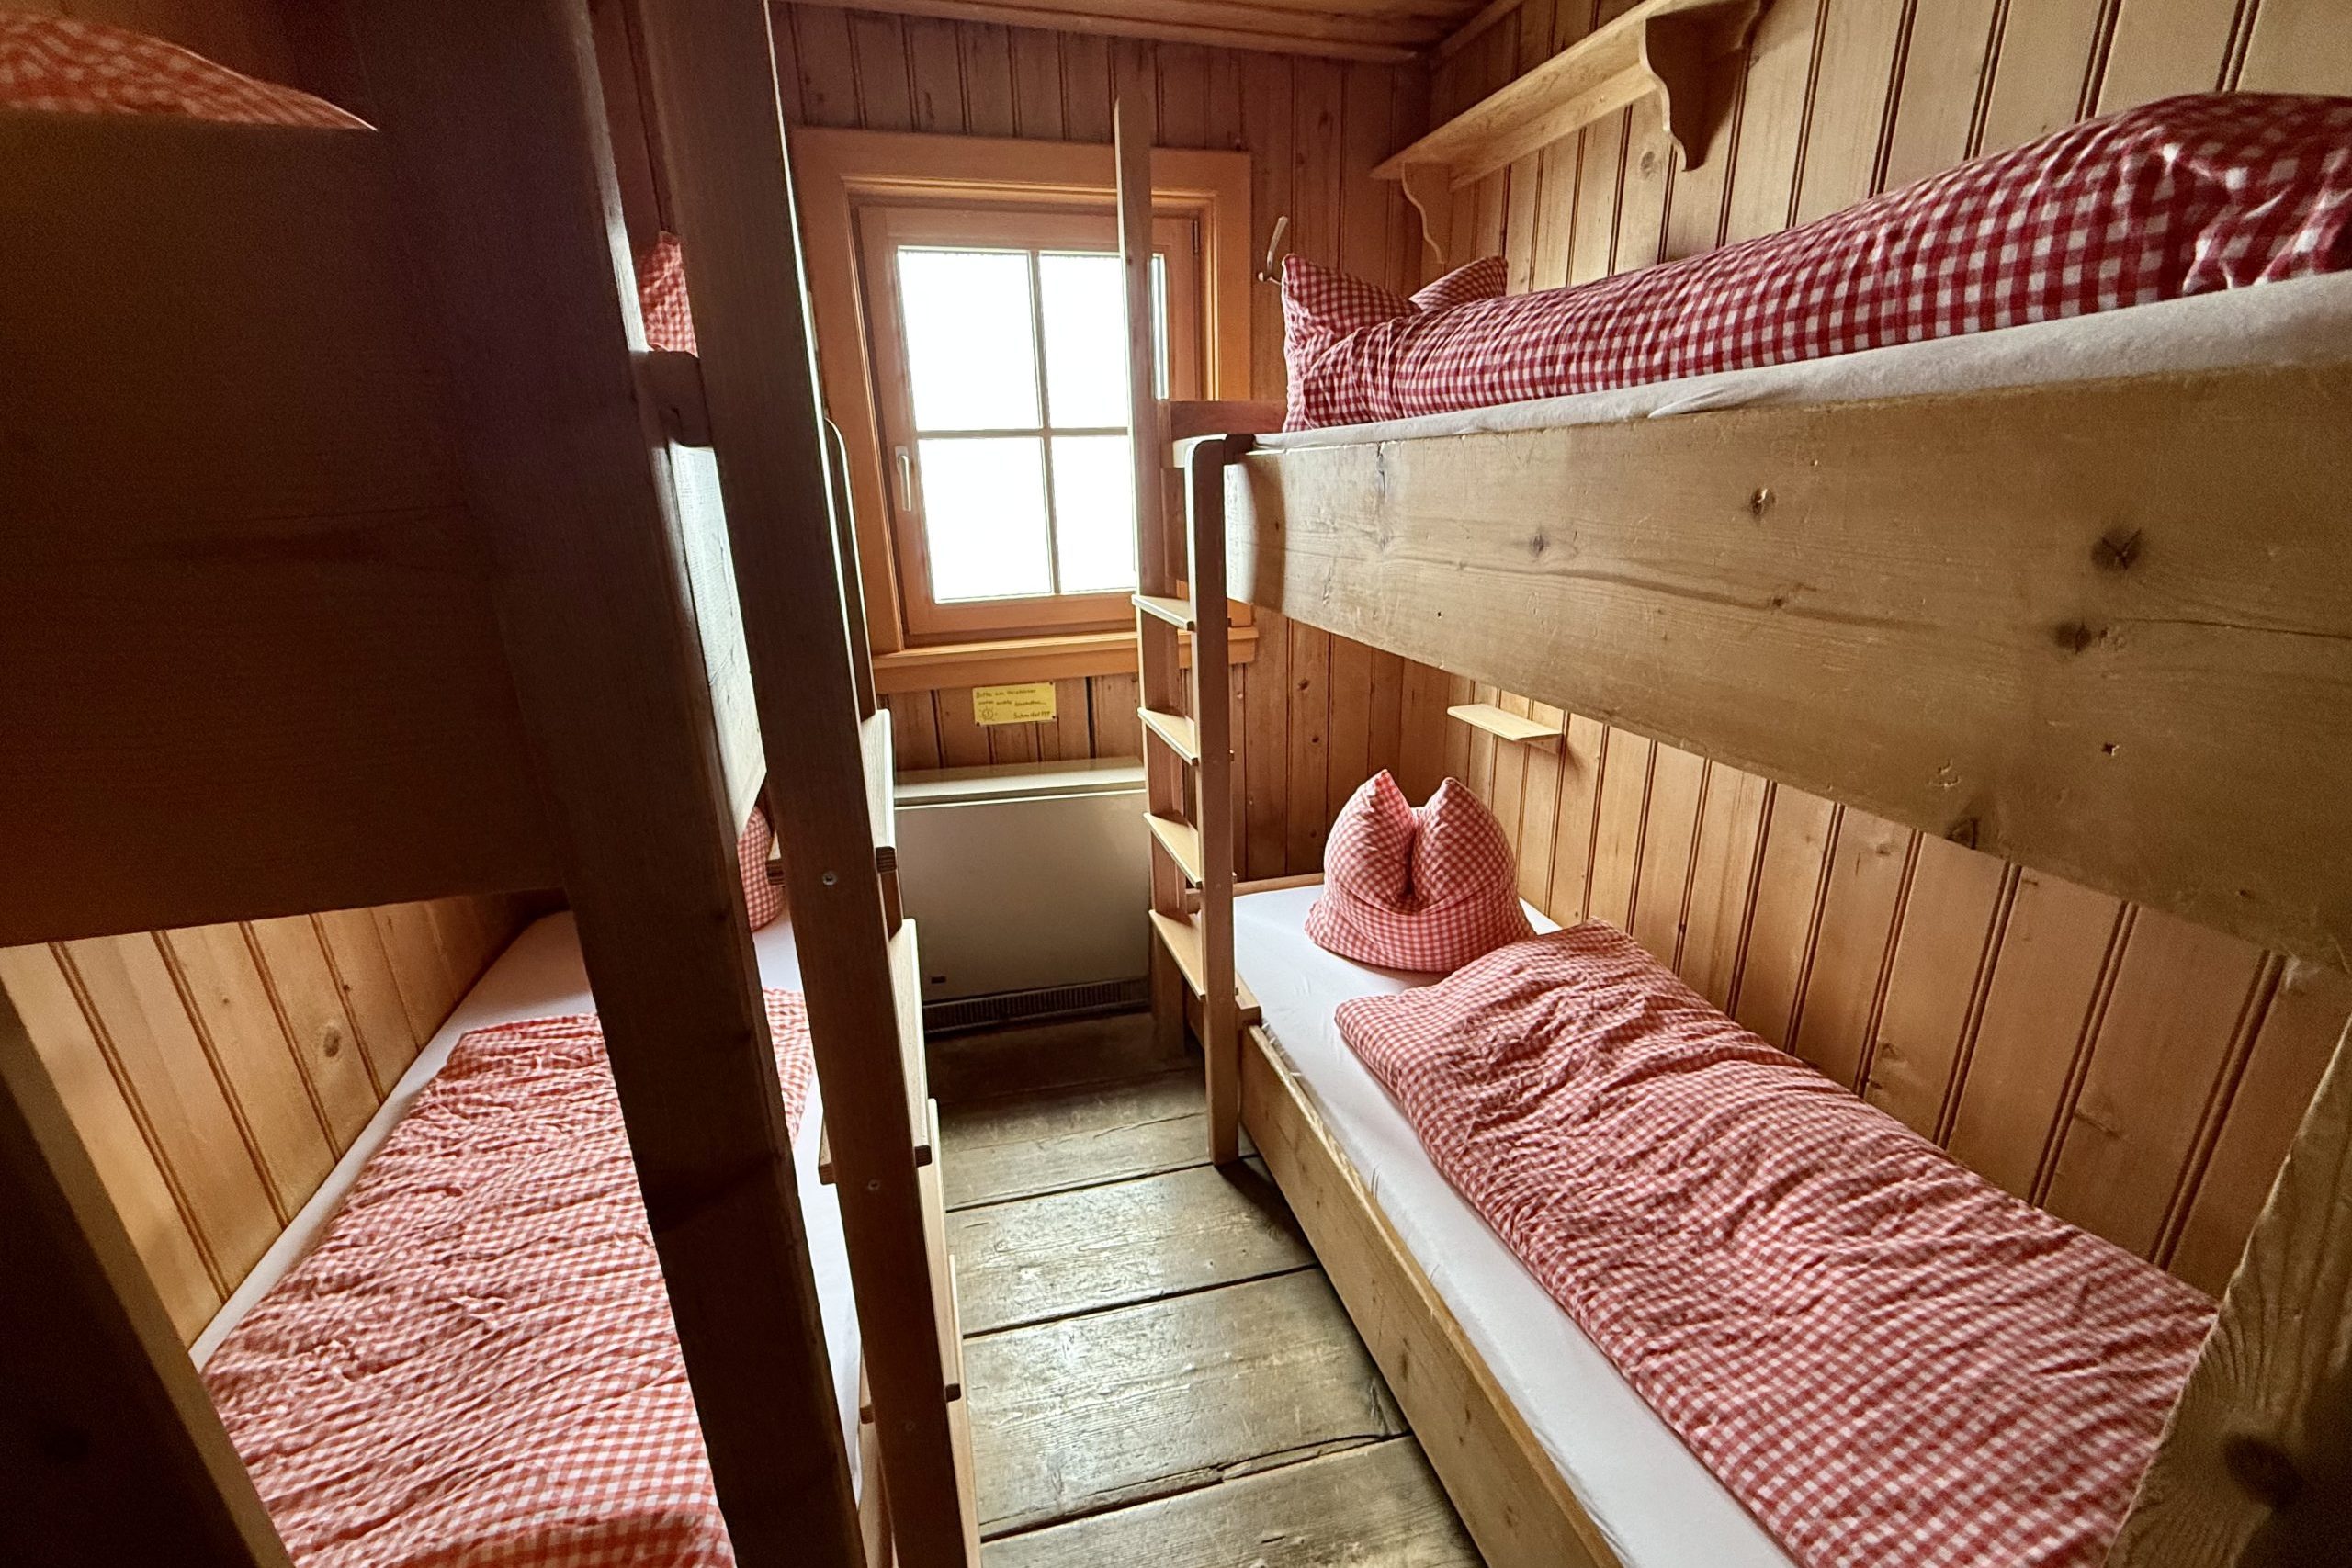
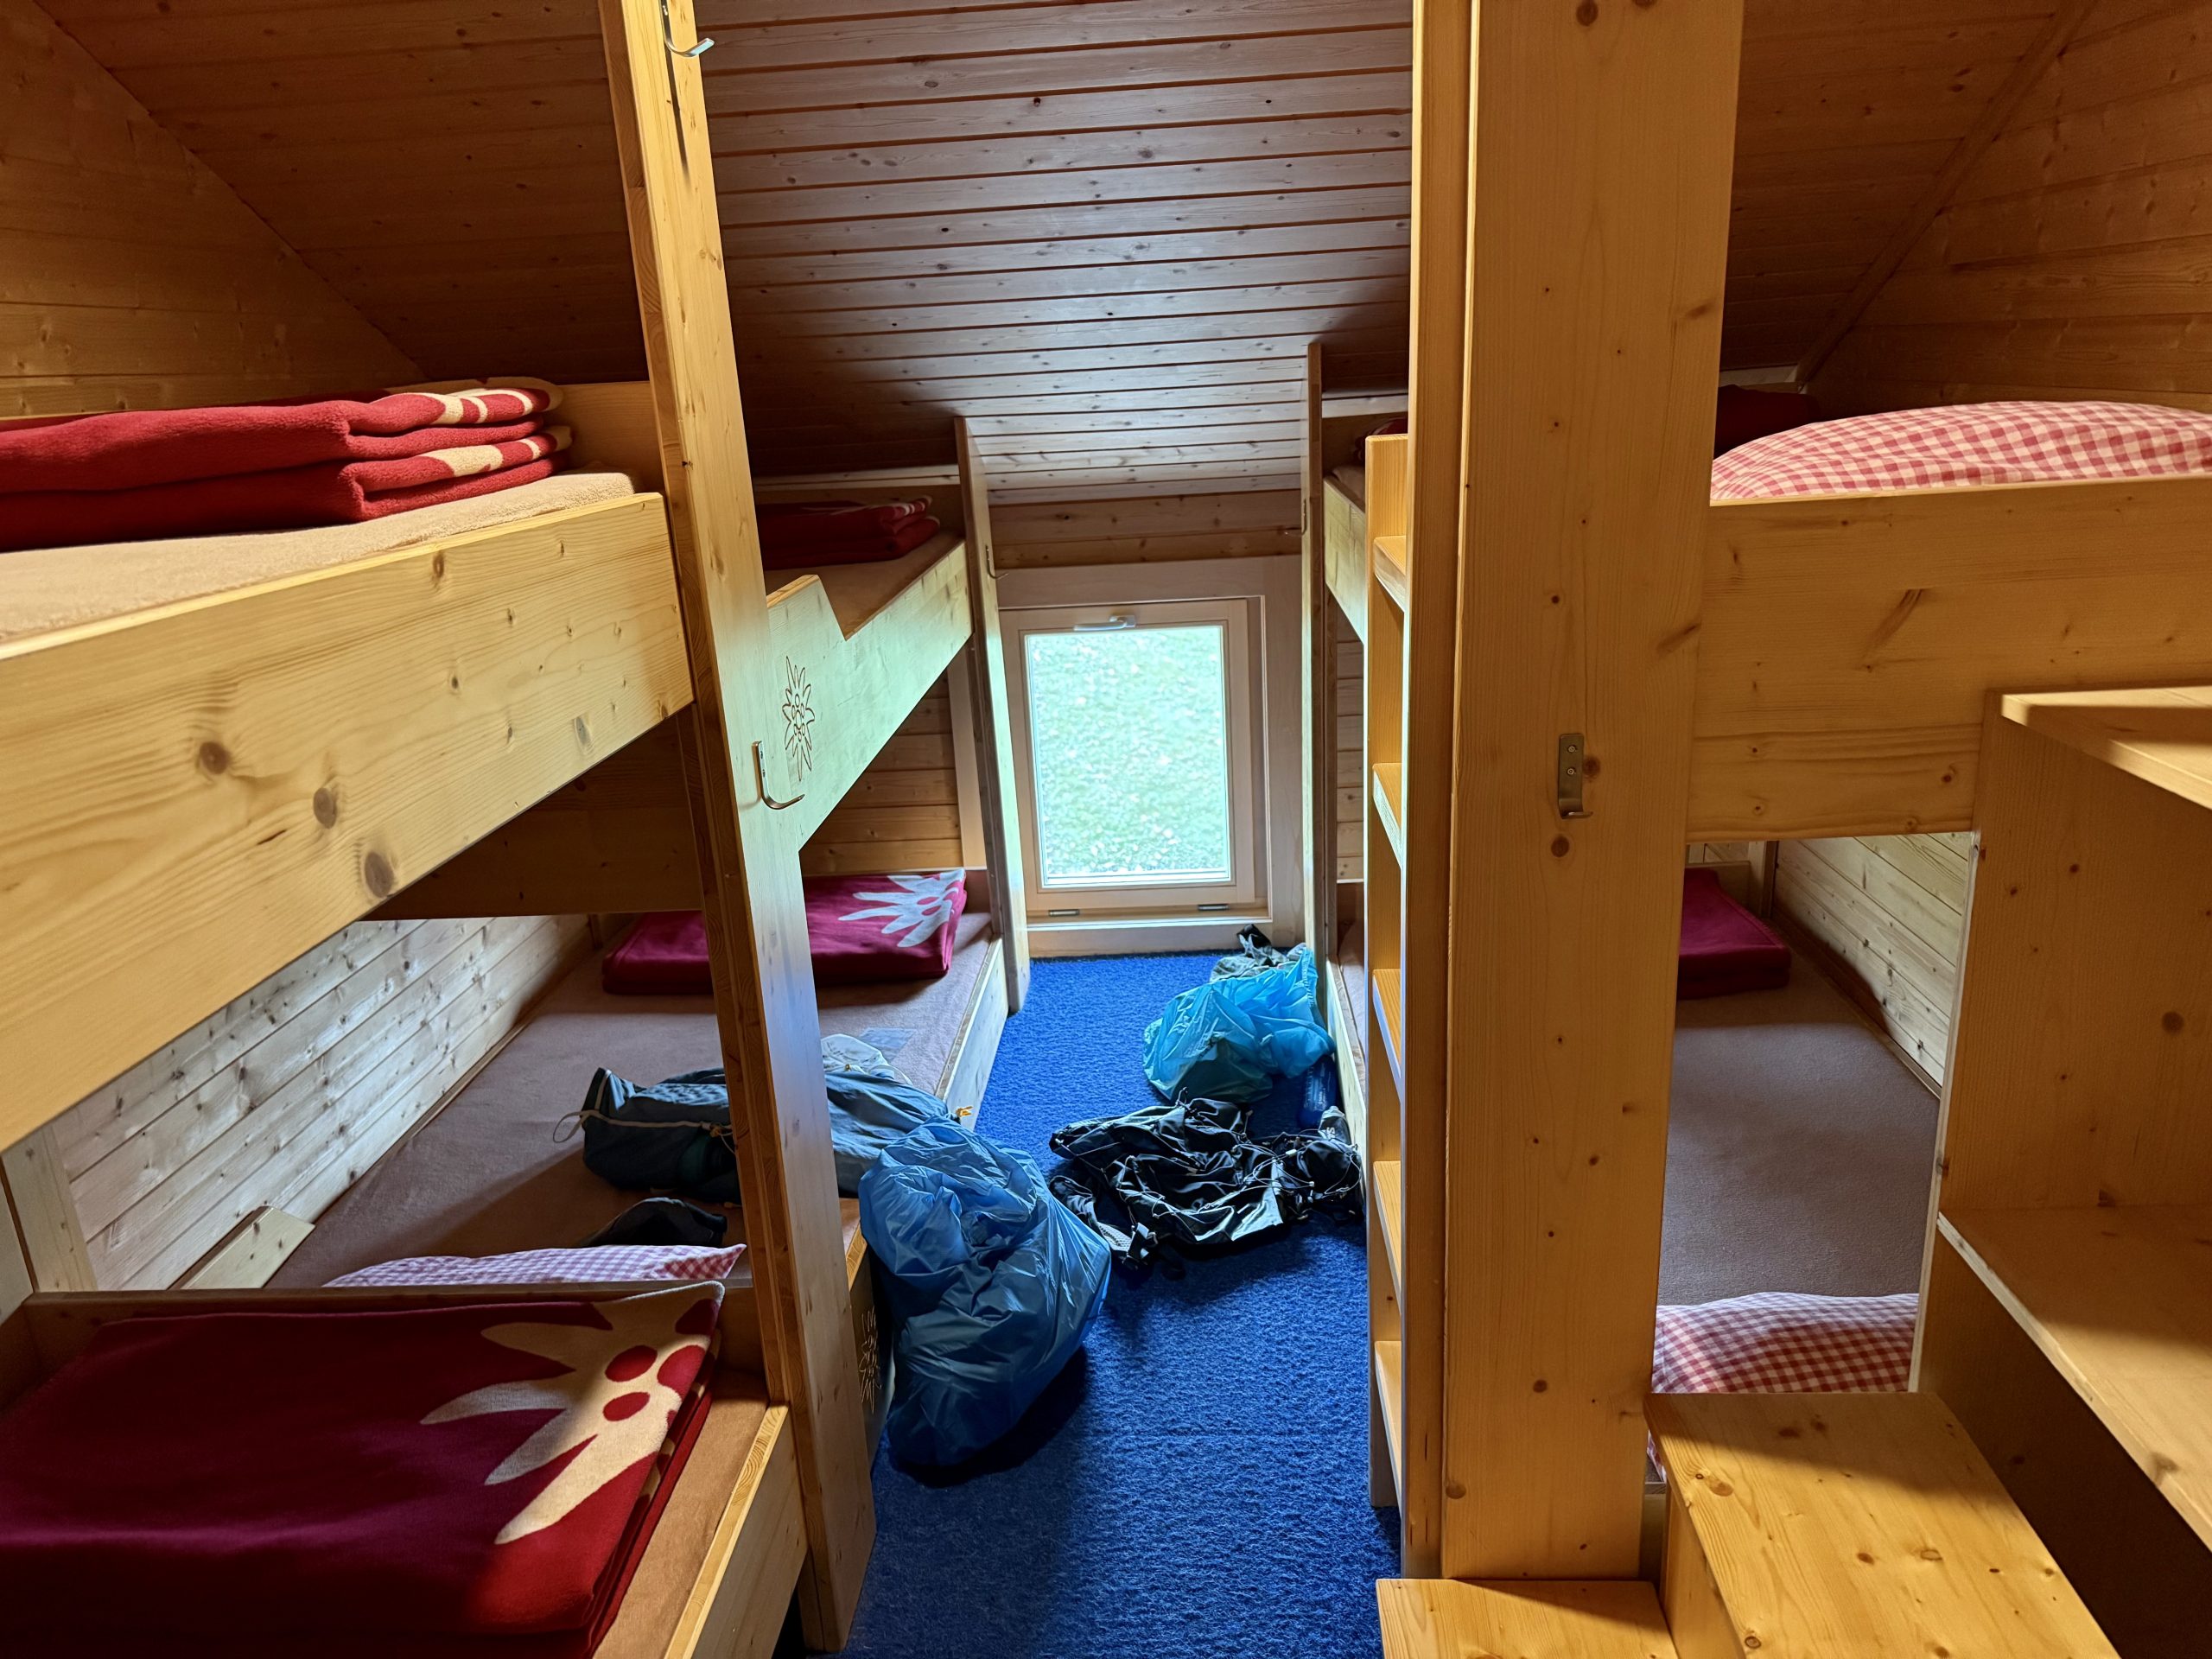
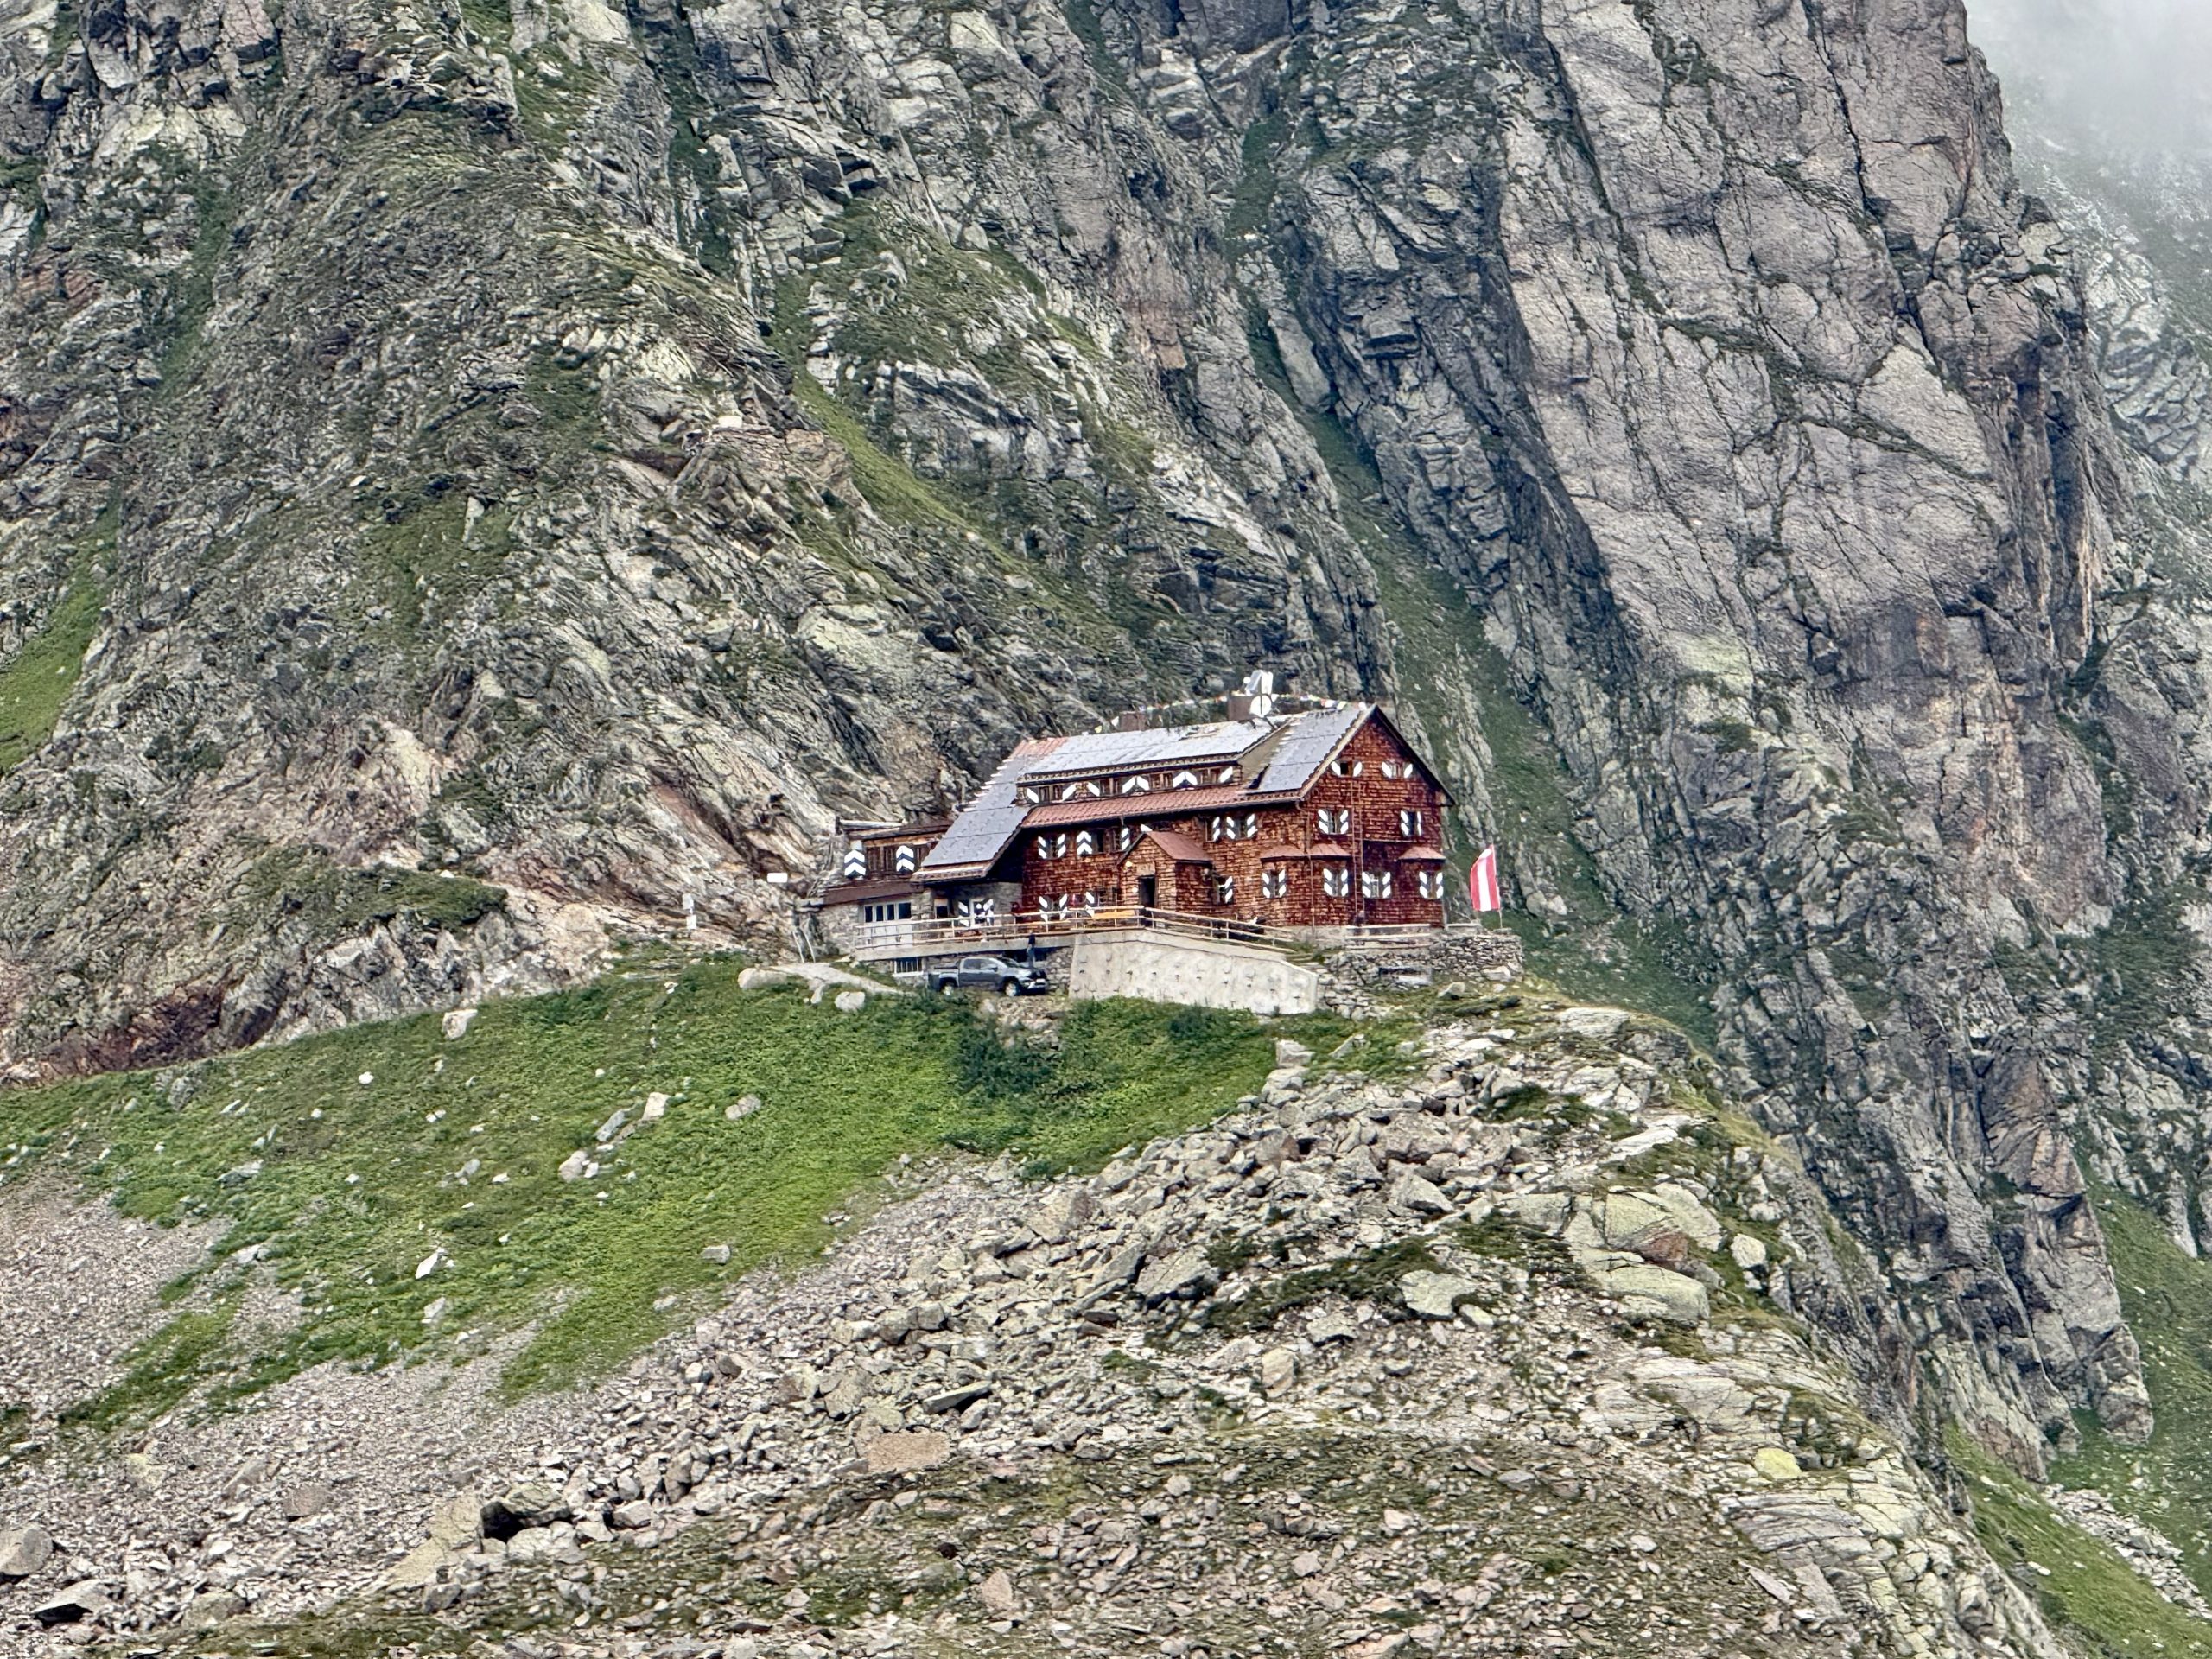
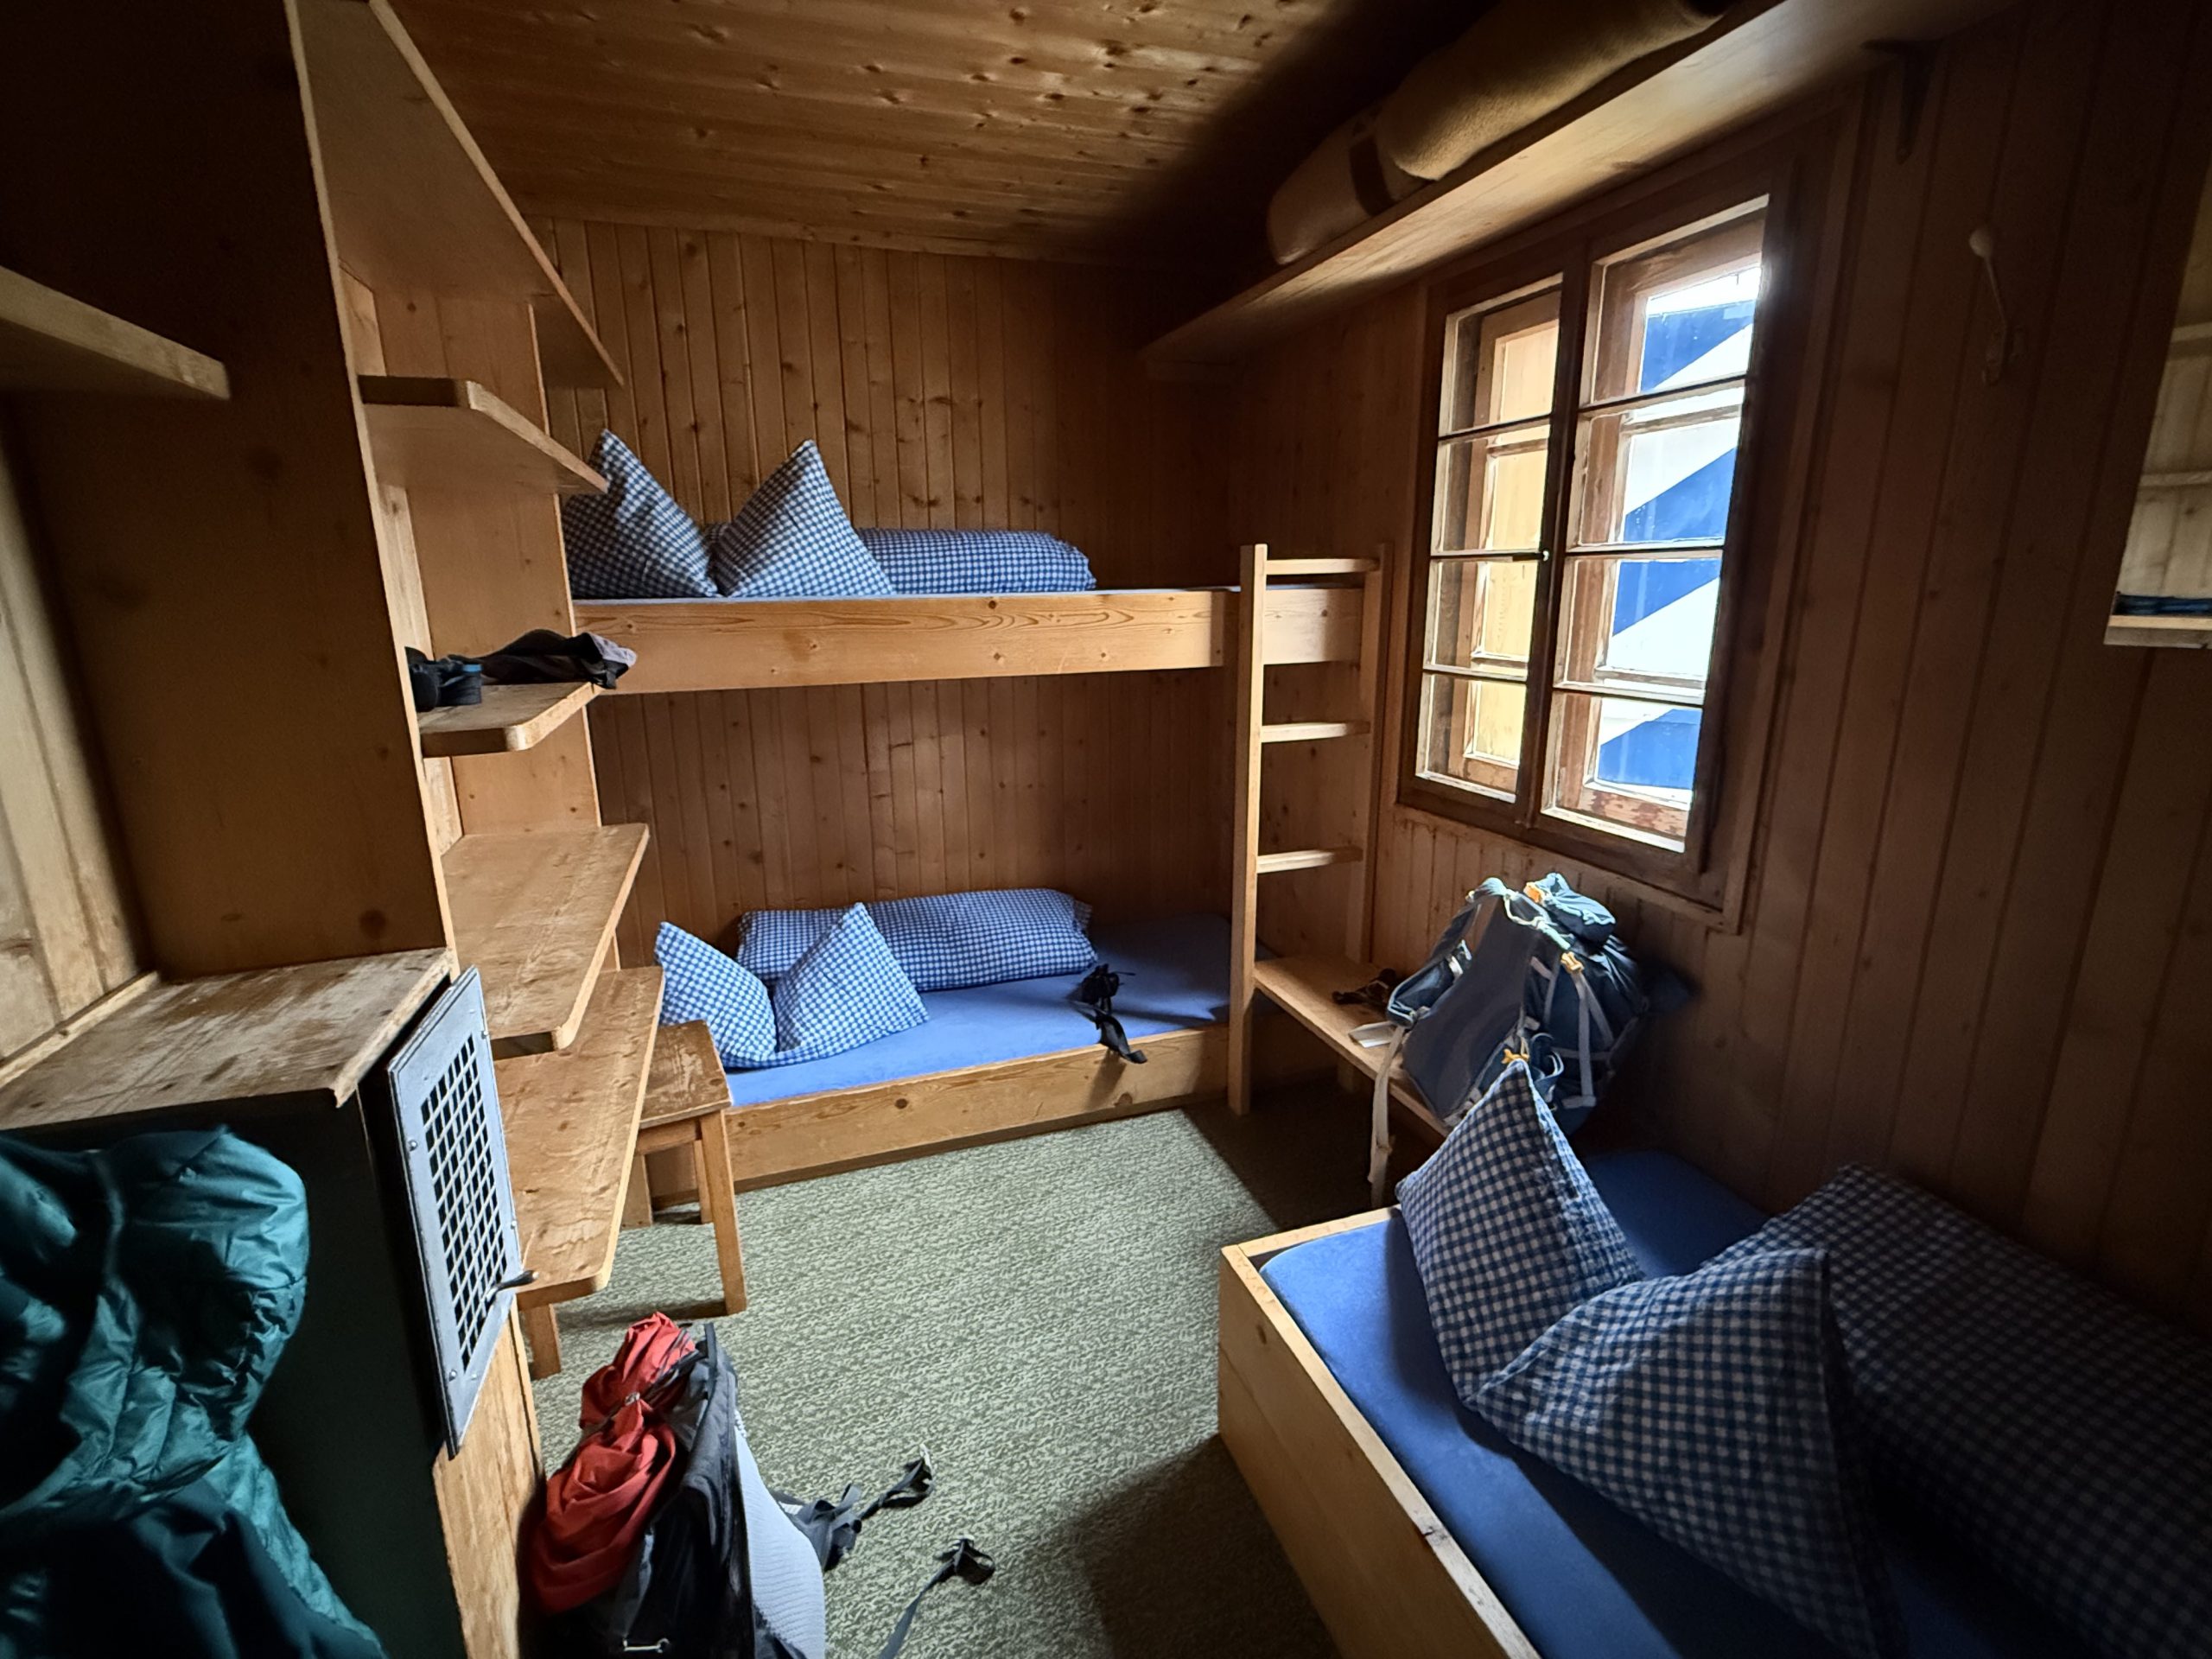
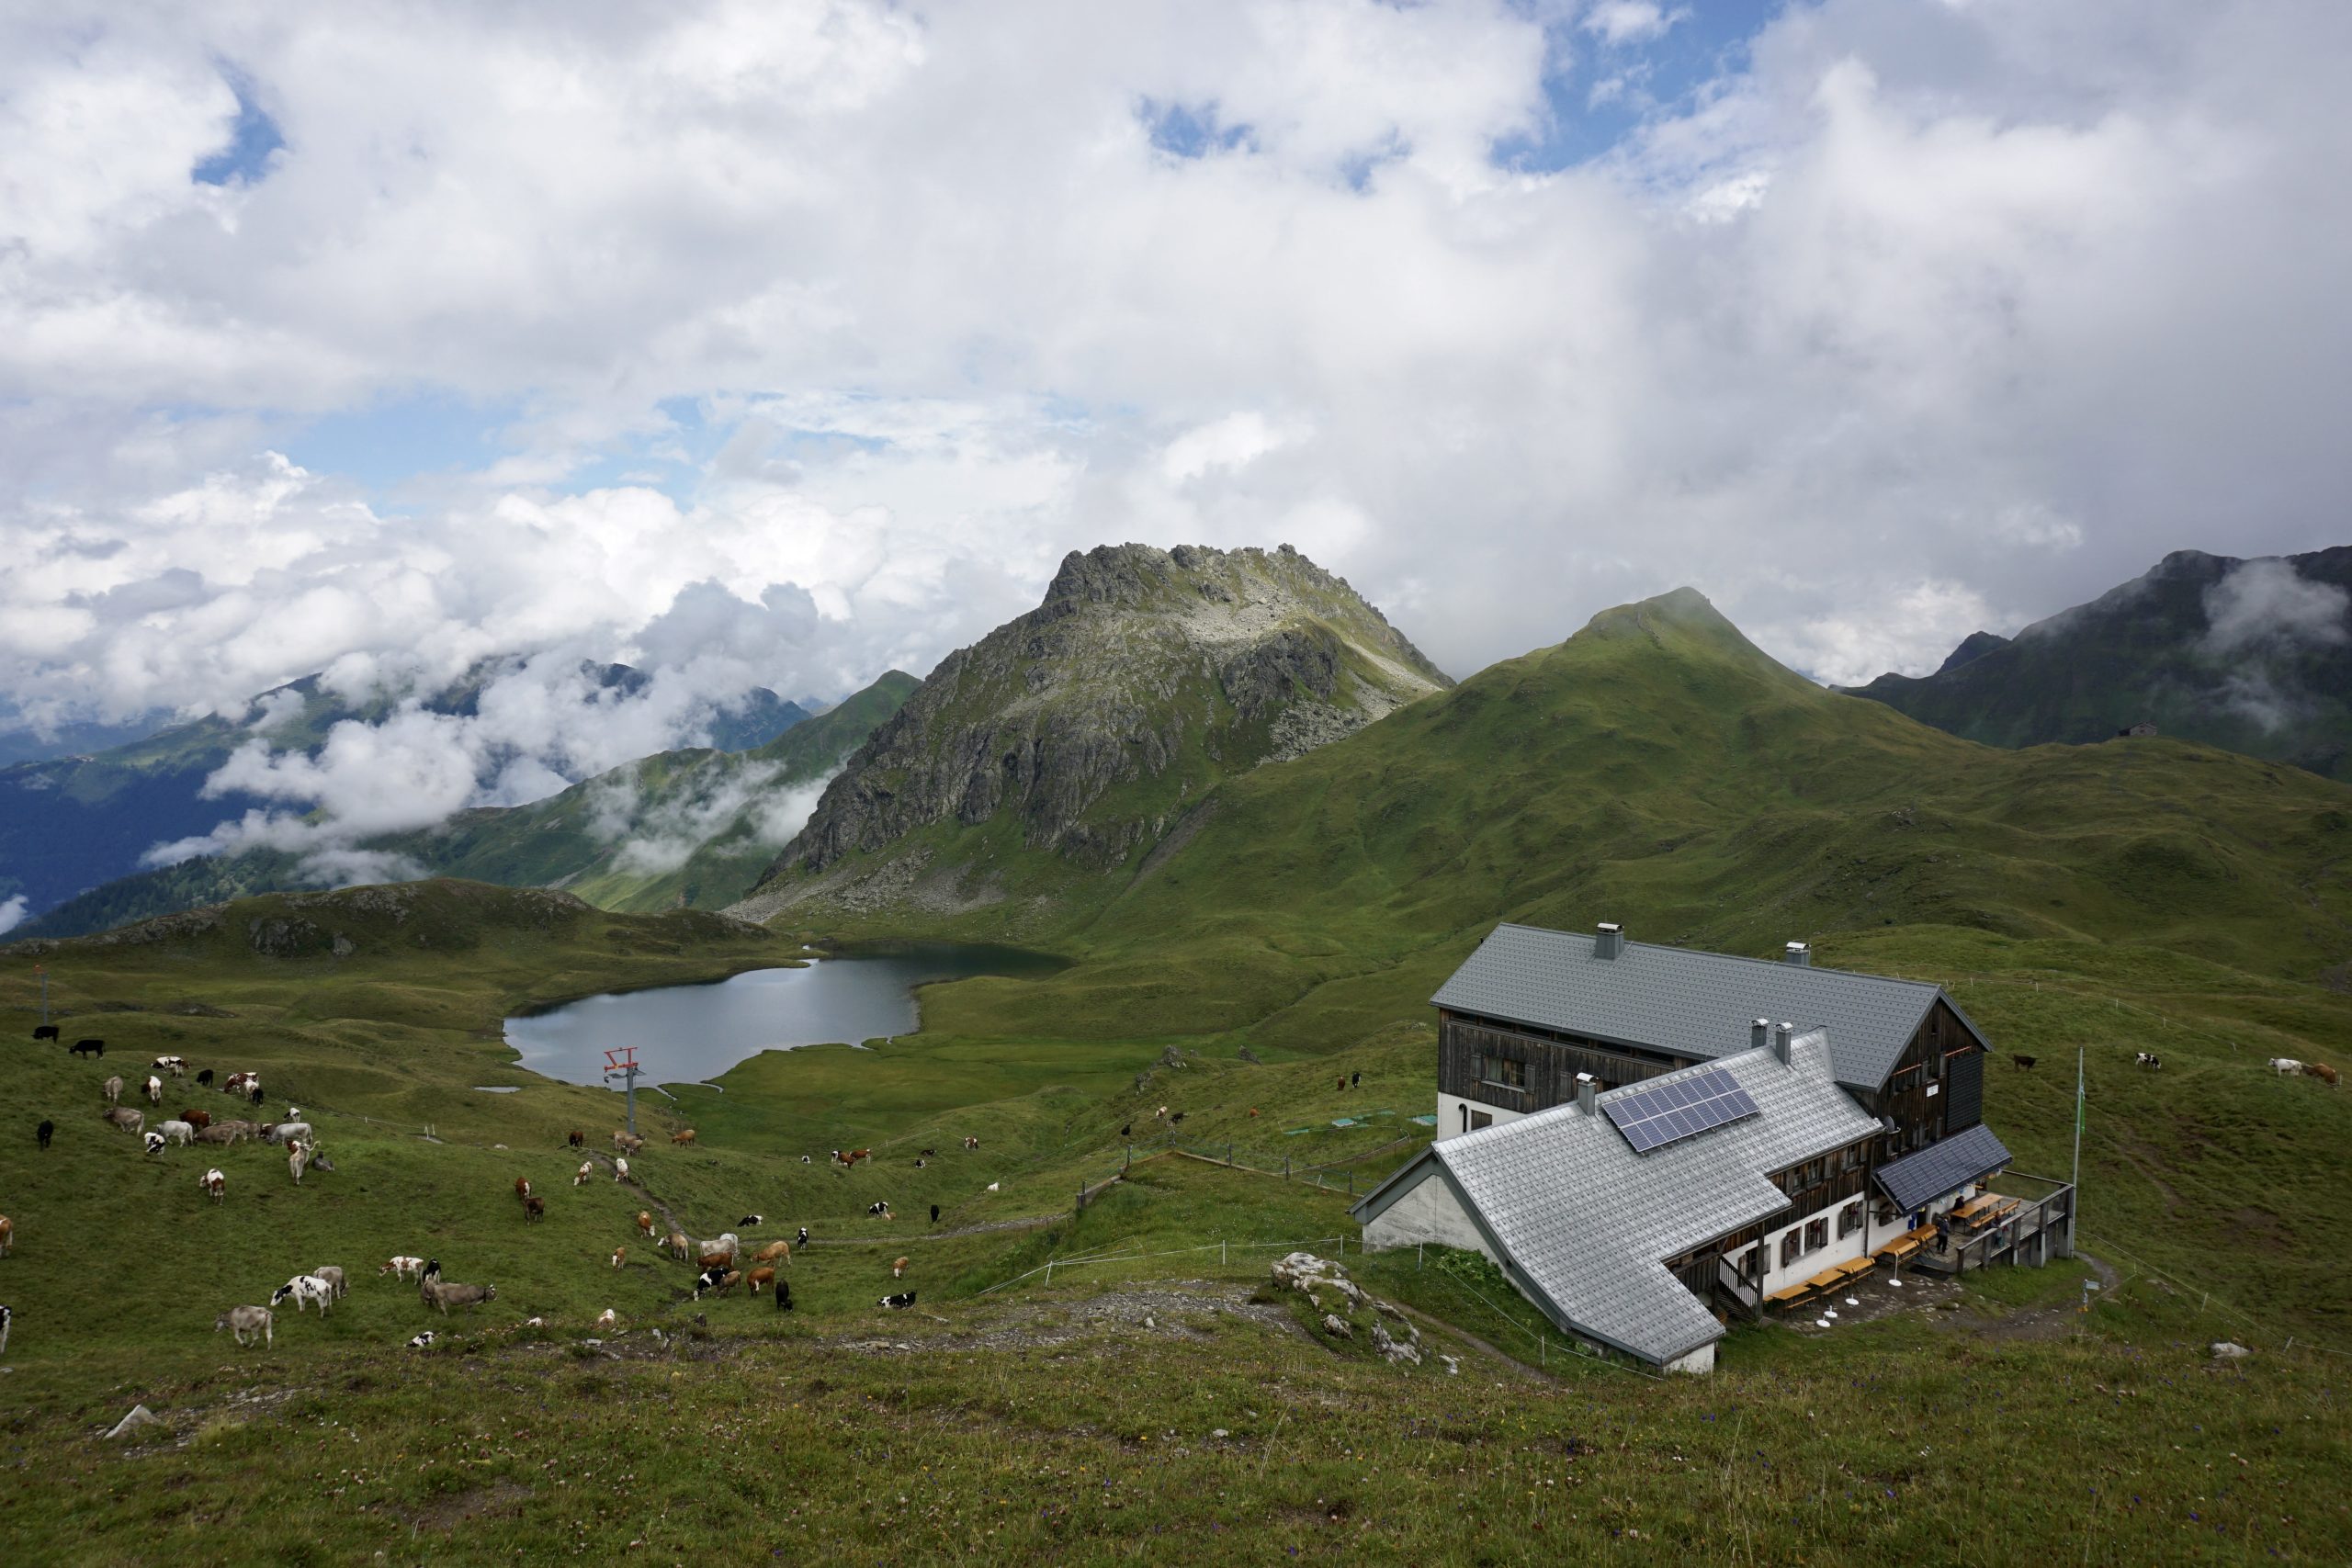
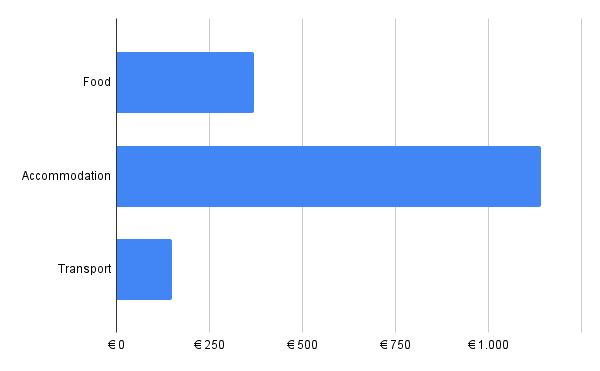
As it is a hut-to-hut hike, the majority of the costs are in the accommodation category. However, it is a mix of sleep & food costs as most of the time we had a half-board deal and so breakfast and dinner were included in the accommodation costs. A few times I have put some lunch meals in this category as well since we always paid the final bill in the evening, after all the "optional" consumptions. 
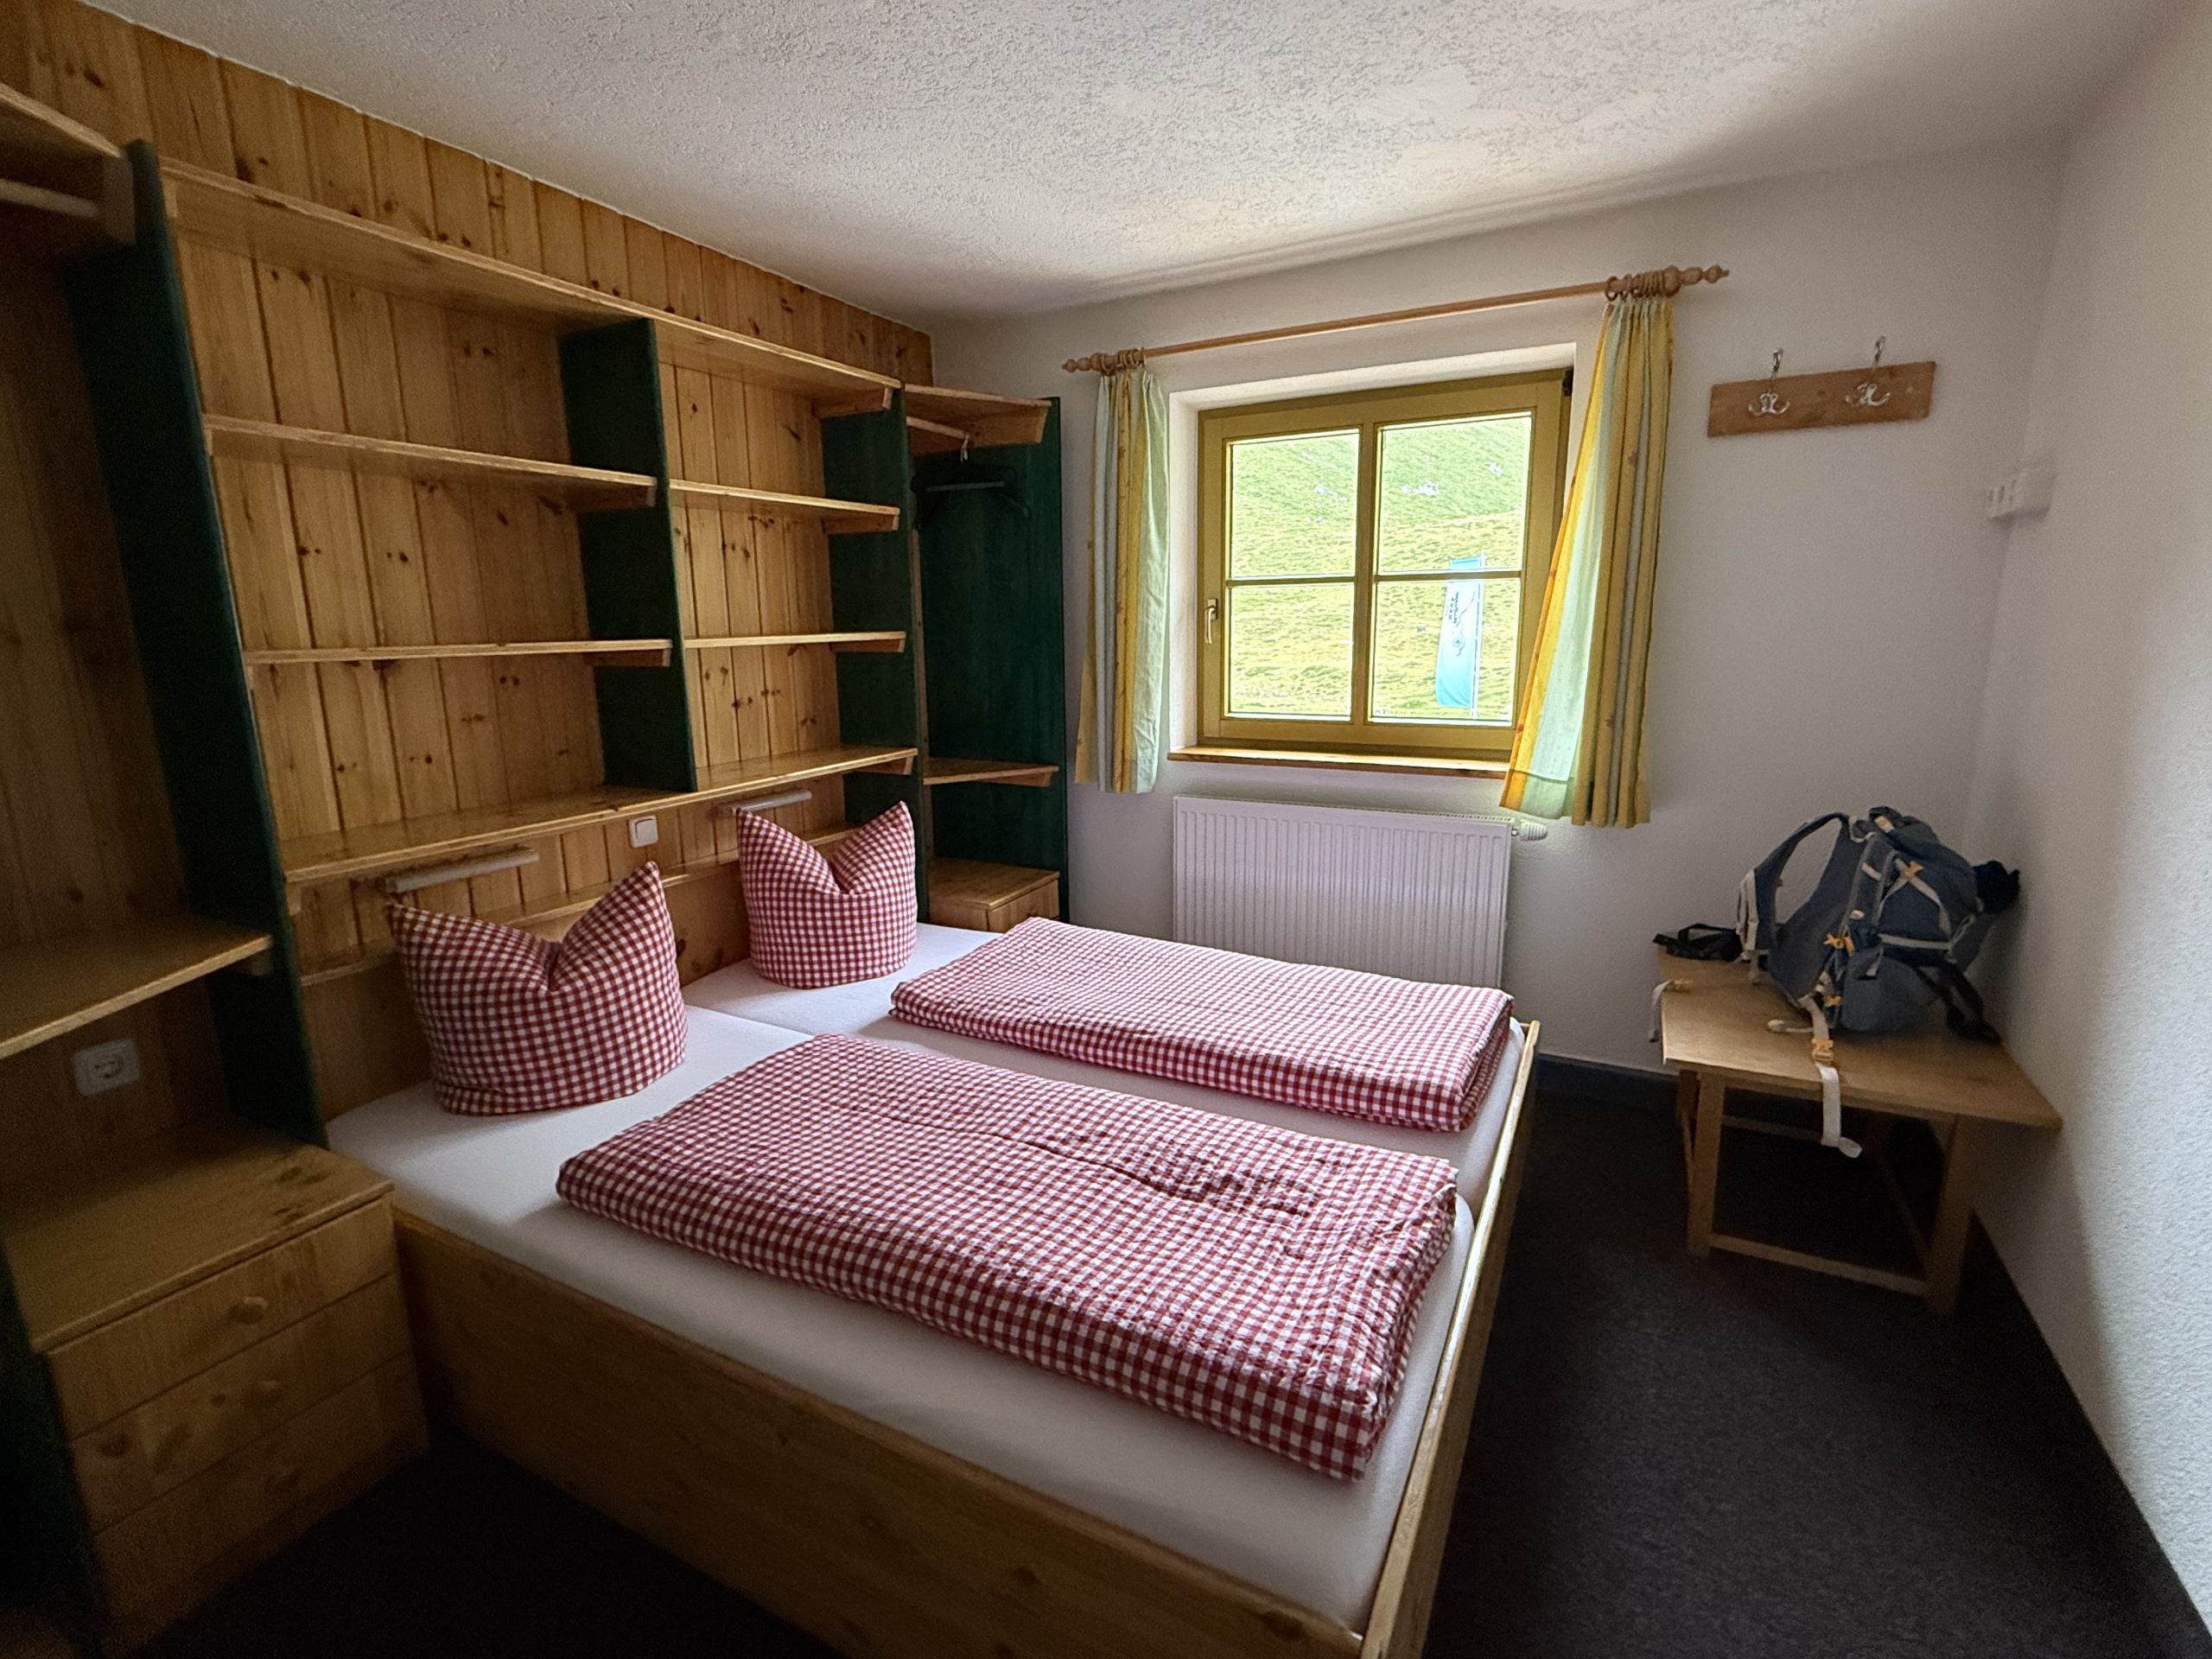
On average, we paid 15-25 Eur per person for a bed in a multi-bed room. Those rooms were never more than 4 beds. So-called lager rooms (with more beds in a room) would be even cheaper. It is important to note that we are members of the Dutch Alpine club, NKBV, which is recognized in Europe and gives us quite decent discounts in the mountain hut accommodations. If you are not a member, I would add ~10 Eur to your costs per night. Half board costs roughly 38-45 Eur.
Travel costs could be lower (or higher) depending on your starting location. This time we went with a car and that led to significant savings as flying or trains easily would have cost us 200 Eur per person.

Daily journal

Day 1 | Schruns – Wormser Hütte | 11km

We started with a grim weather prognosis for the coming days – lots of rain. As they predicted abnormal amounts of precipitation, I panicked and took a poncho and an umbrella, besides having a rain jacket and rain pants. It turned out a lot better than predicted, as we only had a few short showers but nothing catastrophic.

Once in a while, the valley would become visible as we climbed towards the hut. And today was all about climbing. We only had a few meters of “flatish” walks; the rest of the hike was uphill, with varying degrees of steepness. As we basically had to climb up a ski mountain, I did not mind the limited views along the way. The hut became visible only 1 minute before finishing, a classic hide and seek in the mountains and in the clouds. Tomorrow is supposed to be the worst day, and we are preparing ourselves mentally to be soaking wet.

Day 2 | Wormser Hütte – Neue Heilbronner Hütte | 21km

What can I say – it was a bad day. A very wet and bad day. I didn’t sleep well and woke up with a headache, feeling crappy and nauseous. After nursing a half of a ball of cereal I gave up and went back to bed to rest. It did help and we settled on the hike to our next hut.

There were no shortcuts or escape plans and so we had to power through the pouring rain. It rained the whole day and the trail turned into one continuous stream of water. I’ve never seen so much water on the trail to be honest. Crappy weather + feeling shit led to one of the most difficult days I’ve had on the trail. Definitely in the top 5 of the worst hiking days ever. 

Day 3 | Neue Heilbronner Hütte – Silvretta Bielerhöhe | 21km

We woke up to a cloudy and wet day again. Not as bad as yesterday though, far from it. We followed a road towards Stausee Kops where a break with an appel strudel and a coffee was a deciding moment of where to go next.

If the weather stayed depressing, we could take a valley walk to our accommodation, otherwise continue on the trail through the mountains. And that’s what we did of course. I was like “let’s see how it goes” while Edo knew that I’ll lean towards the mountain path. Well, at least the weather improved and we could make a great progress after a lazy morning.

Though the trail was marked as alpine, the biggest challenge was wading through the boulder fields, nothing crazy steep or technical. On our last ascent we were awarded with amazing views towards the Silvretta valley and the peaks white with fresh (I know, it’s July!) snow. While descending we saw that the shorter trail was closed due to a landslide and we had to take a detour with some extra elevation gain. Yeeeey. At least we saw a pair of ibex staring at us from a rock above.

Day 4 | Silvretta Bielerhöhe – Saarbrücker Hütte | 20km

Today was a day of epic views. We decided to hike to Wiesbadener hütte for lunch and then hike to Saarbrücker  hütte – our destination for tonight. To reach Wiesbadener we took one of the higher routes (you turn left at Bielerhöhe, so don’t hike along the lake) which turned out very pleasant.

At the Radsattel pass we saw a group of ibex and the expansive views around us opened up. To reach the hut we still had a few hills to concur but that was no more than 40 mins from the pass.

After a very generous lunch we headed down towards Bielerhöhe and from there continued to Saarbrücker. The route was marked as alpine and this time we did encounter a few cable sections and some more “edgy” parts. If you’re not afraid of heights, this route is fine without any specific gear. The steep parts are short and a few only. I would not hike it in bad weather though as both ascent and descent might be too slippery on the steep parts and the trail is very exposed.

Anyway, after a few “false” passes, we reached Litznersattel and saw the hut from there. Did I mention that the whole climb we had epic views that kept on opening and getting more impressive? Now I did 😉 around the pass we encountered quite some fresh snow, nothing too extreme but a fun feature in the end of July. What a beautiful day it was.

Day 5 | Saarbrücker Hütte – Gargellen | 18km

We woke up to a rainy day, and it followed us until the afternoon. From Saarbrücker we took yet another alpine route to the Swiss side. Besides being steep-ish and rocky, it was not technical at all.

We did not linger on the Swiss part of the trek and in another half hour climbed to the Plattenjoch pass towards Austria. This time we encountered a few cables, and once at the pass, the descent was also a bit sketchy with loose gravel and boulder fields as our path. According to our navigation, we walked alongside the Plattengletscher, but it looked more like a patch of snow still lingering on the mountain instead of a glacier.

After a taxing descent we stopped at Tübinger hütte for lunch and a dry break, after which two more passes waited to be concurred. Once again we met a gang of ibex and on the third pass of the day sun broke through the clouds, finally! The rest of the hike we had good weather and great views of the valleys below us. One of them was our destination for today – Gargellen – a cute ski town, where a double room in a hotel was waiting for us.

Day 6 | Gargellen – Tilisuna Hütte | 10km

The evening before, we saw that the weather predictions were rapidly deteriorating. For today, day 6, Meteo blue was showing us sporadic thunderstorms, while tomorrow is just an awfully rainy day. We decided to wait until the morning and see what the weather looked like.

It was dry, and so we embarked on our planned destination – Tilisuna Hütte. It was supposed to be our shortest day of this trip, only 4-5 hours, and the weather was supposed to get worse from noon.

I’d say we ended up having a very fine day. Besides one quick shower, we did not get any serious rain or storm upon us, and we got to see some cool landscapes that became even more dramatic with all the clouds rolling in and out. In the afternoon, there was a small thunderstorm and later it even hailed, so the predictions were quite to the point. Lucky us.

Day 7 | Tilisuna Hütte – Schruns | 12km

Today we were supposed to hike to Heinrich-Hueter-Hütte. A long and challenging day awaited us with +1200m elevation gain and loss. However, seeing the weather predictions, we decided to cut our hike short and descend to Schruns one day earlier. It just didn’t seem to make any sense to hike in pouring rain for 8 hours.

And so day 7 ended up being our last day. We woke up to the rain and hiked in it until we reached the first villages of the valley. It was all about getting to Schruns as soon as possible.

Once in the valley, the rain stopped and “allowed” us to reach our hotel in a pleasant way 😄 when glancing back, we could see the thick grey clouds covering the mountains and our decision to cut the hike short was confirmed even further.