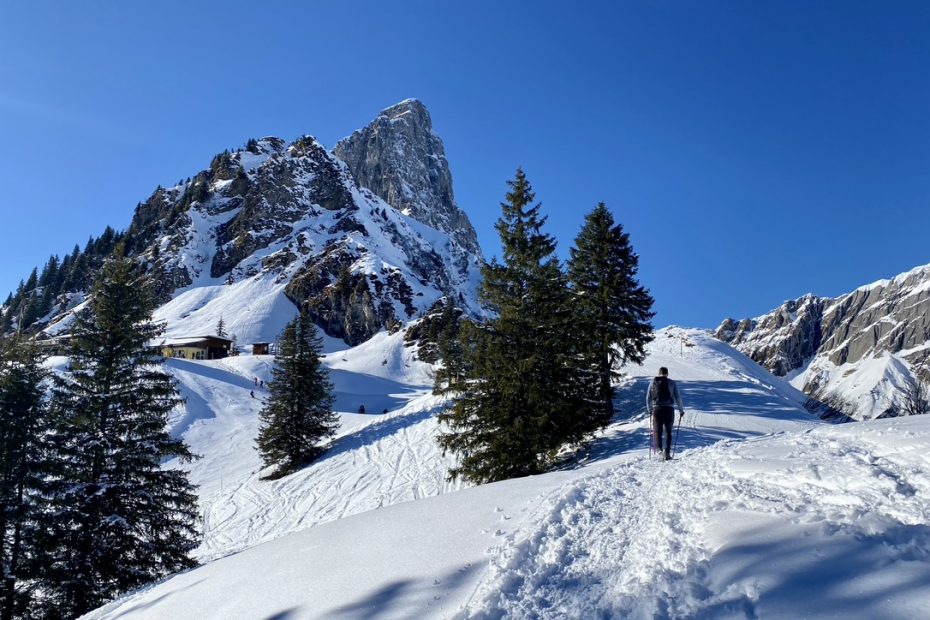
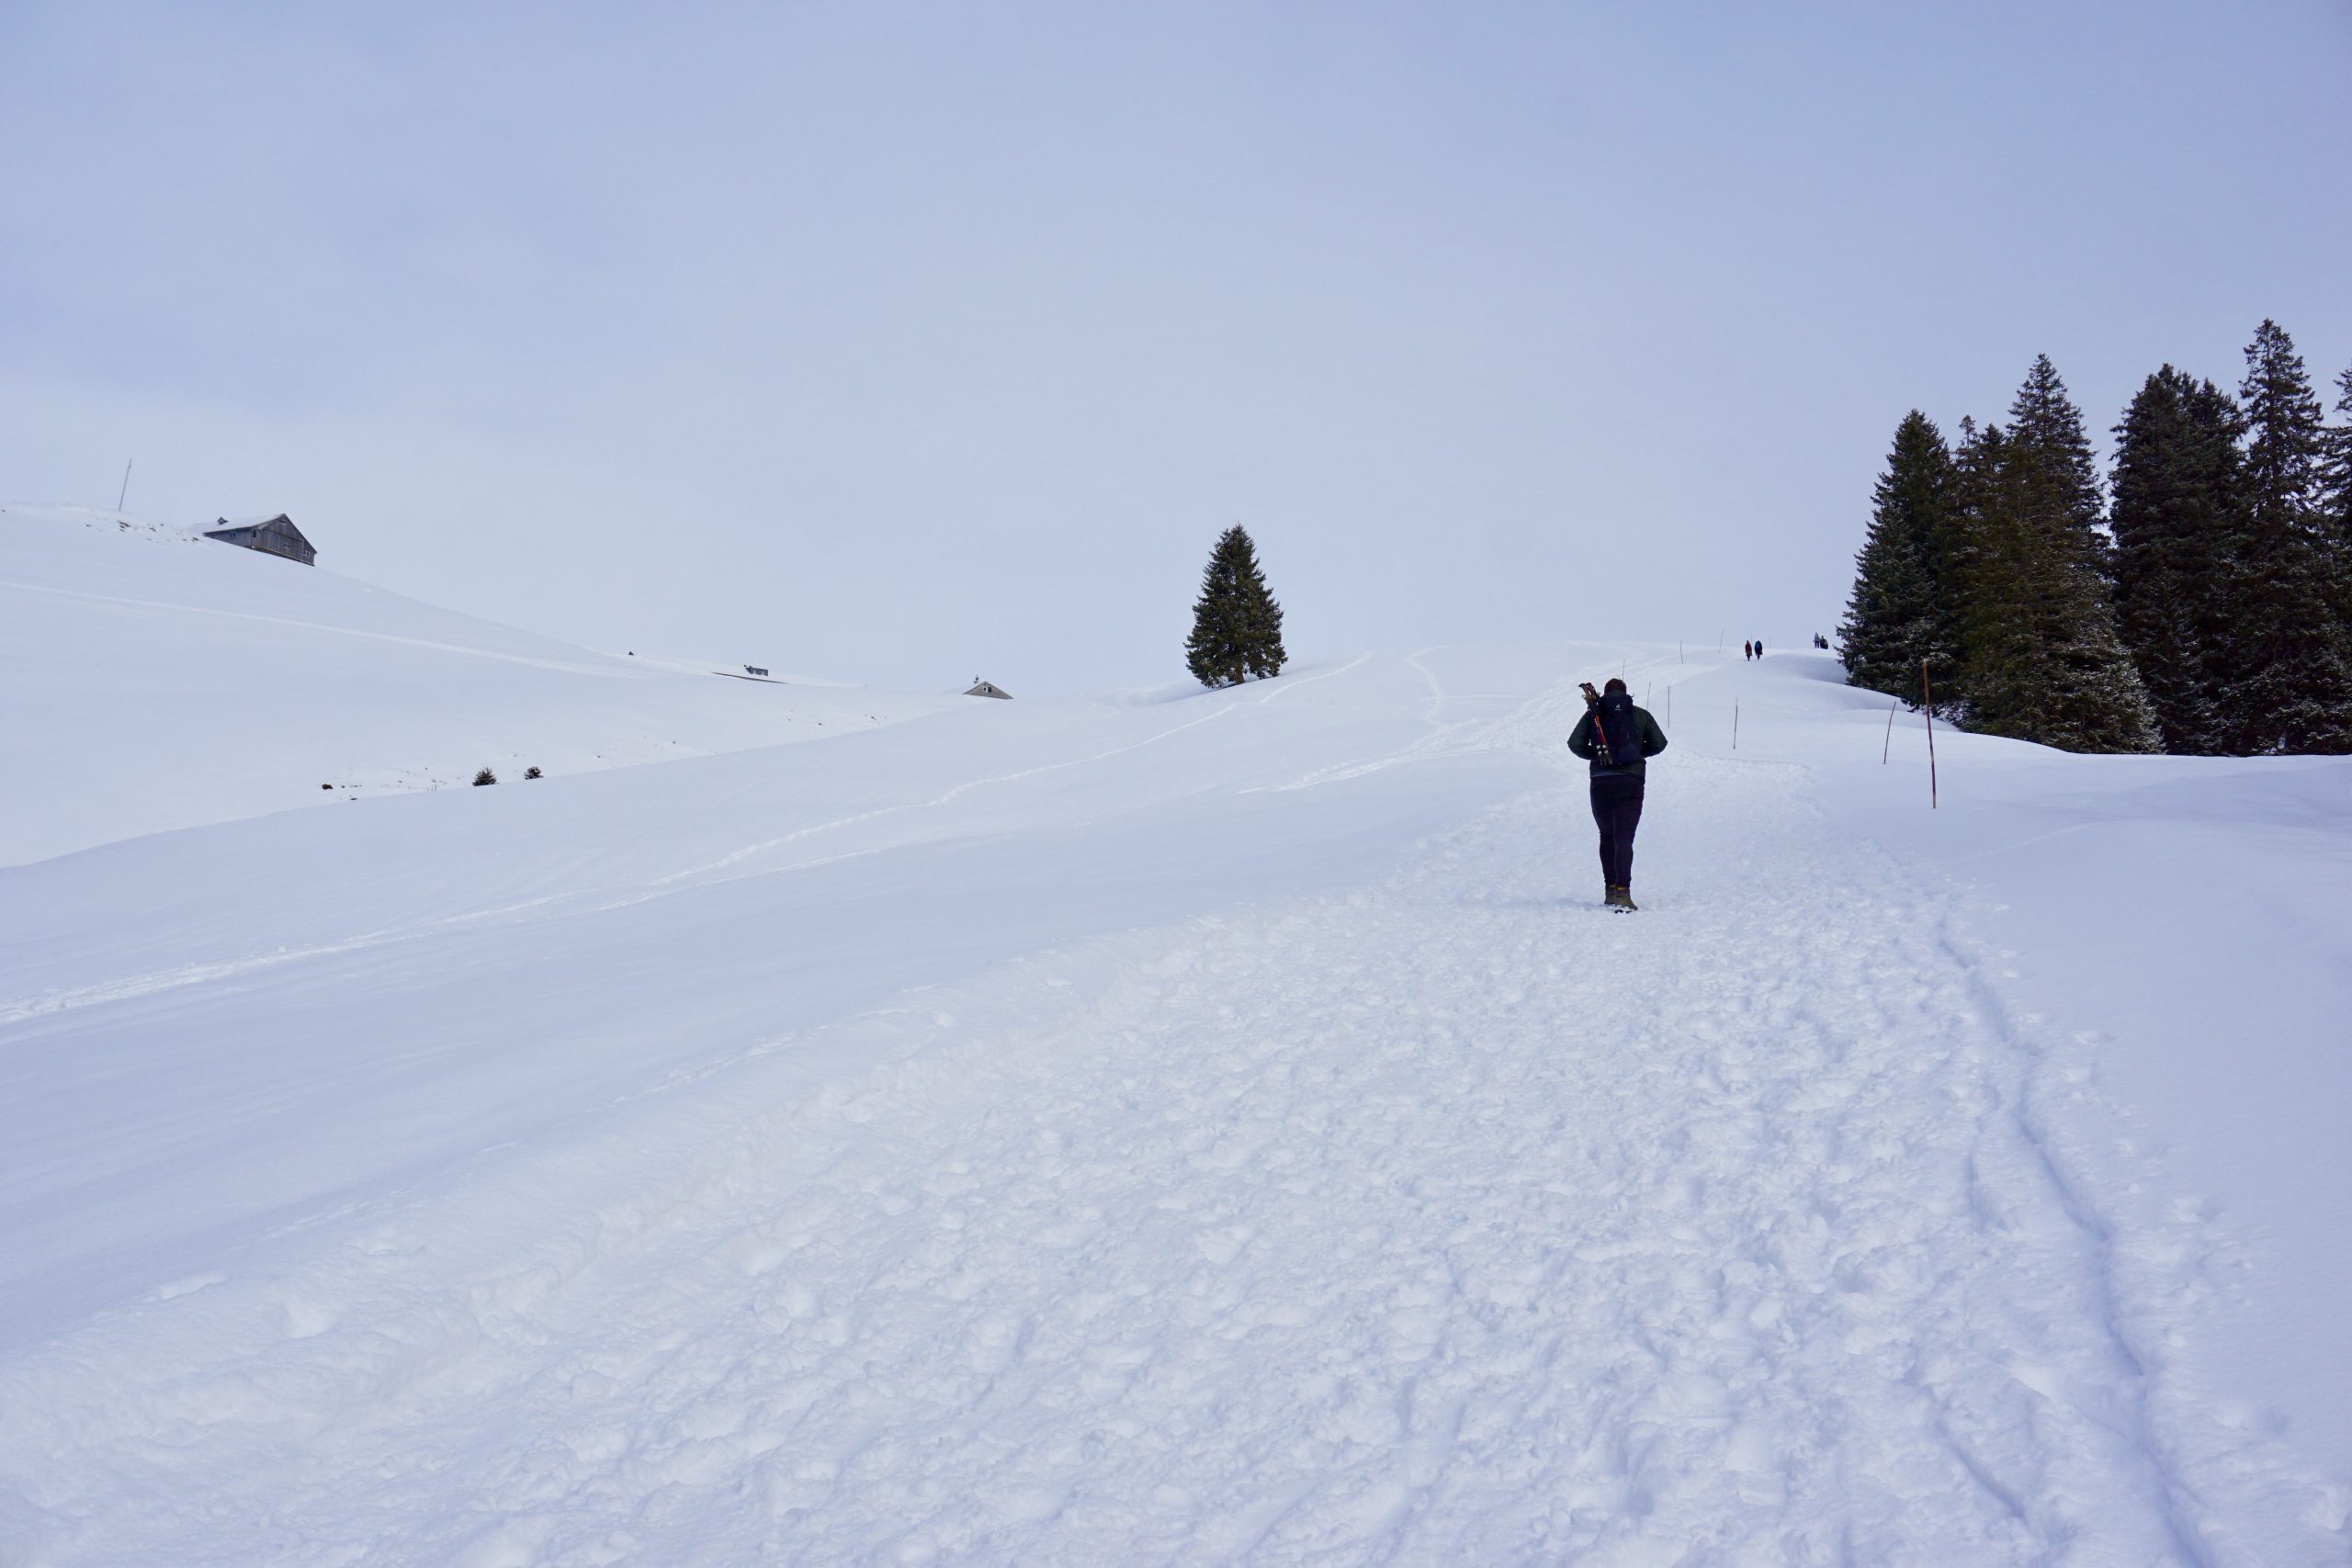
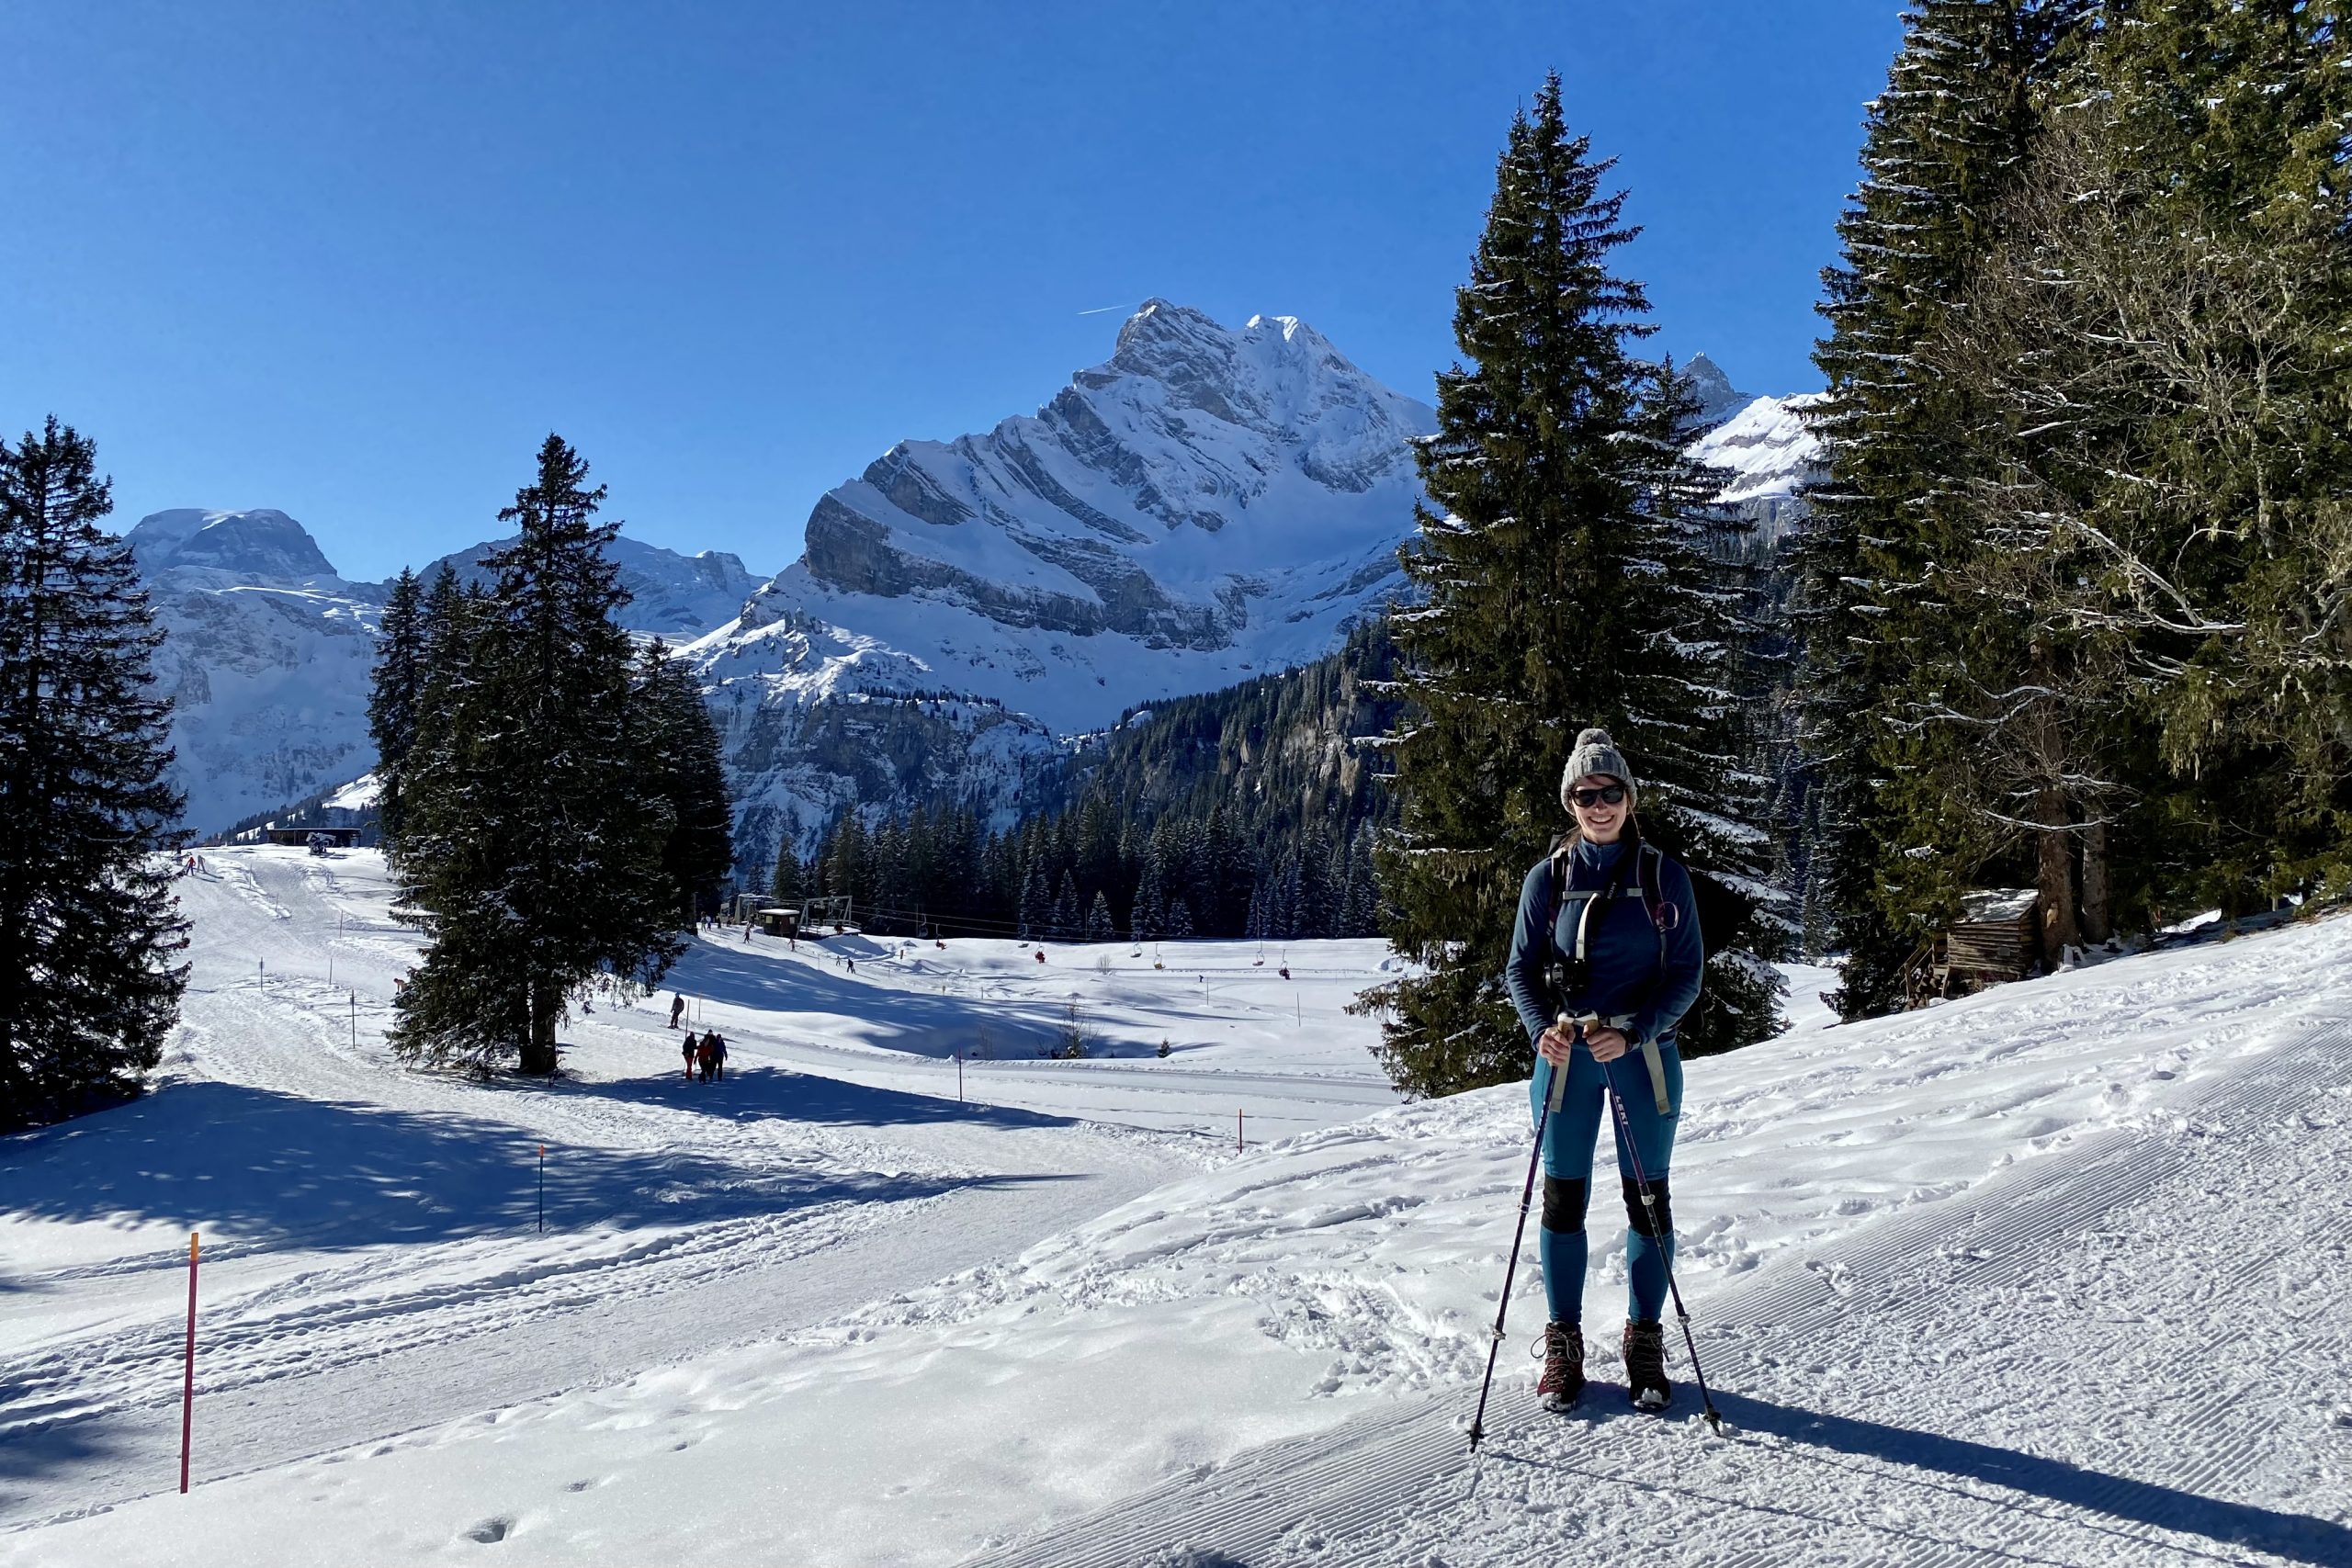
For me, winter has always had associations with skiing and snowboarding. I considered hiking as a summer activity and thought that hiking in winter is only possible on skis, e.g. cross-country skiing. Little did I know that hiking is very much possible in winter too, you can even do it without any special equipment or skills such as skiing.
While I’m an experienced hiker in summer, in winter I’m a total newbie, so this post is for people like me: you never hiked in the mountains in winter before and you want to try it. I went on a weekend trip to Switzerland (I wanted to see the big peaks, not settling for hills here), and did two day hikes without any special winter equipment. In this post, I will share my experience and tips on:
! The type of hiking described here is for people with waterproof hiking shoes and not snowshoes or skis.
Let’s go!
Where is it possible to hike in winter
Compared to summer hikes, in winter there are considerably fewer options to hike, but they are there! Only well-maintained trails are suitable for hiking since any step away from a groomed trail means a knee-deep (or even deeper) dive into the snow.
In Switzerland, there are many so-called groomed trails, where snow is compressed and you don’t sink deep into it. There is a great website, where all those trails are mapped out and all essential information is provided – Switzerland Mobility. You can find trails by region or by simply browsing a very detailed map.
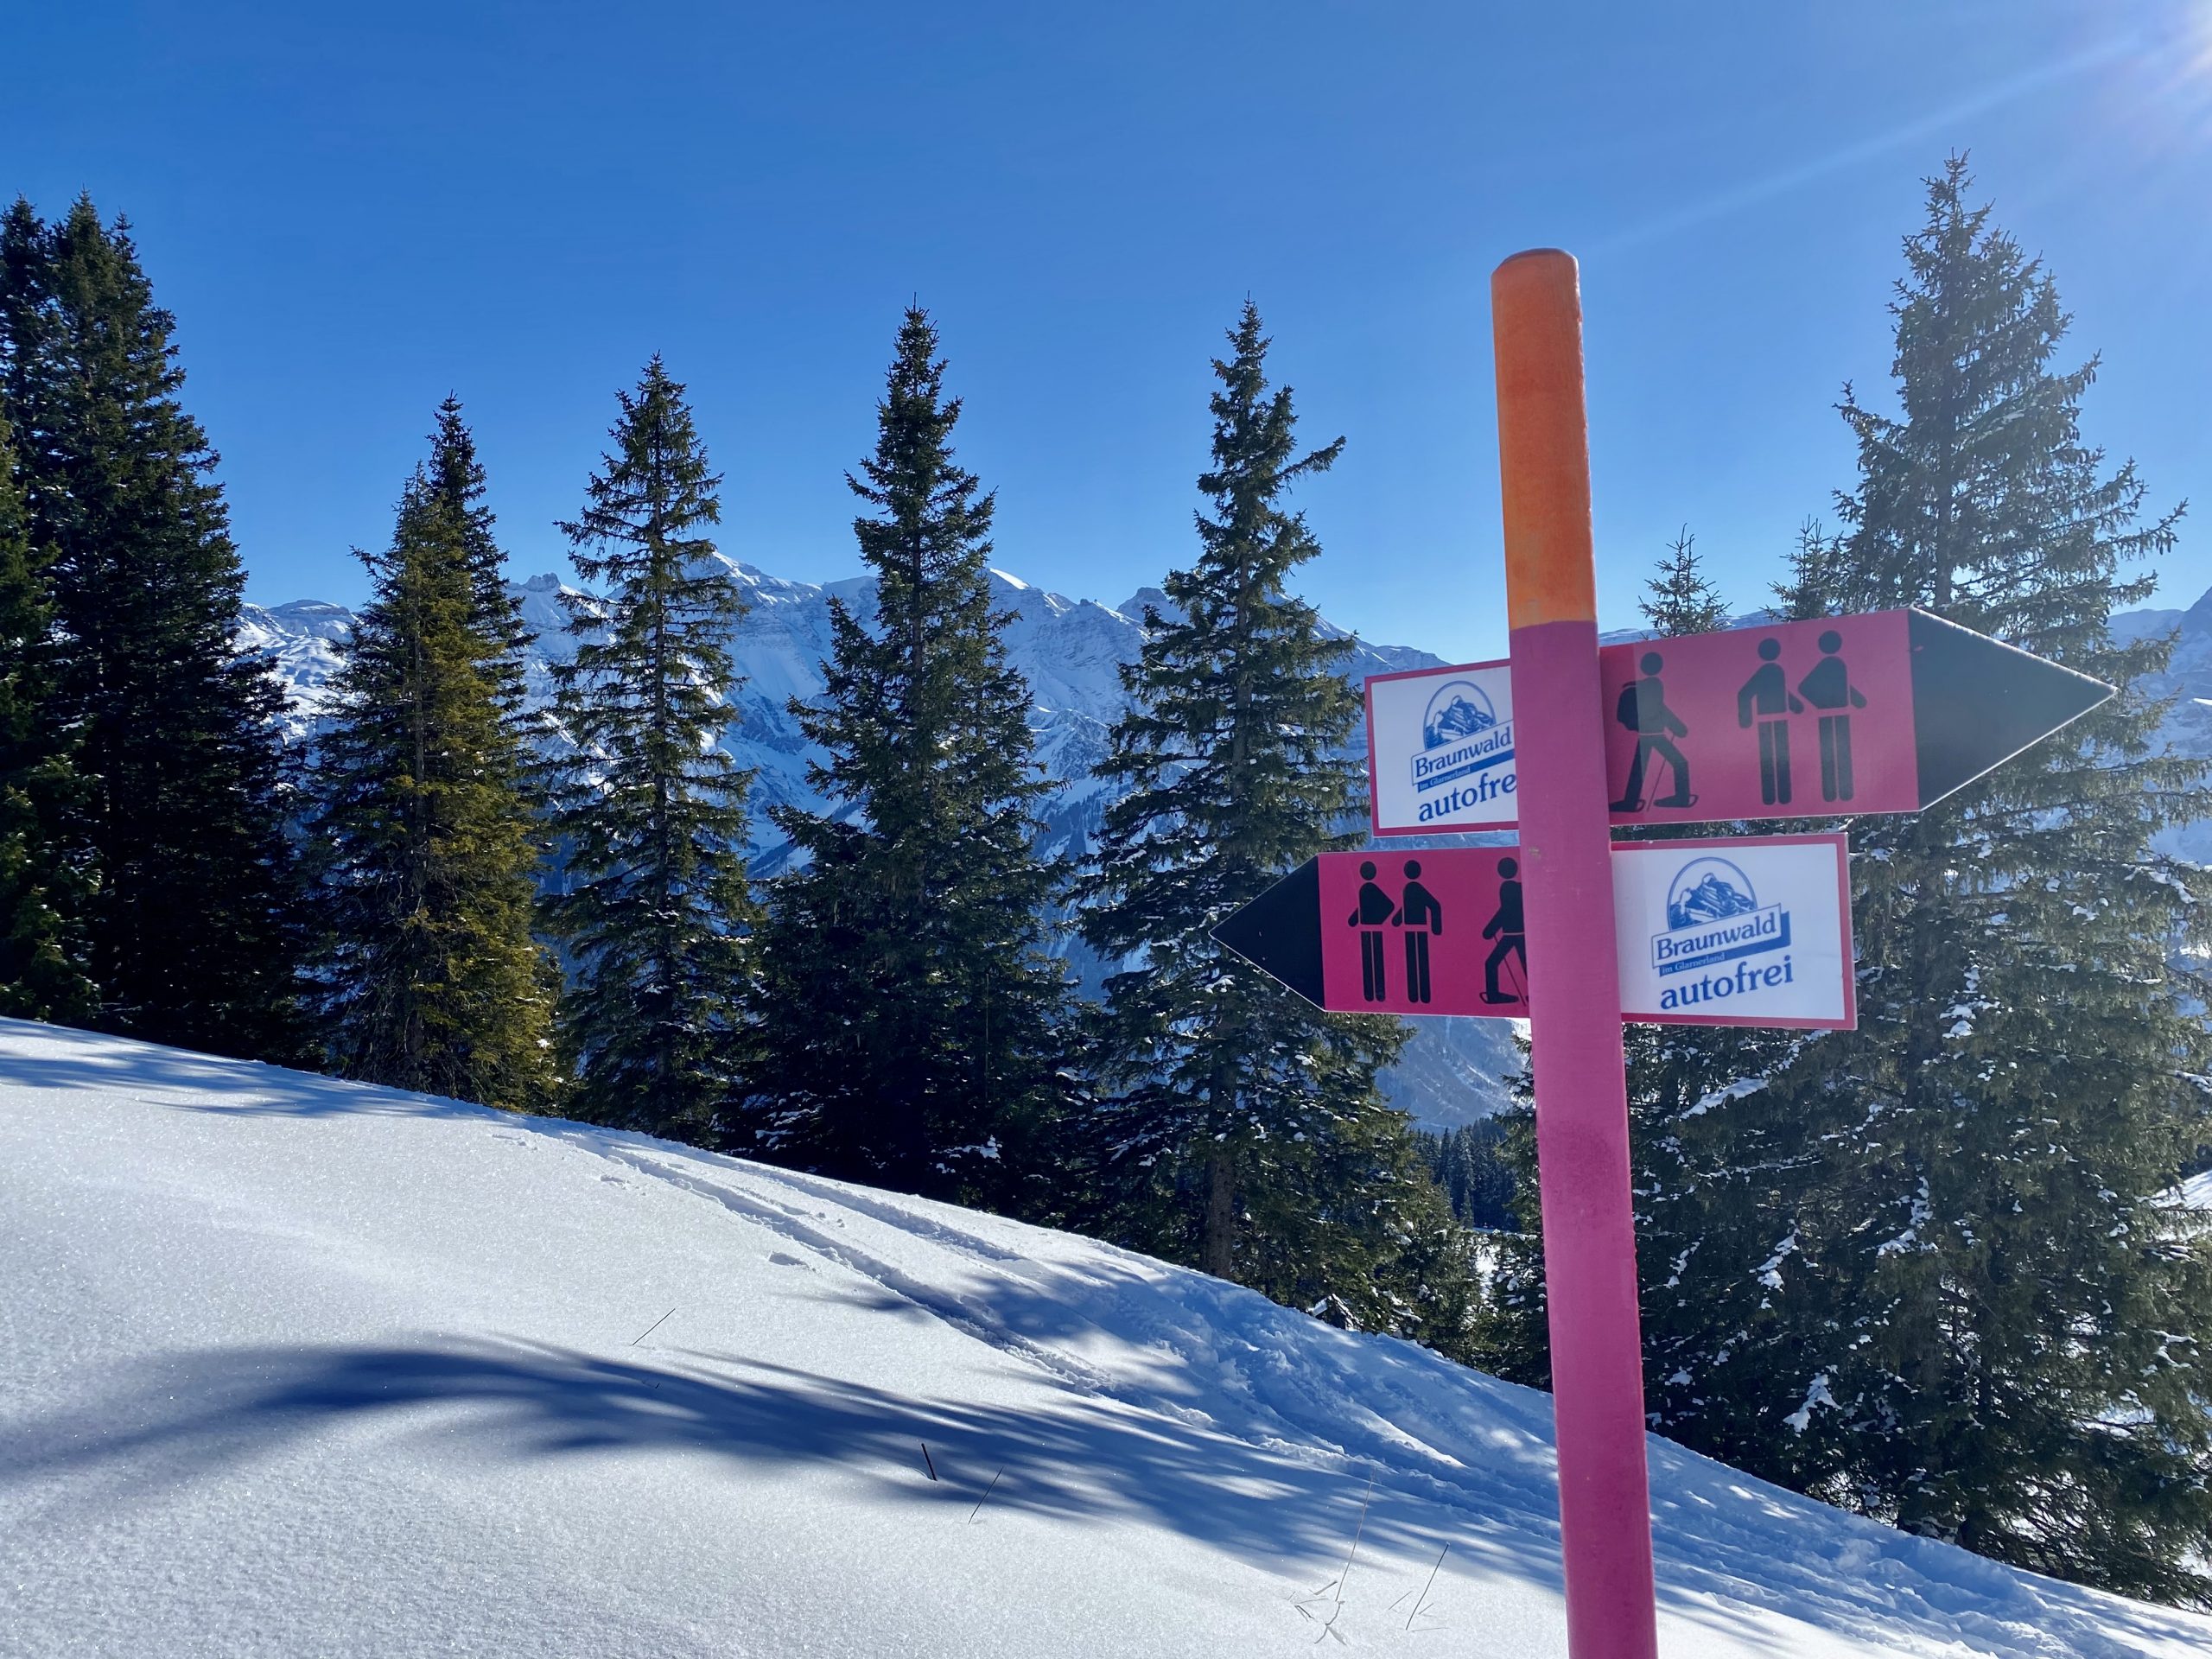
Another source for hiking trails is in the ski resorts. I didn’t know it before and never paid attention, but apparently many large ski resorts have a few hiking and snowshoeing trails. Some of those trails are the same ones you’d find on the Switzerland Mobility website. As ski resorts are usually the ones maintaining the trails, that kind of makes sense. Anyway, you’ll find those trails on the resort map, usually marked in pink or purple.
When checking the trails, make sure you look at those that are made for hiking. Snowshoeing trails are not really maintained (or so it looked like) and you should not hike there on hiking shoes unless you like sinking into the snow.
How to choose a trail
When choosing a trail to hike, make sure you check the elevation gain, distance, and duration. In summer I was used to hiking for 6-8 hours for 20 and more kilometers with elevation gains & losses of 1km and more. In winter, the situation is a bit different not only because the terrain is more difficult (snow can feel like sand at times), but also because long breaks are hardly possible. Cold weather makes sure you keep on moving, especially on an overcast day. On our first hike, it was -4 degrees outside and no sun, so we could stay still for 10 mins max before getting cold.
If it’s your first winter hike ever, I suggest finding a hike that’s no longer than 3 hours and has an elevation gain/loss of 400m or less. This duration is not too long to hike with short breaks and you’ll still feel that you got a decent outdoorsy workout.
It might be nice to choose a hike with a mountain hut along the trail to have a break there. If you prioritize that, make sure to check whether the hut is actually open. When we hiked to Vorder Höhi, the description promised that “The eponymous alpine business invites hikers for a coffee or snack”, however, it was closed. I was glad that we had our own lunch snacks which we ate at the top.
One last thing to keep in mind when choosing the trail is the logistics of getting there. Some of the trails might require you to use a gondola or a cable car. This will not delay you by much time-wise, but it’ll cost extra, which might put off some of the hikers. When we did Panoramaweg Braunwald, we needed to use a cable car and it cost 16.3 Eur per person both ways.
Navigation on the trail
Winter waymarks stand out because of their bright pink color, but that’s not it. I found winter trails marked much more “intensely” than summer trails as the whole trail is marked with simple wooden poles making it very difficult to get lost. Besides, a groomed trail clearly stands out in the whole landscape, there’s simply no other road if that road is not made for hikers.
On both hikes we did, there was no other path and it was very easy to follow the trails. I did use my Czech hiking navigation app Mapy.cz, but only to double-check the beginning of the trail and our progress (e.g. how close are we to the pass). This app only maps summer hikes while winter hikes are different, so I suggest just following the signs. For example, in Braunwald, the same Panoramaweg hike is also available in summer, but it is a bit longer, while in winter a section of it is cut.
What clothes & other extra items to take
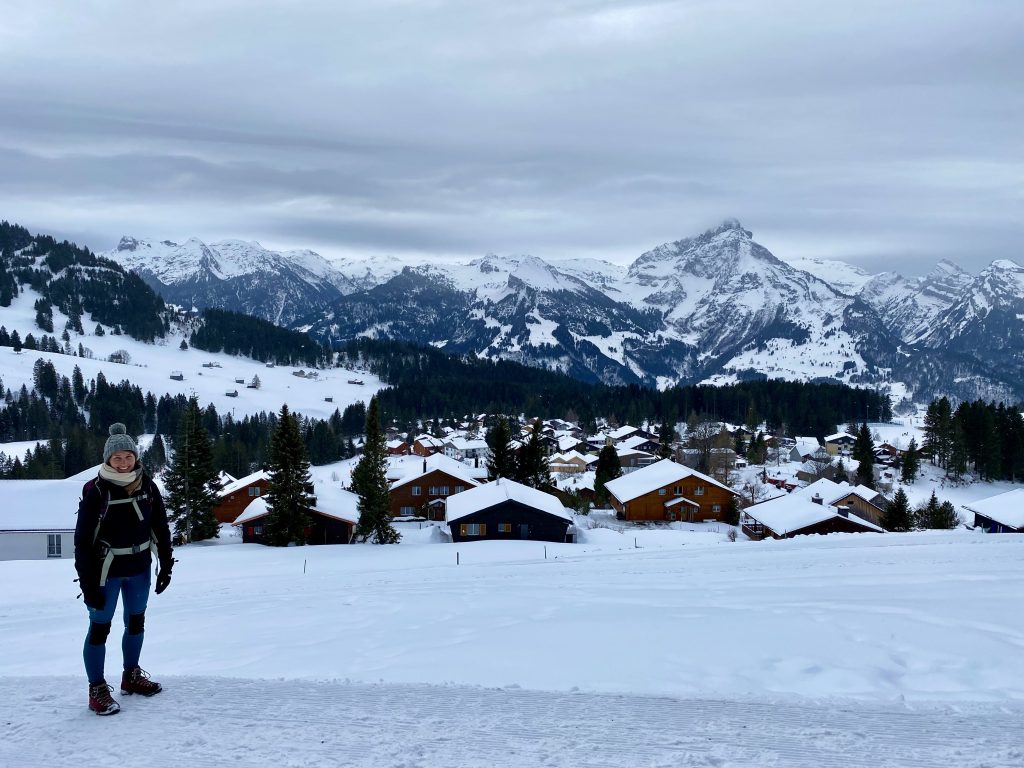
When it comes to clothes, layering is the key. The best part is that if it’s cold, you’ll appreciate all those layers and if it’s warm, you’ll just take off as many as you need to feel comfy. The layers I had (I’m a girl who tends to get cold rather quickly):
- Merino t-shirt (super.natural)
- Long sleeve merino base layer (super.natural)
- Lightweight jumper (North face)
- Fleece (North face)
- Rain jacket (North face)
Essentially almost all of my clothes were the same ones I’d use in summer hikes, it’s just that I had them all on 🙂 On a sunny day, both fleece and rain jacket were in my backpack, while on a cloudy day I wore all the layers and felt nice and warm.
Other clothes I wore:
- Hiking leggings (Fjällräven Abisko) – awesome for sliding down a slope on your butt
- Long socks (don’t know the brand) – they were knee-length socks, which together with leggings were enough to keep my feet and legs warm
- Hiking boots (Asolo) – they’re big but kept my feet dry and warm
- Big scarf (H&M) – next time I’d have a smaller and lighter scarf, this one was just too bulky and warm, I was sweating in it
- Beanie (H&M) – I can’t imagine hiking in winter without one
- Gloves (Audimas) – I took skiing gloves and they kept me warm. When I didn’t need them, they could just dangle on my wrists because of the straps they have, very handy
So besides the scarf, I was happy with all the other clothes. As a backup for my legs, I also took rainpants but didn’t need them. I could have taken ski pants too, but found them too bulky and heavy. The Abisko leggings were a much more dynamic alternative.
Other items I took:
- Hiking sticks (Leki Cressida) – absolutely recommended, especially when descending down. You’ll appreciate the extra support the sticks will give.
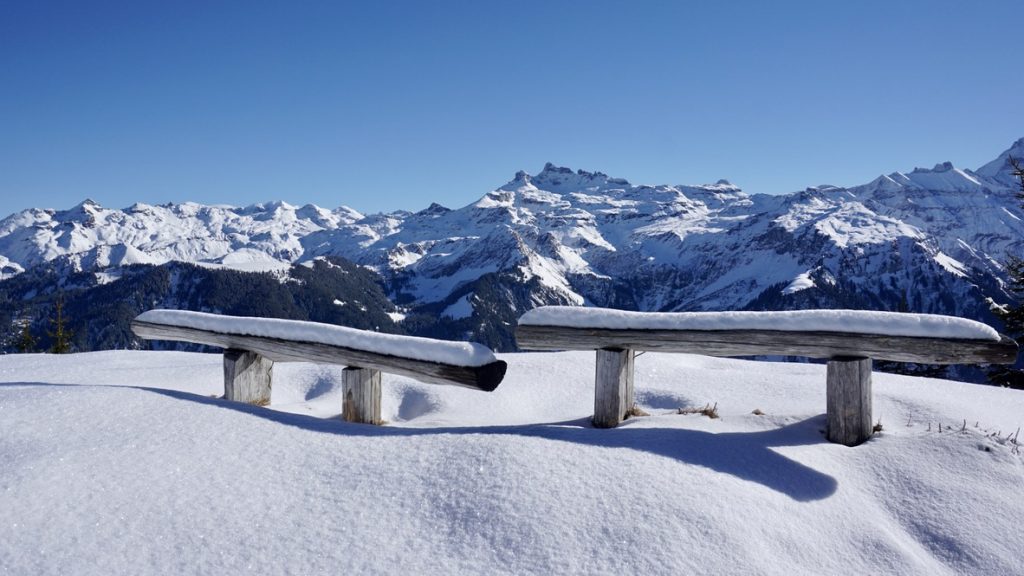
- Ass pad (CAO) – even though there are plenty of benches on groomed trails, everything will be covered in snow, so ass pad is super useful.
- Snacks & lunch – we took some bread with chicken fillet, cookies, and bananas. Easy and quick to eat outside.
- First aid kit – always in my hiking pack.
We didn’t have crampons and did not really miss them. The trails we selected were not that steep and so hiking sticks were enough to keep us stable.
I found out that winter hiking does not have to be that different from summer hiking. You just need to take a bit more clothes, pick a shorter, groomed trail and that’s it! Curious about what hikes we did and what they look like? Check them out on these blog posts:
