
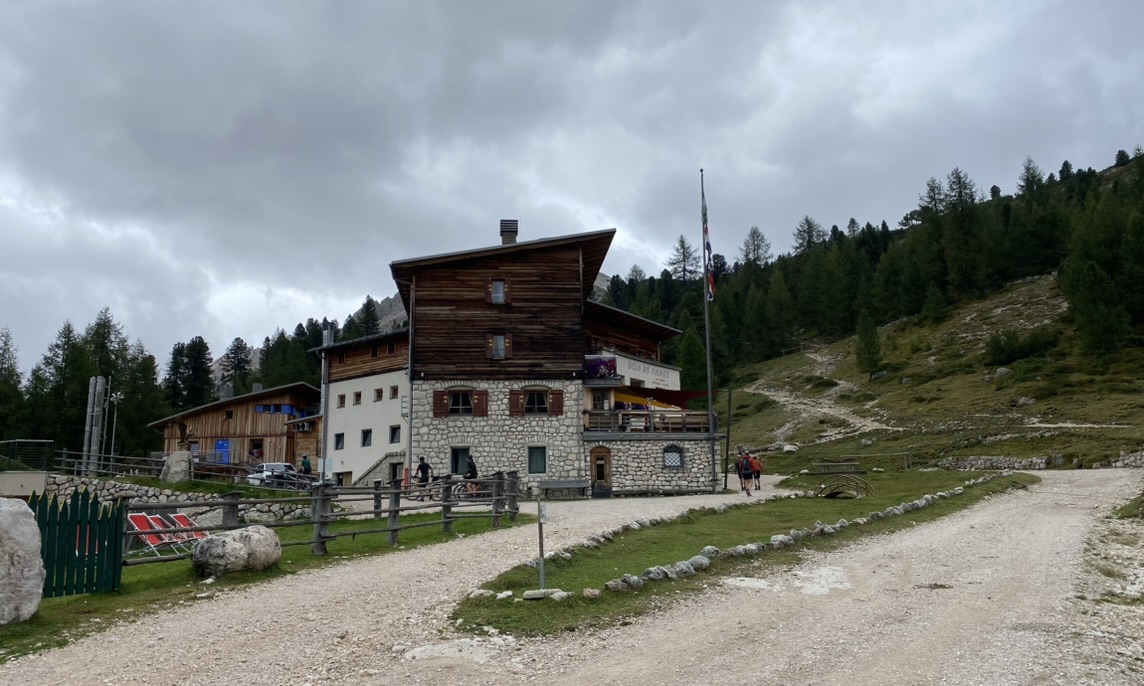
Rifugio Fanes
Once at the hut we felt more like at a hotel than a mountain hut. It is very big, modern and comes across rather fancy. We also had a double room which of course elevates the experience. The food was very good and we had a few choices for most of the courses (yes, there were a few courses).
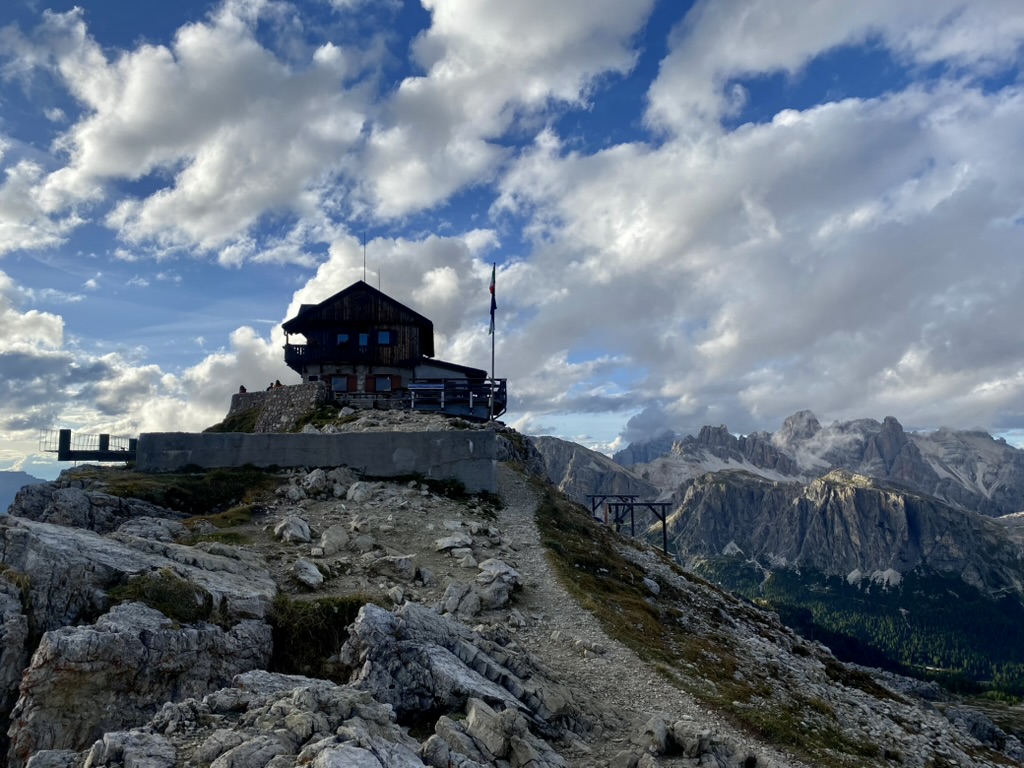
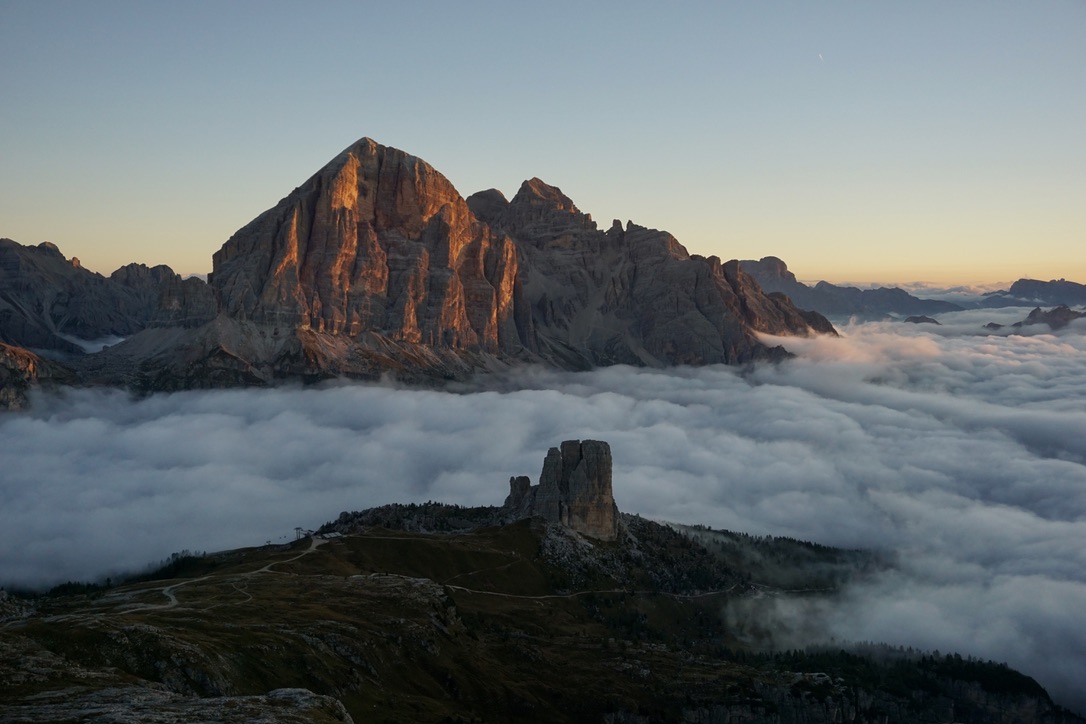
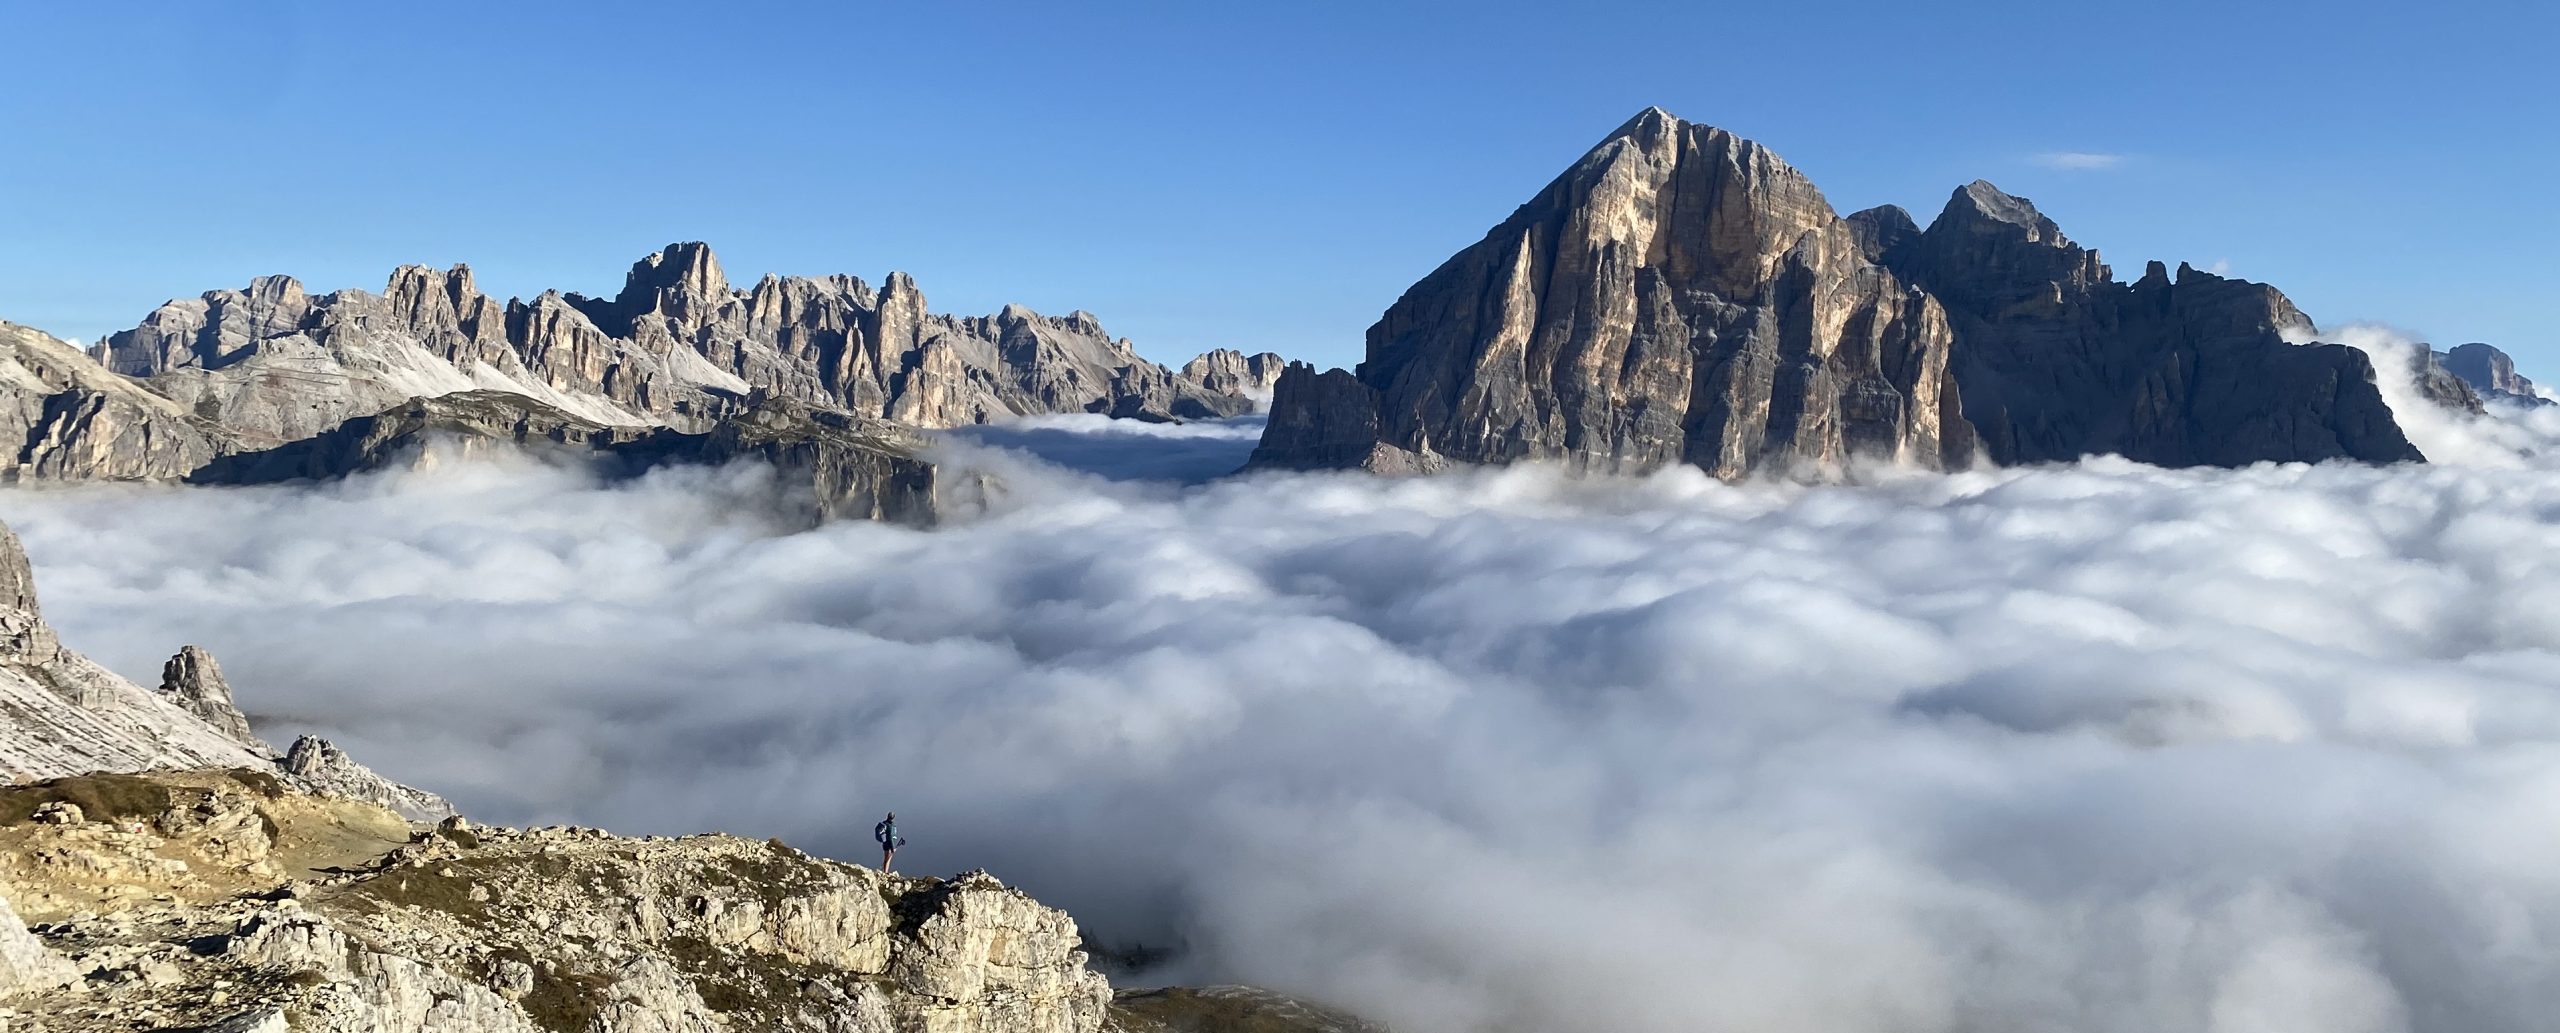
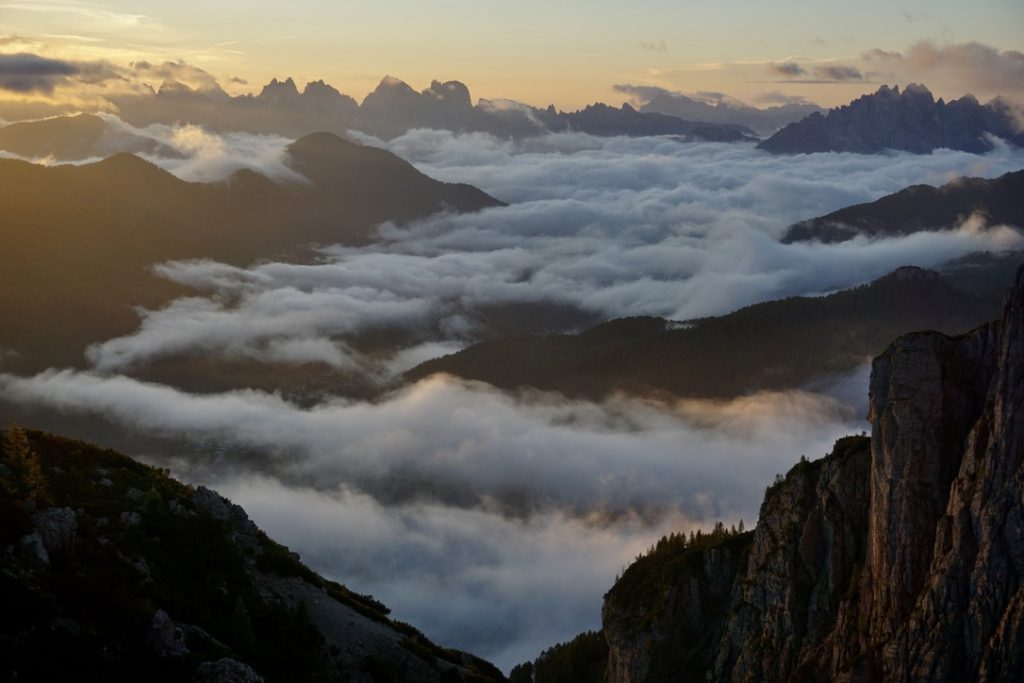
Rifugio Nuvolau
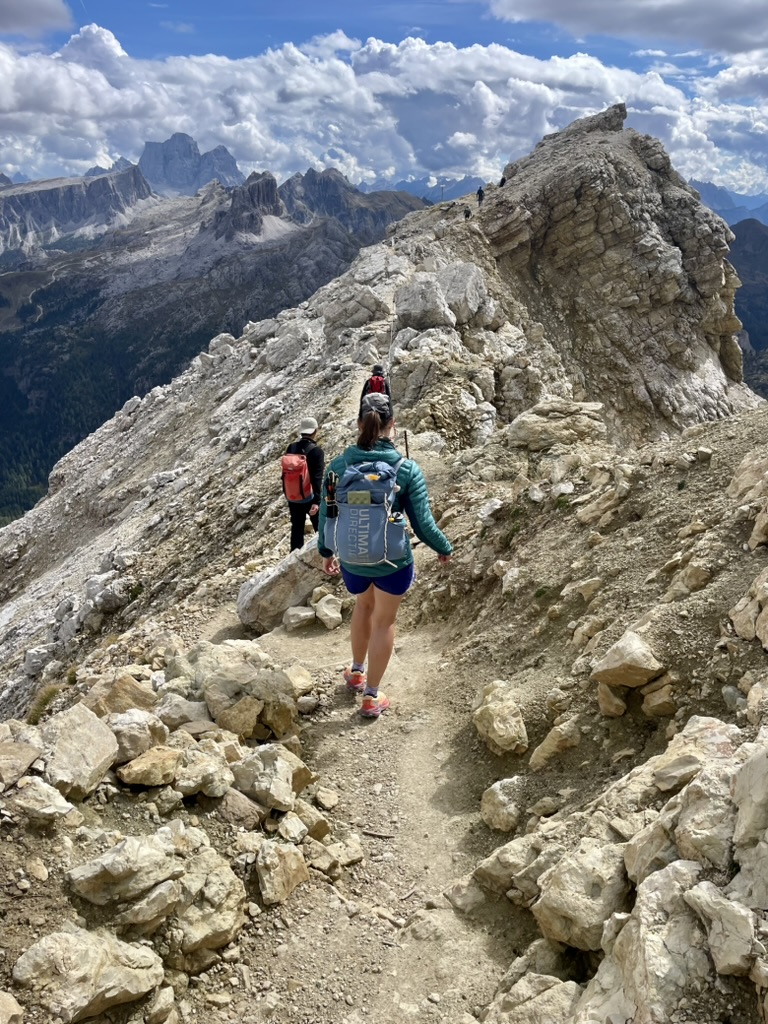
This mountain hut was in the most spectacular location of the trip. Getting there was not easy but definitely worth it. The hut itself was cozy with a couple of small rooms. We stayed in a three-person room and slept there just fine. As the location of the hut is superb, do not expect long naps in the morning as almost the whole hut is awake before the sunset to catch spectacular views. The food was fine but nothing spectacular.
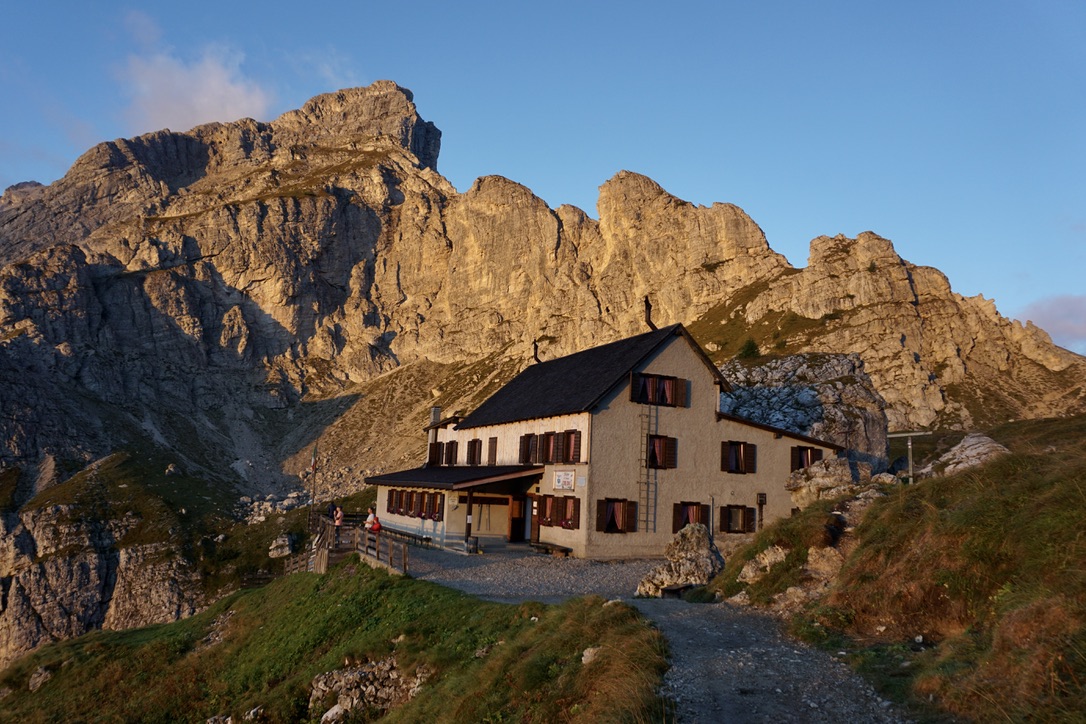
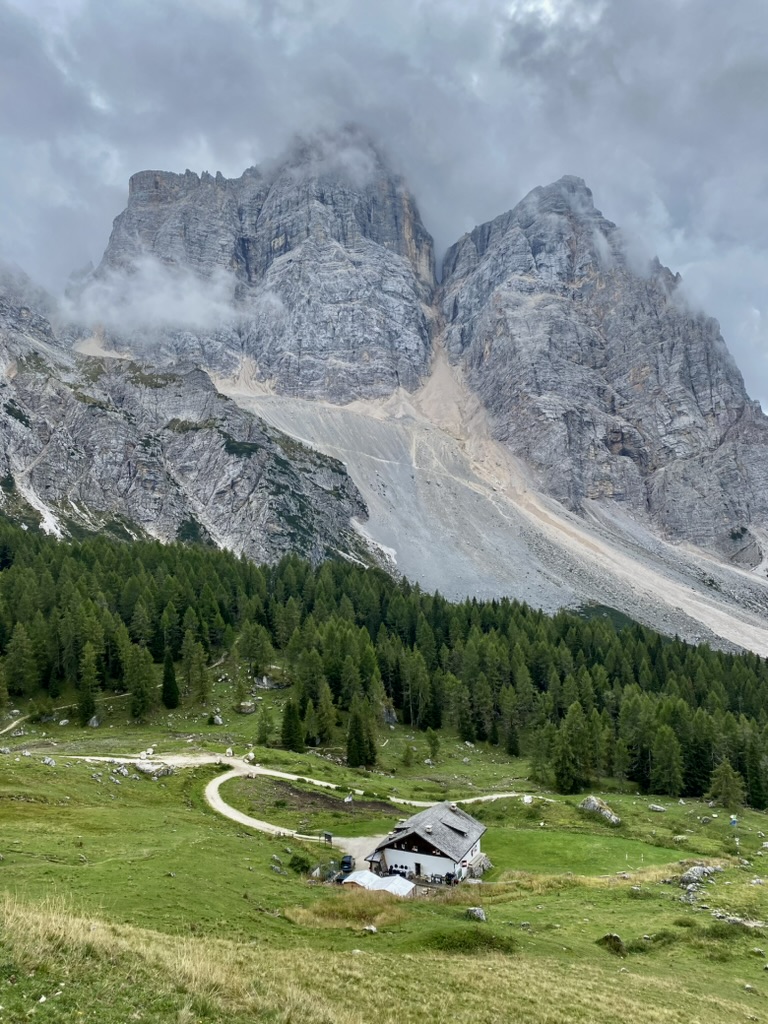
Rifugio Coldai
It took a lot of willpower to get to this hut. Not only it required a decent hike up a mountain after an already long day, we could also not see it until the final meters, I'm not kidding! The hut itself is hidden most of the climb up and if it's cloudy, then you might not be able to see it until you reached the doorstep. The hut was quite basic, many bunk beds, though the food was good and the portions were generous.
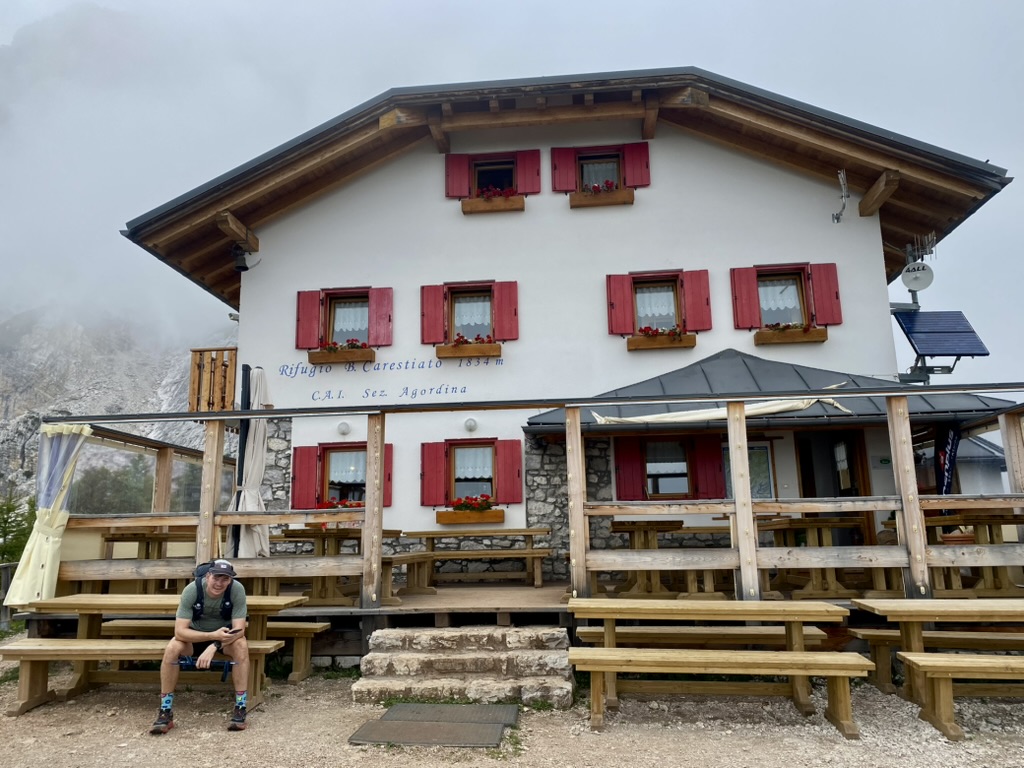
Rifugio Carestiato
This was a typical mountain hut, we stayed in a room with two other hikers and spent quite some time chilling downstairs as the day was rather short for our standards. I don't have any strong recollections, just the fact that in the morning for free you'd get some crappy coffee as part of the breakfast, while a nice tasty Italian espresso was something you had to pay extra. I get it, it's definitely more costly but it felt like a cheap upsell, something that just doesn't fit a mountain hut vibe.
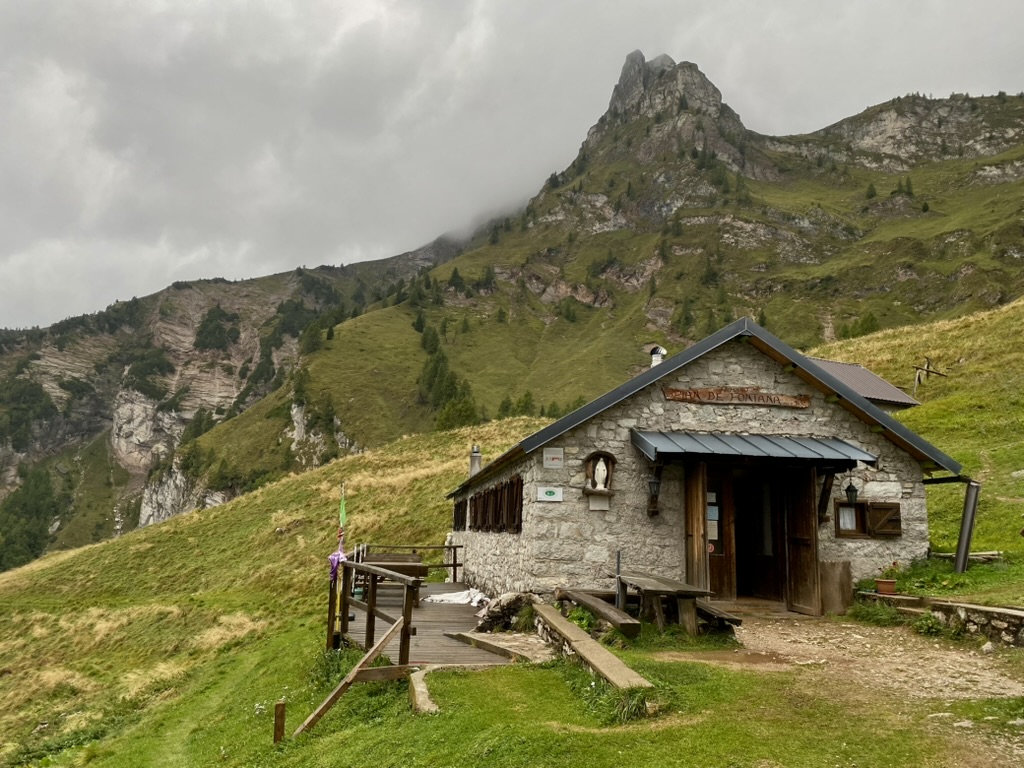
Rifugio Pian de Fontana
This mountain hut embraced and nurtured us after a very challenging day. We arrived tired and soaking wet and they absolutely took care of us with a warm soup and tea. I must mention that it was the most basic hut of the trip. We did not have warm shower (an option of a cold one was there though!) and we slept in one giant "side house" which was very basic. Regardless, we had a very homey and cozy stay with great food and lovely company. I guess I have a soft spot for simple mountain huts, there's just something charming in them!
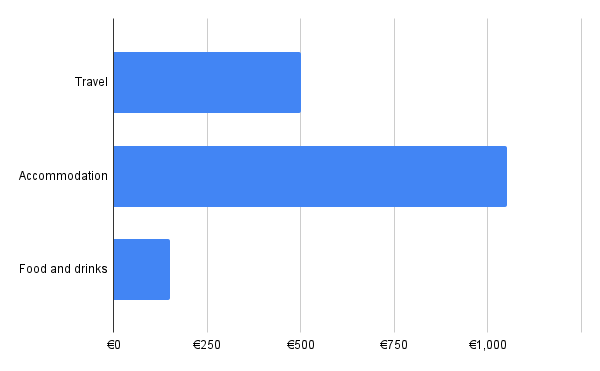
In total, for this trip (two people) we've spent roughly 1700 Eur.
As it is a hut-to-hut hike, no wonder than the majority of the costs are the huts. Mind you, we always had a half-board deal and so breakfast and dinner were included in the accommodation costs. I may have put some lunch meals in this category as well since we always paid the final bill in the evening, after all the "optional" consumptions. Also, 2 nights in Venice and one night near Braies are included in this overview.
Travel costs could be lower (or higher) depending on your starting location. I included both the flight tickets and the local public transport tickets. I'd say the flight tickets were still the major cost in this category, for local trains we paid ~ 100 Euros. I did buy Venice - Villabassa train ticket 3 months in advance which probably saved me some money.